Customizing Branding Logo For Windows AuthClient
Description: This document outlines the various options available for configuring and customizing the logo for the Authentication Client in WAC. It also details the areas within WAC where the default logo is displayed.
The Identity Automation logo appears in multiple locations throughout WAC, as listed below:
- Logo on Logon UI tile
- All authentication method and username screens
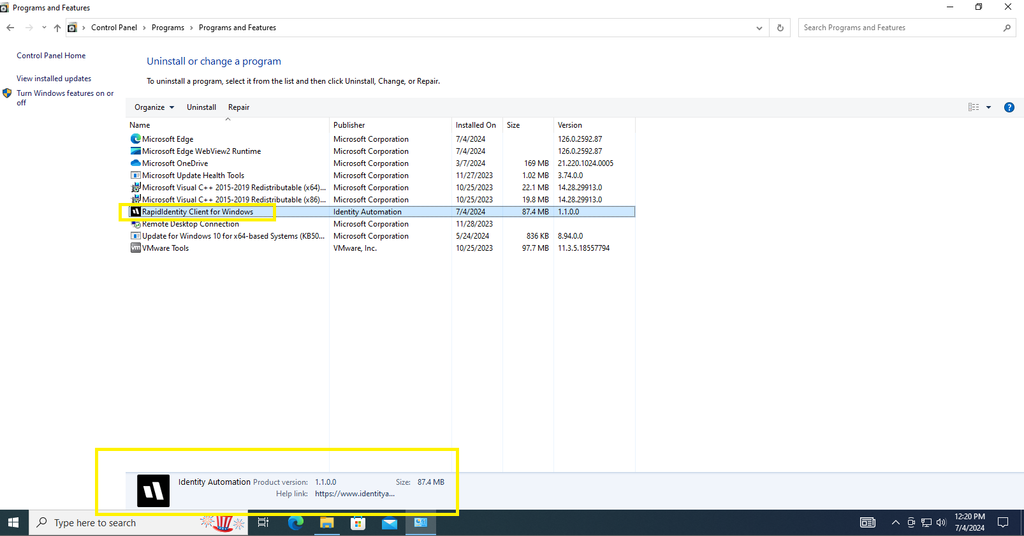
- WAC installer as the installation icon in the Program and Features section (File: with .msi extension)
- WAC installed .exe files
All the customization on the logo changes will be initially affect on the client machine only if the client machine having network access.
- Logo on Log on UI tile: The Client can show a custom logo on Log on UI in the following places:
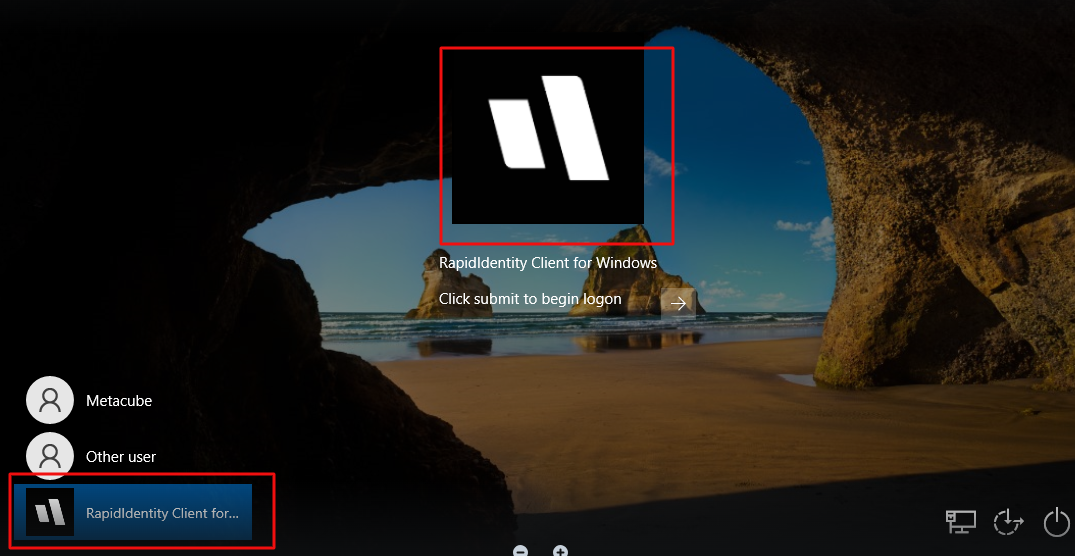
By default, the Client uses the Identity Automation logo and the default Ribbon Image. To customize these icons, an Admin needs to add an image URL in RapidIdentity.
For the best resolution, please use an image with size of 512x97 pixels
Steps to add a custom logo on logon UI:
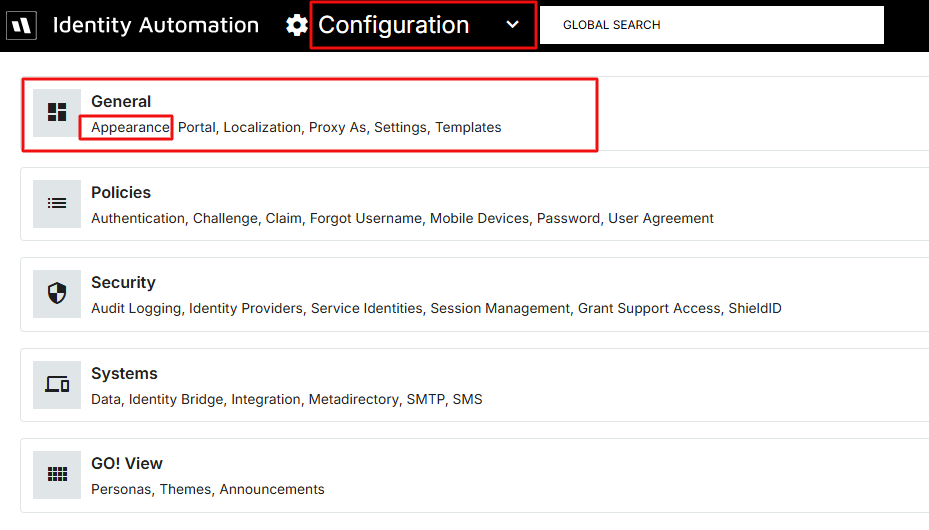
- Logon RI tenant with Admin and go to Configuration > General > Appearance

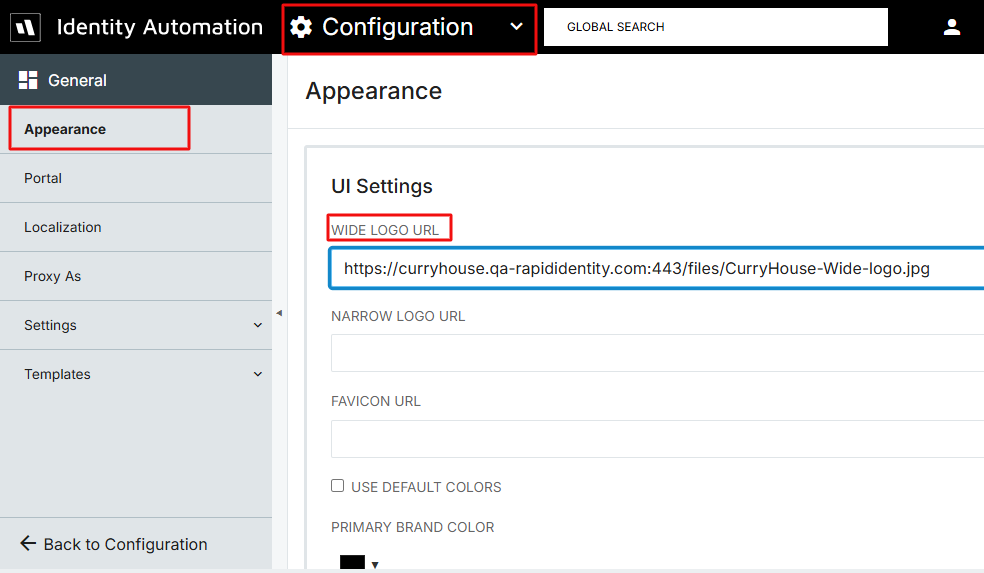
- Add an Image URL in Narrow Logo URL then save the settings.
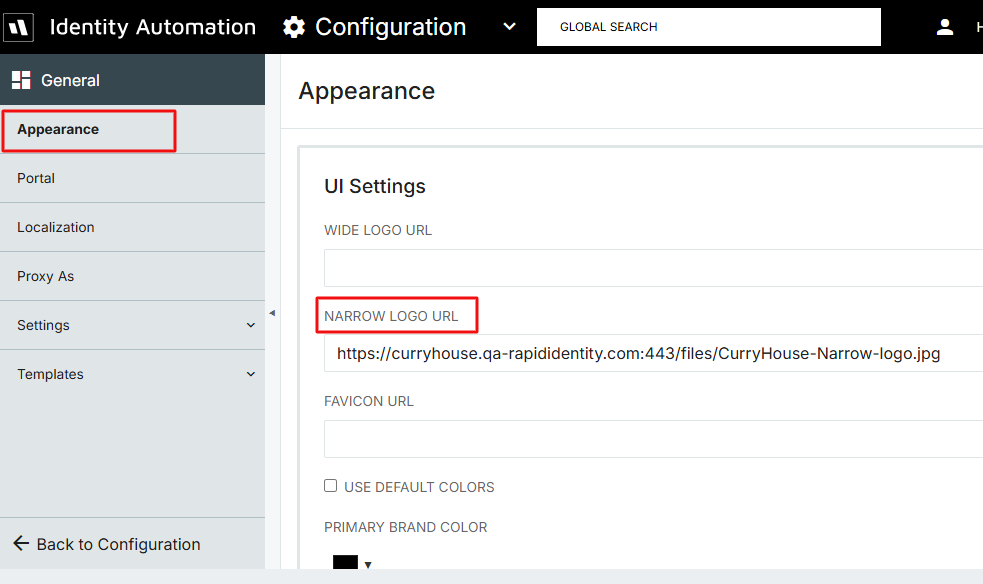
- Restart Windows machine to reflect the changes.
- Then user can see the image like this

-
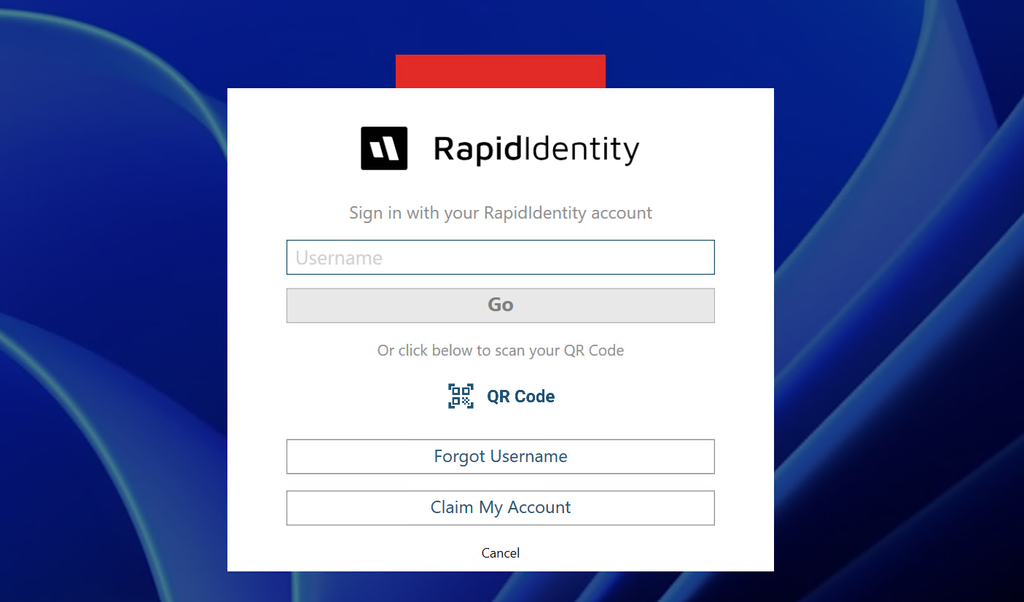
All authentication method and username screens: WAC user(s) by default use Identity Automation logo (Ribbon) for these given pages listed below. But Admin can customize the logo for all these pages by following the given steps.
Following are the other authentication methods and screens having similar logo changes
- Sms
- Duo
- Fido
- Pingme
- Forgot Username
- Forgot Password
- ClaimMyAccount
- TOTP
- QRCode
- Forgot Password
- Forgot Username
- Claim Account
- Settings
- Username Page
- Choose authentication method screen
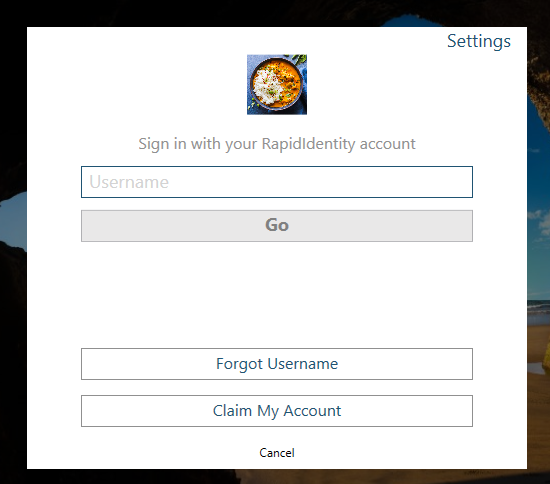
By default all the screens logo looks like the given image
Steps to add a custom logo on given UI(s):
- Logon RI tenant with Admin and go to Configuration > General > Appearance
- Add an Image URL in Wide Logo URL then save the settings.
- Restart Windows machine to reflect the changes.
- The custom icon will now be seen, as in the example below.
-
WAC installer as the installation icon in the Program and Features section (File: with .msi extension)
WAC user(s) by default use Identity Automation logo (Ribbon) for these given files/location and the logo for this file can not be customized.
-
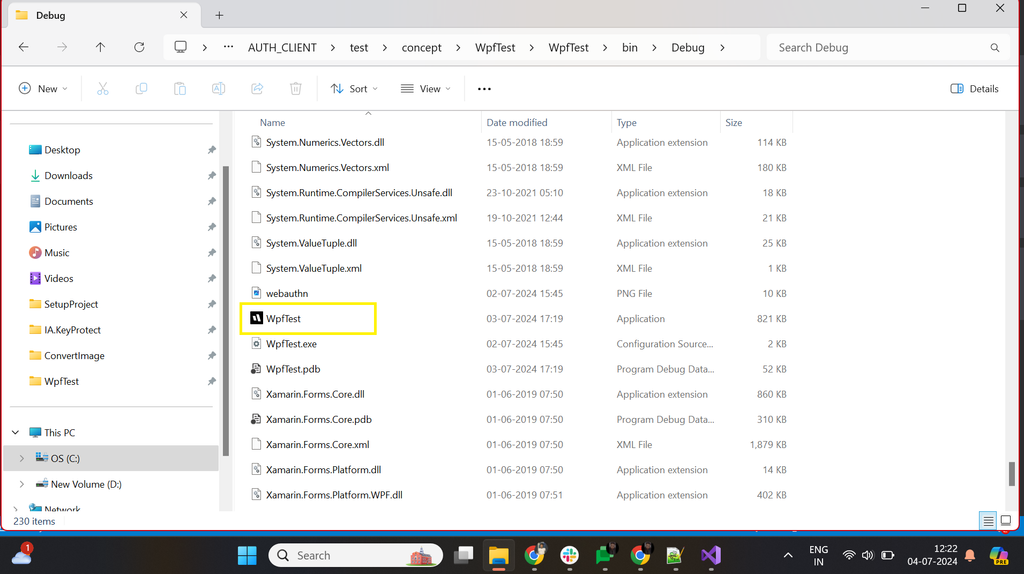
WAC installed .exe files: In the user(s) machine all the Installed files (.exe) and desktop shortcut in WAC uses the Identity Automation logo (Ribbon) by default those can not be customized.
1. IA.KeyProtect.WPF and IA.Portal.Launcher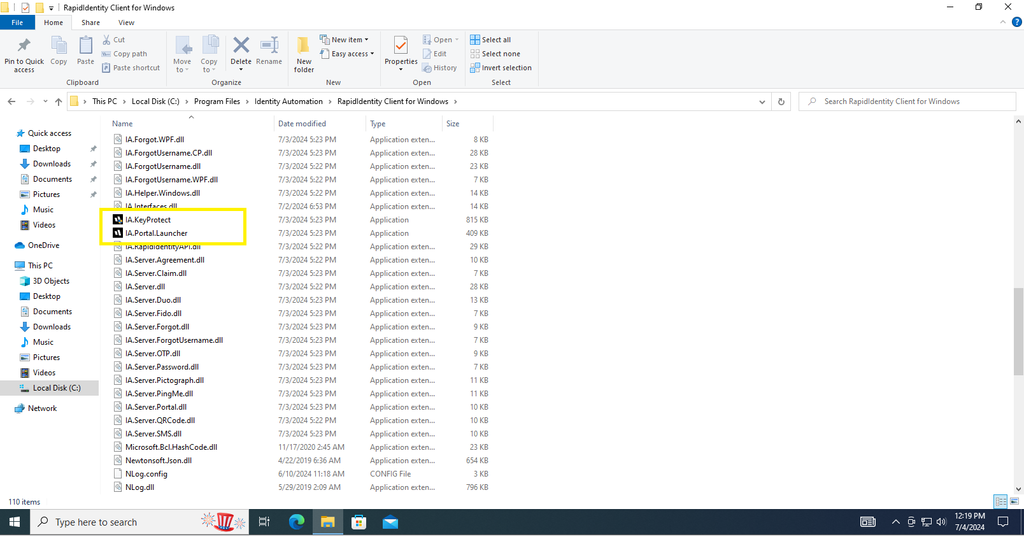
2. WpfTest