Let's Talk! is a Customer Experience Platform that purports to unify school communication, meet students and teachers where they are, and build a stronger school climate and culture. This is configurable with RapidIdentity for SAML connections as desired.
To set up for this service:
-
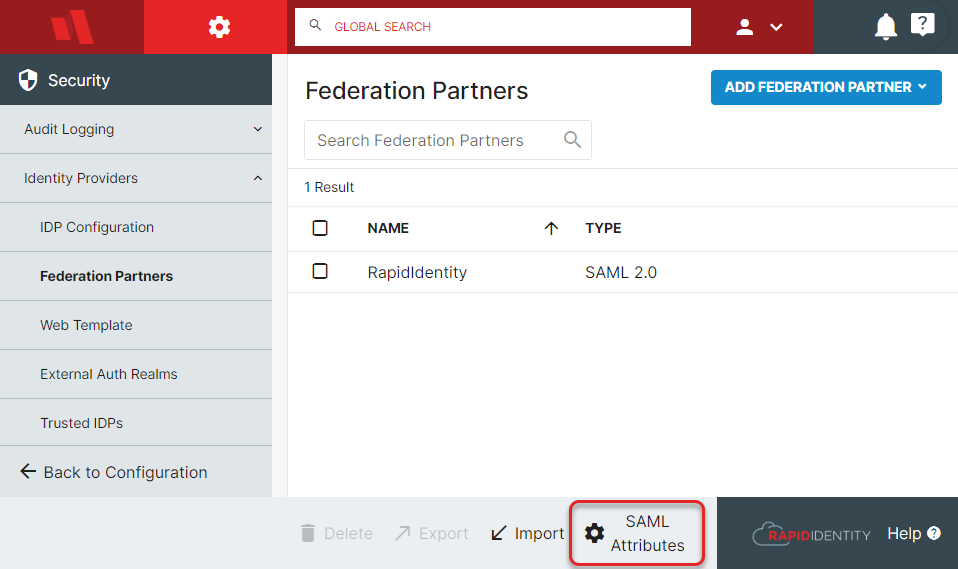
In Configuration > Security > Identity Providers > Federation Partners, click SAML Attributes in the bottom action bar.
-
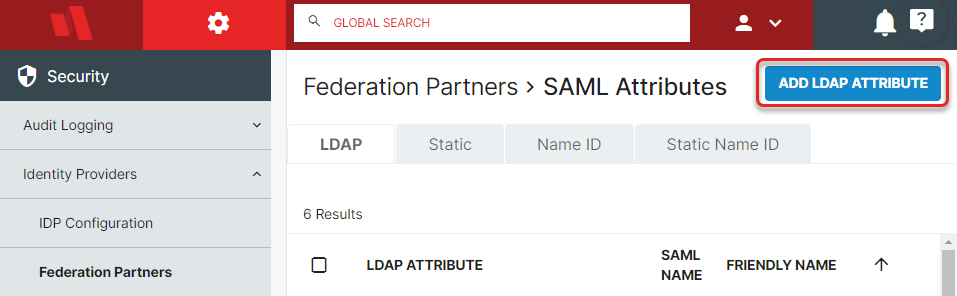
On the next screen, click Add LDAP Attribute.
-
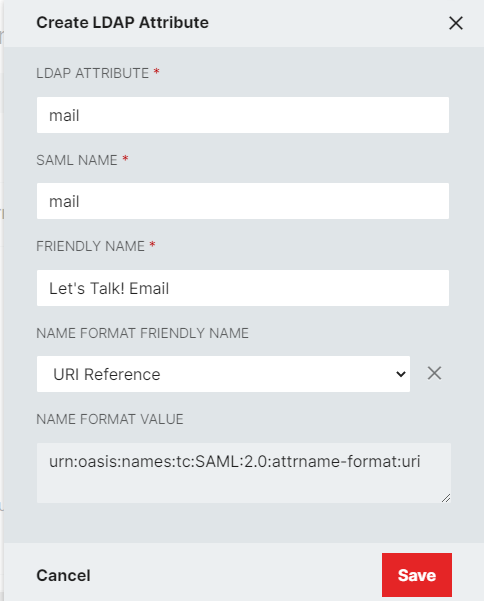
In the resulting pop-up, set:
- LDAP Attribute to mail
- SAML Name to mail
- Friendly Name to Let's Talk Email or something similar
- Name Format Friendly Name as a URI Reference.
-
Click Save.
-
Return to the Identity Providers > Federation Partners menu, and click Add Federation Partner. When given the dropdown, choose SAML 2.0.

-
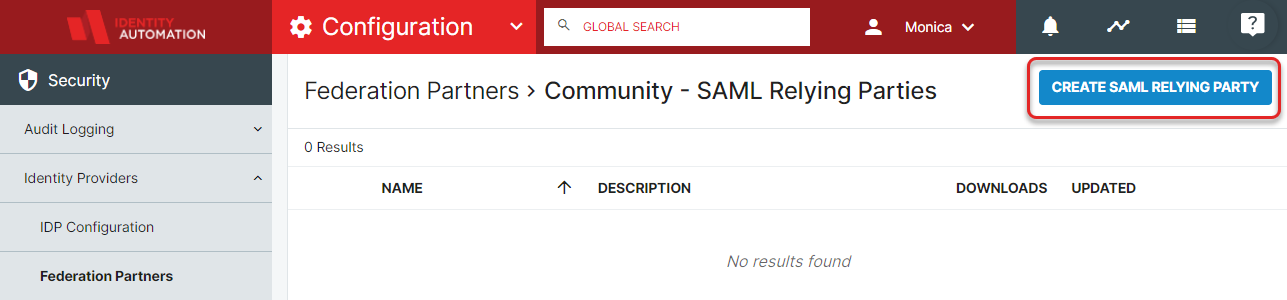
Now click Create SAML Relying Party.
-
In this menu, first expand and fill out the required details in the General section, providing the Relying Party a name, optional description, and metadata. Example provided here, but it will need to be updated with information provided by K12 Insights.
-
Now close the General section and Expand the SSO Settings section with the following changes (everything else can be left as default):
- Sign SAML2 SSO Assertions: Conditional
- Encrypt SAML2 SSO Assertions: Never
-
Click Save.
-
You will now be able to communicate with Let's Talk