To create a workflow, navigate to the Requests Module, and click on the Workflows menu item in the left navigation pane.
Workflow Definition
The configured steps of a workflow are collectively known as a “Workflow Definition”.
Adding a New Workflow
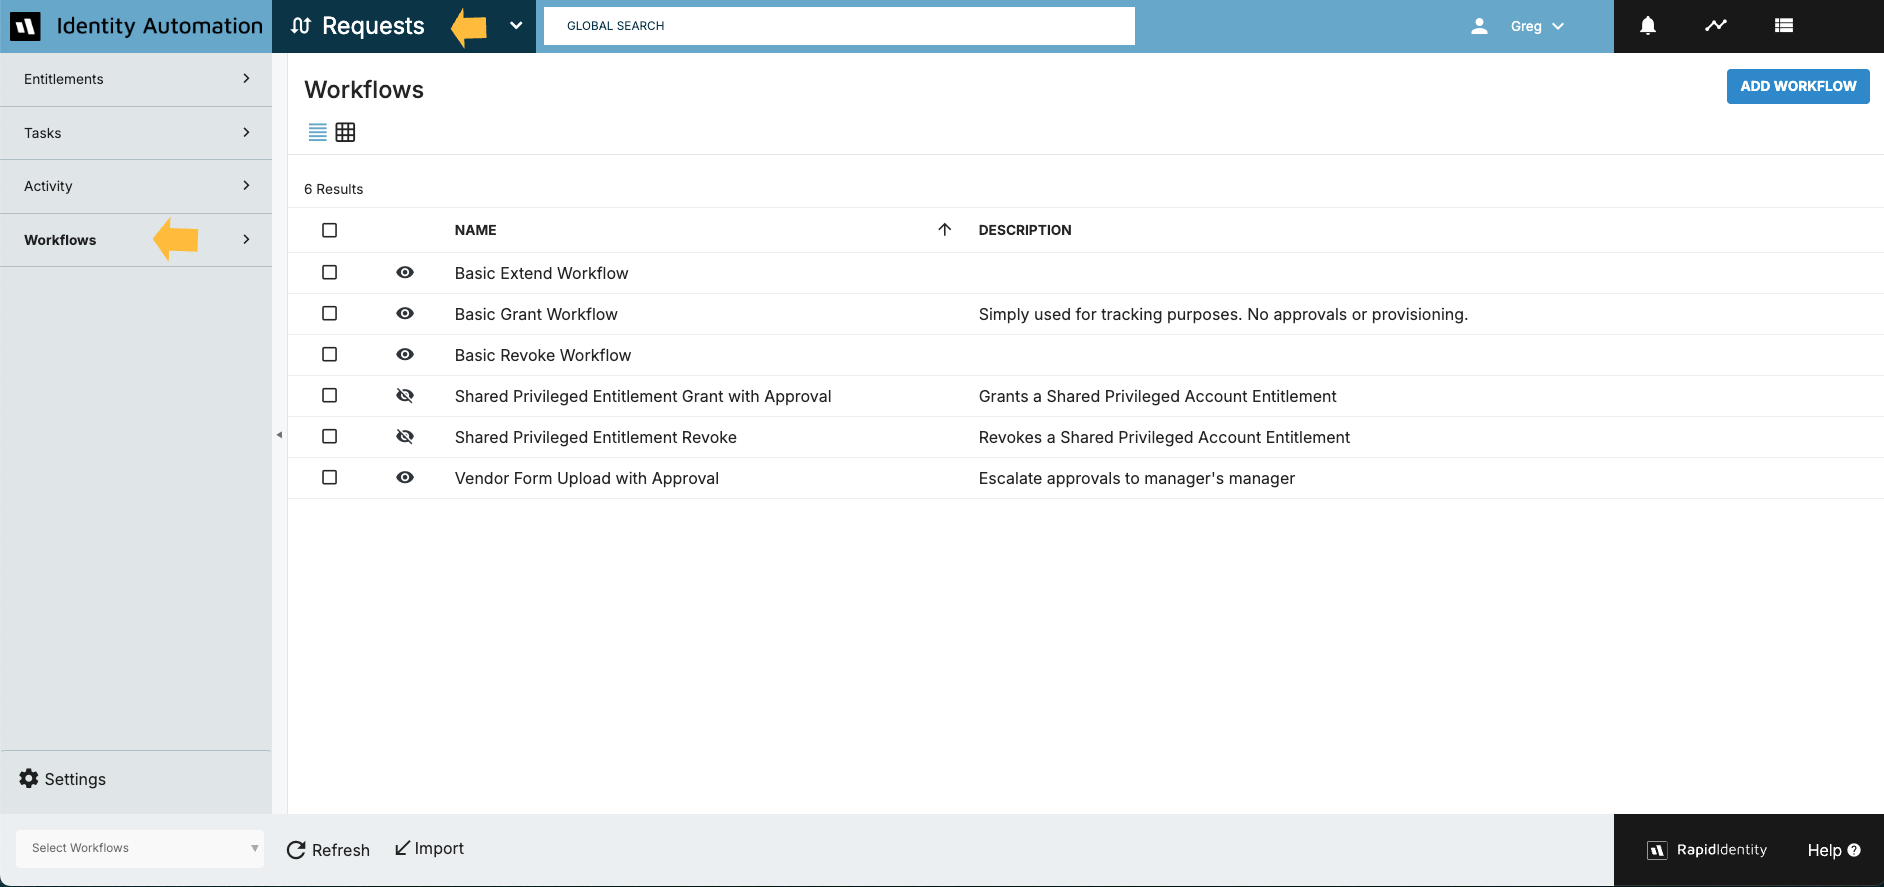
Existing Workflow Definitions may exist in the Workflows list. To add a new Workflow, click on the ADD WORKFLOW button in the top right corner.
.png)
The next screen will show some basic Workflow templates that can be added to RapidIdentity by clicking the three dots and selecting IMPORT.
.png)
To create a blank workflow, simply click on the CREATE NEW button in the top right corner.
.png)
This will open the Workflow Definition configuration screen. This is where the workflow steps can be added, including the workflow form.
Workflow Name
A unique name for the workflow definition is required, and can be referenced in the Entitlement Definition.
Key Components of the Workflow Definition
Component | Example | Description |
|---|---|---|
Name | (REQUIRED) a unique name for the workflow | |
Description | A description of the workflow | |
Active Toggle Switch |
| Determines if the workflow is active or not *A Workflow MUST be active to be applied to an Entitlement |
Edit |
| Once a workflow is saved, an EDIT button will appear next to the Active toggle switch, and can be used to modify the workflow definition |
Start Action |
| All workflows must have a start action - this is the step where a Workflow Form can be first presented within RapidIdentity for user input of data if needed |
End Action |
| All workflows must have an end action that finalizes the workflow (no configuration options) |
Create Form |
| Use to add a Form to the Workflow |
Cancel Button |
| Cancel any changes to the workflow definition |
Save Button |
| Save the workflow definition |
.png)
.png)
.png)
.png)
.png)
Adding Workflow Forms and Steps
Refer to Workflow Forms for adding/modifying forms
Refer to Workflow Steps for adding/modifying steps