Creating an Azure OAuth2 Application for RapidIdentity
-
Login to https://portal.azure.com/
-
Select Azure App Registrations in the Azure Services section

-
Select New Registration

-
Provide the Name of RapidIdentity and select Accounts in this organizational directory only (%Domain Name% only - Single tenant)
-
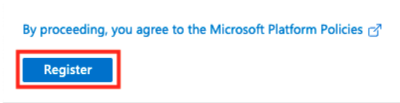
Click Register button.
-
Once registered be sure to take note of the Application(client) ID and Directory(tenant) ID
This inforamtion can be found later if necessary by navigating manually to App Registrations then selecting Overview from the left menu

-
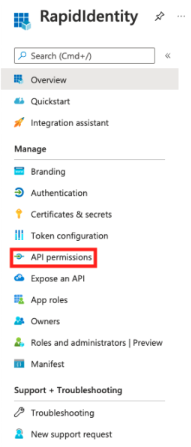
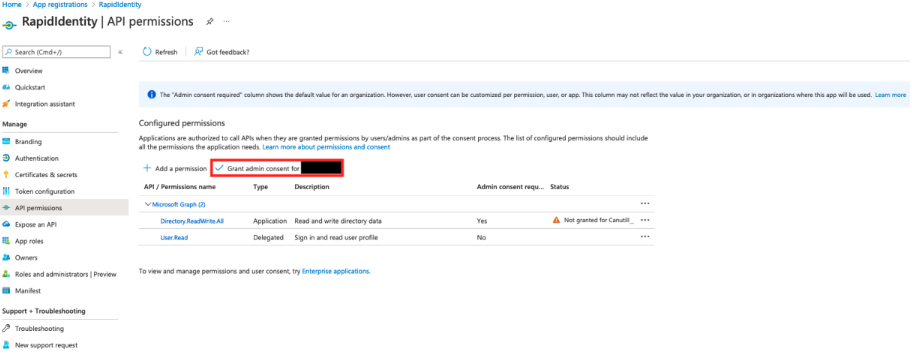
Select API Permissions from below the Manage section of the left side menu
-
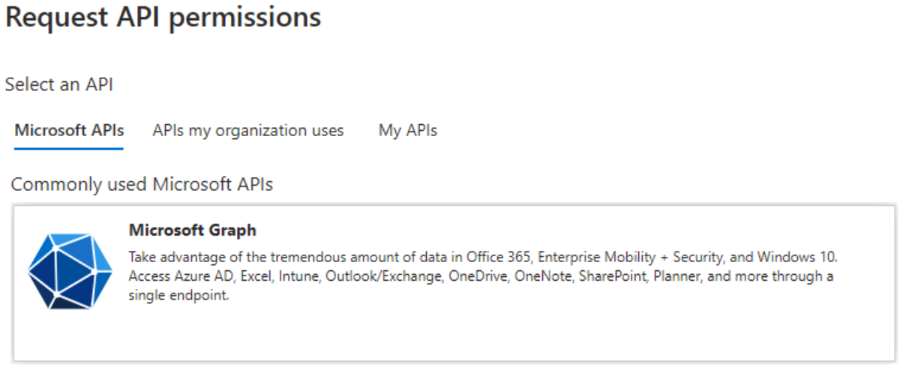
Select Add a Permission

-
Select Microsoft Graph
-
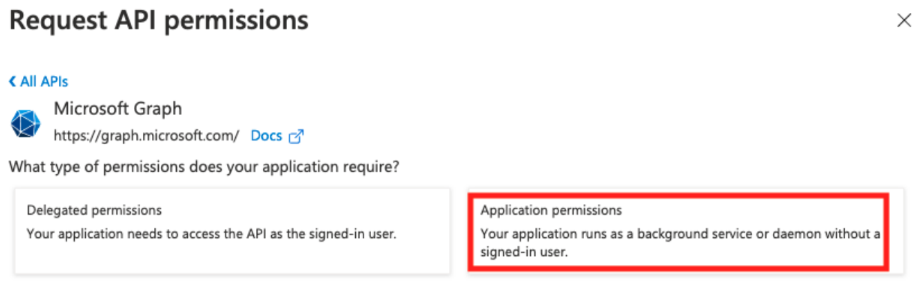
Select Application Permissions
-
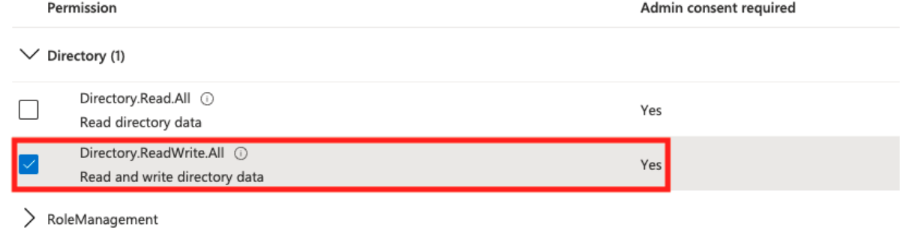
Locate and Check Directory.ReadWrite.All
-
Click the Add Permissions button

-
Agree to Grant Admin Consent
-
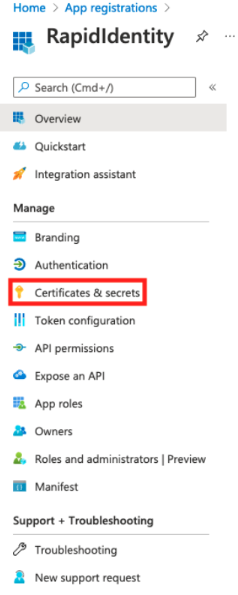
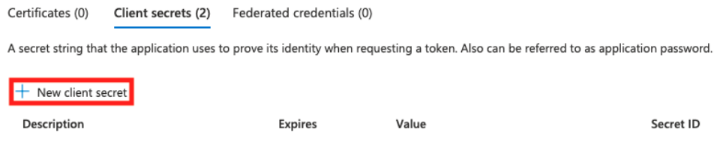
Select Certificates & Secrets from below the Manage section of the left side menu
-
Select New Client Secret
-
Set Description to RapidIdentity-Client and the Expires to 24 Months which is the maximum allowed by Microsoft
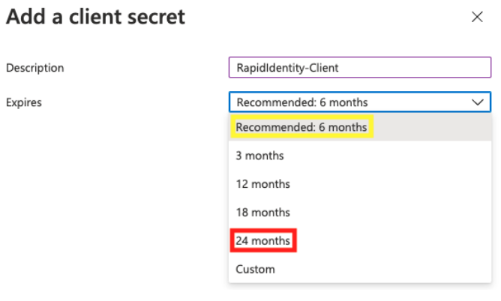
17 Set a calendar reminder for yourself and others in your organization for a month prior to the expiration to update the API to avoid interruptions in service.
-
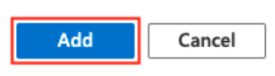
Click the Add button
-
A dialog box will appear with a Secret ID and Secret Value
The Secret Value CANNOT be seen again after you close this dialog. If you do not have the value noted a new Client Secret must be created
-
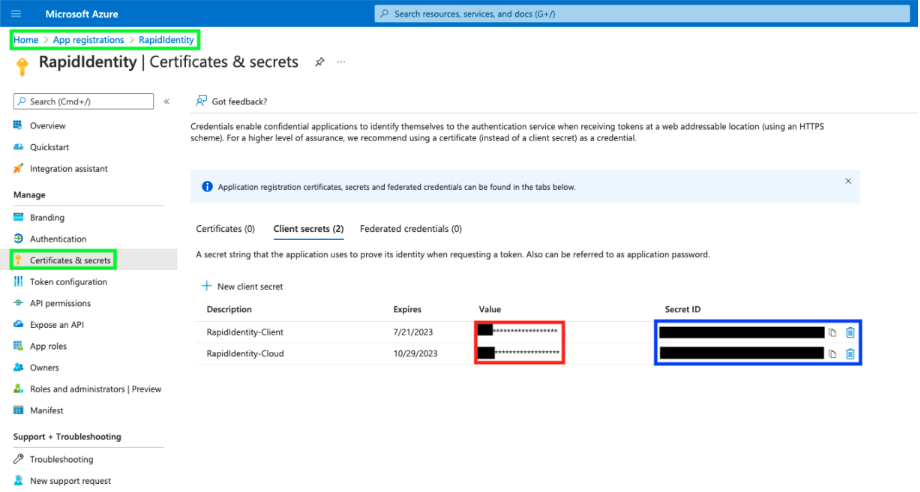
Once completed your Certificates & Secrets section will look like the below. Please note the Value column is masked by asterisks and cannot be viewed
-
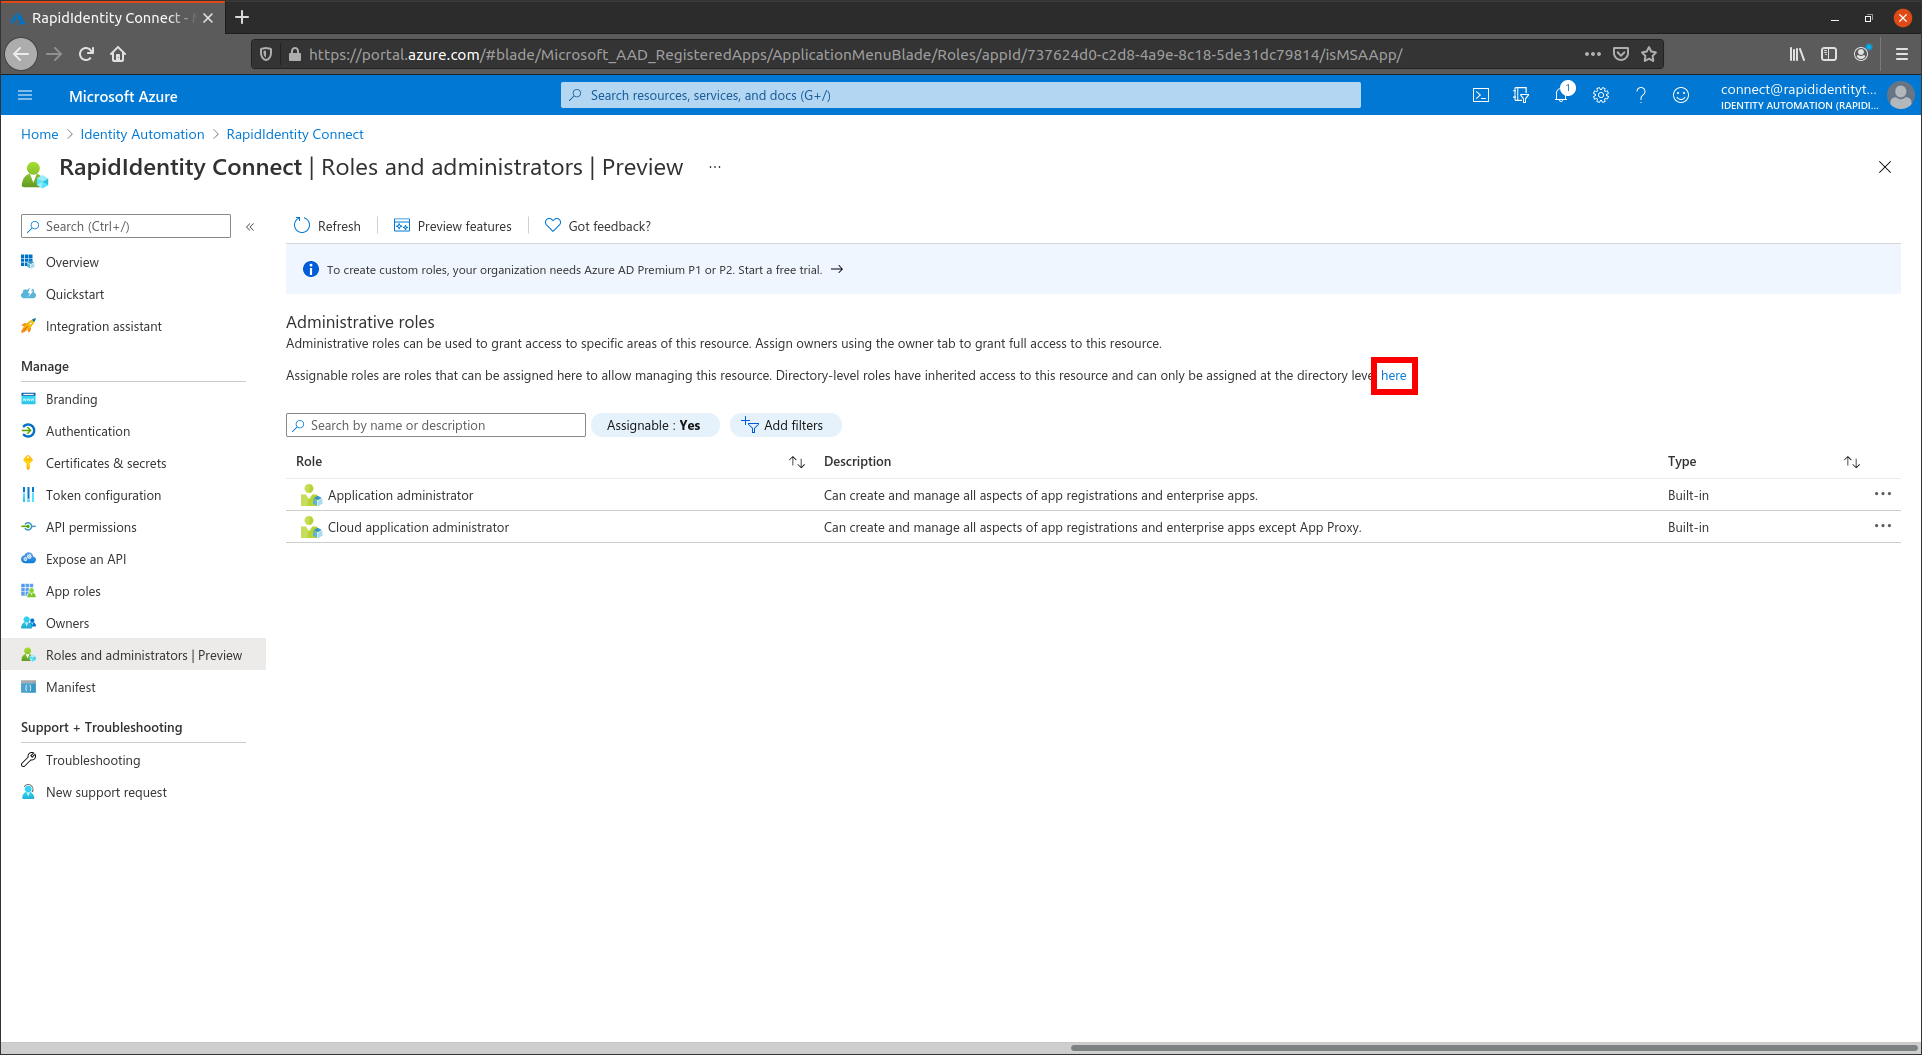
Go to the Roles and Administrators | Preview and select the link here to go to the directory-level roles
-
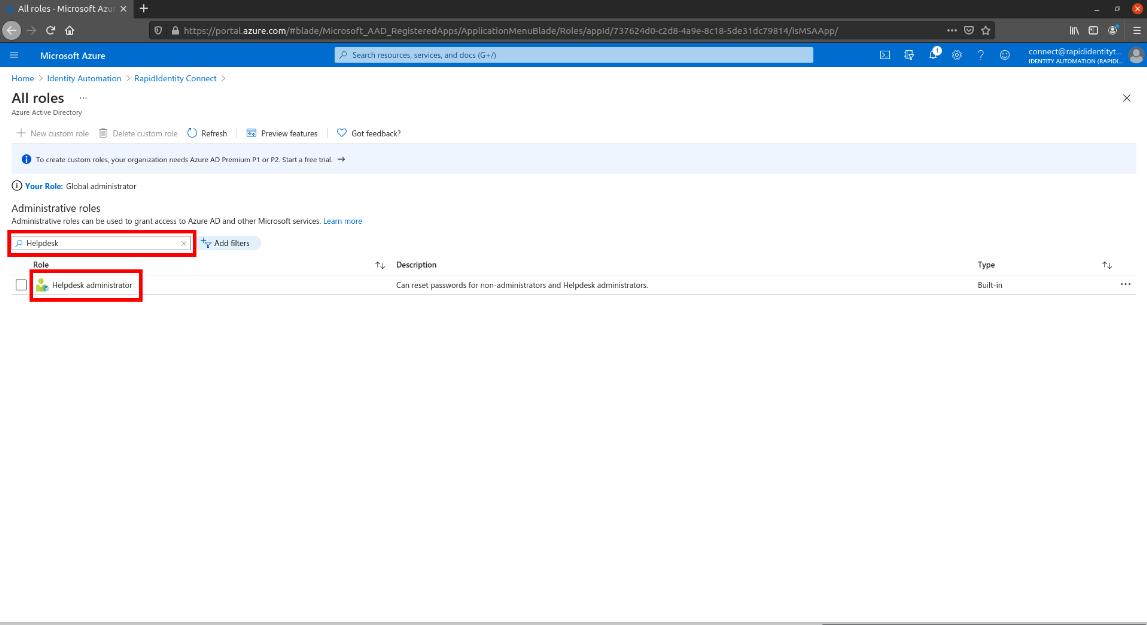
Search for Helpdesk Administrator and select that row.
-
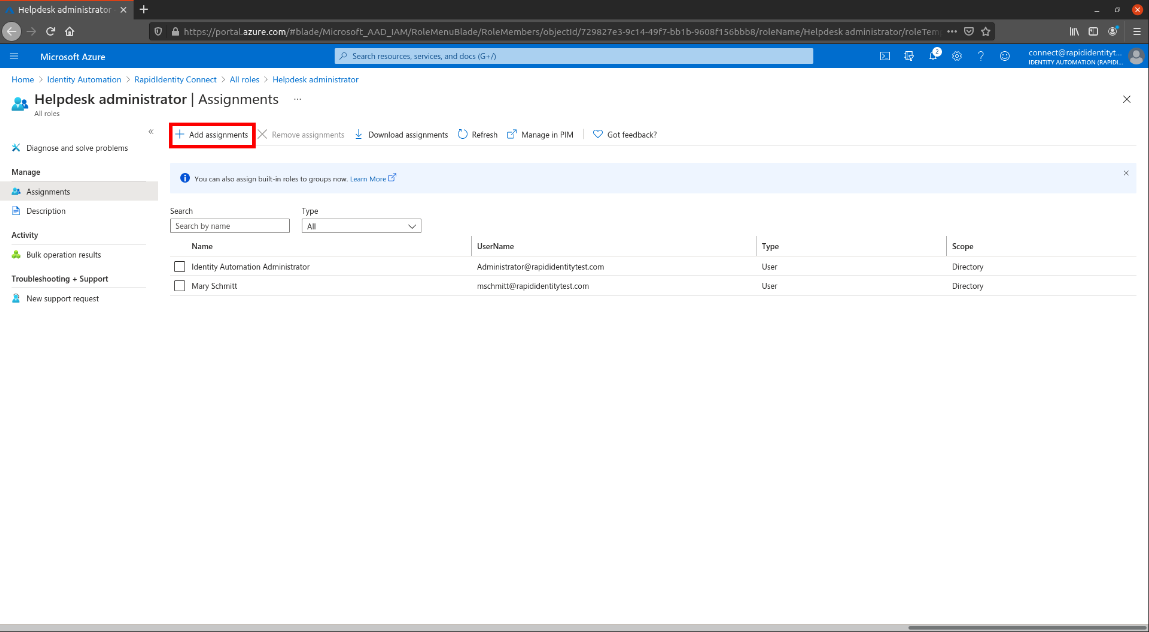
Select Add Assignments
-
Search for the application that was registered earlier (should be named RapidIdentity) and select it. Once selected click Add to add it to the role. This gives the application the permissions to set non-administrator passwords.

-
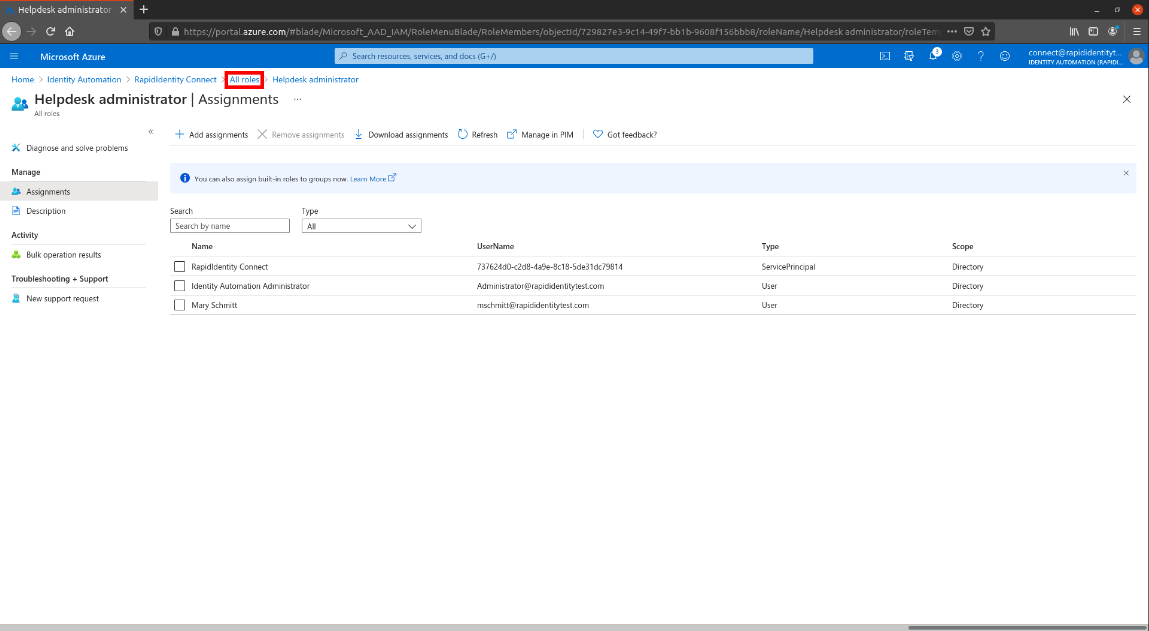
Go back to the All Roles view by clicking All Roles at the top of the window.
-
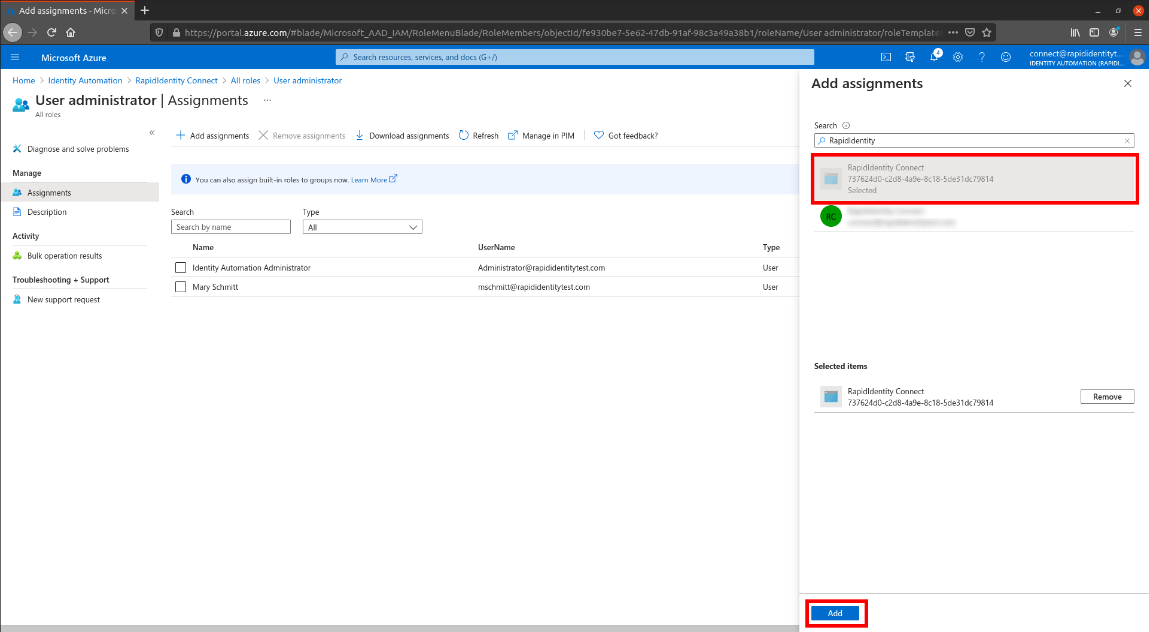
Search for User Administrator and select the row.
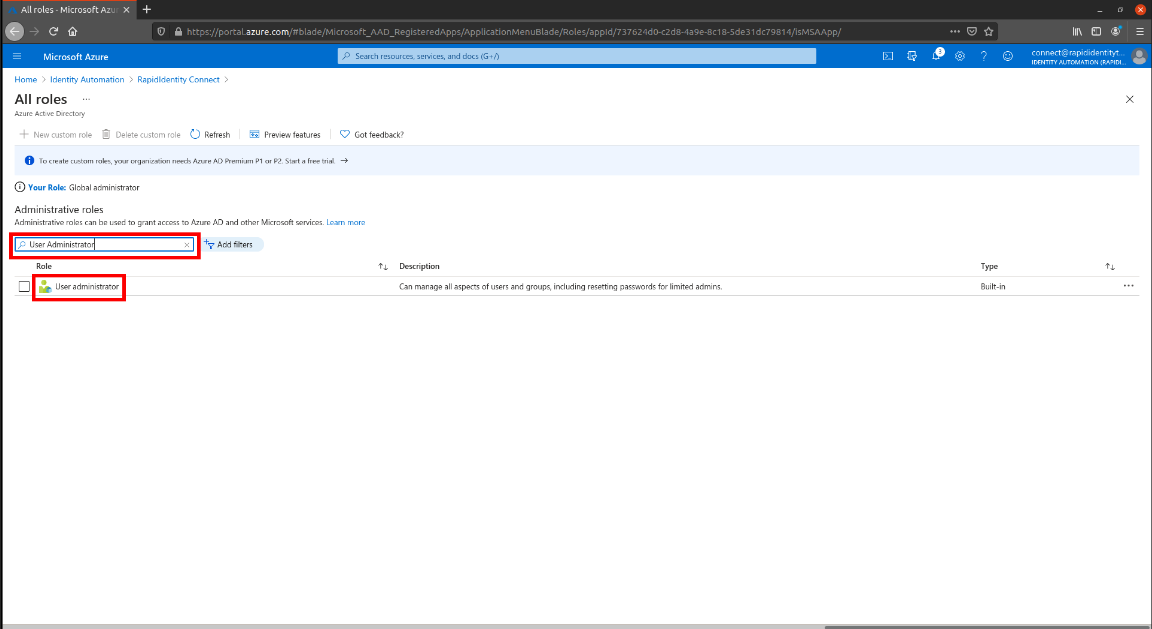
-
Select Add Assignmnets
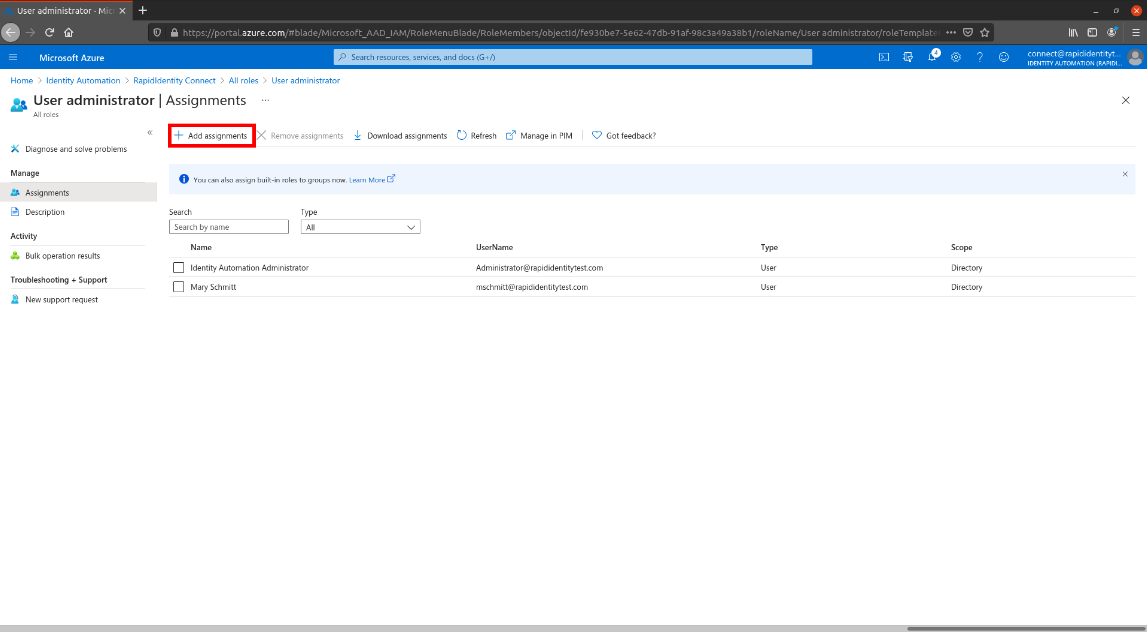
-
Search for the application that was registered earlier (should be named RapidIdentity) and select it. Once selected click Add to add it to the role. This gives the application the permissions to manage non-administrator accounts.