Data Explorer
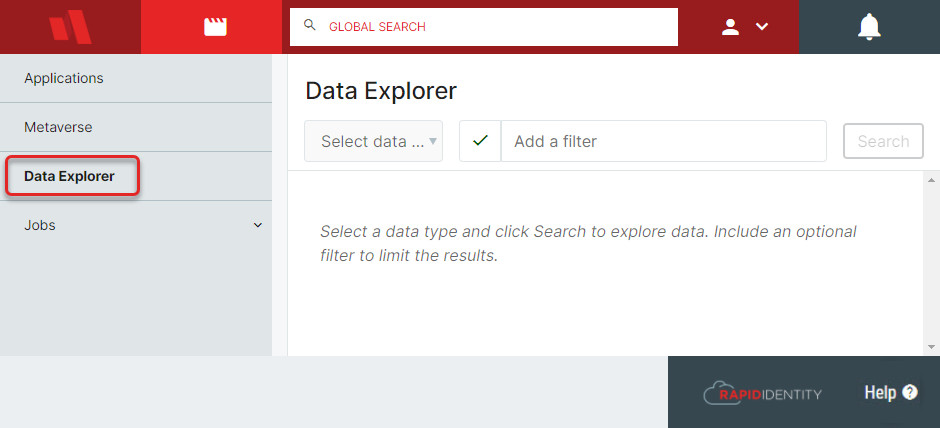
The Data Explorer is a powerful validation tool that can access any of the information currently being processed or that has already been processed within the RapidIdentity Studio module. To access this, simply click on the Data Explorer menu within Studio.
After a Consumer or Provider job has been run, the information will be available to view in Consumer or Provider categories within Data Explorer. This also applies to ID Hub jobs.
A Provider job can run without a Consumer being installed, but an ID Hub Mapping job cannot be run until the Provider job is complete. The Consumer jobs for CSV files must be preceded with Provider and Mapping jobs, in that order, to be successful. There are no Consumer jobs for REST API Consumers.
To find if specific information has been processed correctly, first choose the Category of record (Consumer, ID Hub, or Provider) and then choose the specific record definition to access. These can be determined by this name format: APPLICATIONPREFIX-recorddefinition. The Application prefix is set when the Provider or Consumer is installed, and the Record Definition is configured based on data columns or groups as described in Studio Applications. These represent the data that was processed from between that application's Record Definition(s) and the ID Hub.
All that being said, let's visit some commonly asked questions and how to validate them in Data Explorer.
Frequently Asked Questions
- If I have two consumers that need the same information, can I give them both access to the same application?
- This is not recommended. The best practice in this instance is to create two separate applications with similar or identical settings and different credentials for access. That way if one consumer is compromised, it doesn't affect the other.
- How do I filter in Data Explorer?
- First, find the PREFIX-recordDefinition of the data you want to filter in the drop-down box. Then add a filter in the text box next to it. For example, to filter ORCSV-course and find only the Math courses, the table's 48 records are filtered down to 3 for easier verification of data with the expression subjects=math. To filter down to one result, use the expression subjects=math & sourcedId=(sourcedId).
- To more specifically filter for results, use search queries. Usable symbols are the & (and) and | (or) to query role=teacher & district=Central District to find all teachers within the Central District, or Role=teacher | role=student & district=Central District to find teachers or students within the Central District. To search for records in which active users are missing usernames, use enabledUser=true&username=null. You can also use ~ (like) to query role~%administrator% to find all users with any administrator privileges in any module or capacity. Occasionally, these variables will need to be substituted with the data ID from RapidIdentity instead of the word itself.