Once the RapidIdentity Client for Windows file is installed follow these steps to edit the configuration file.
- Locate Server.configuration in Identity Automation > RapidIdentity Client for Windows.
- Copy the Server file to the computer’s desktop and open it to enter the following edits:
- Under the section titled “[/Workstation]” enter the following after DefaultDomain=:
- For non-domain machines: add a period (.)
- Example: DefaultDomain=.
- This authenticates with the user that the credentials provided will allow access to the local machine only. Important: This computer must have a user account set up to proceed, in order for it to be used as a local machine. Additionally, the RapidIdentity User account password must match the password for the local user account that is created. Ideally, the passwords would be set to never expire on both the local machine as well as on the RapidIdentity server when using local accounts for non-domain joined workstations.
- For domain-joined machines: enter the name of the domain, which is the NetBIOS name.
- Example: DefaultDomain=(insert NetBIOS name)
- For non-domain machines: add a period (.)
- Save changes.
- Under the section titled “[/Workstation]” enter the following after DefaultDomain=:
- Move the edited Server file back into its original directory (Identity Automation > RapidIdentity Client for Windows).
- Click to Replace the file in the destination and press Continue to provide administrator permission to copy the file to the RapidIdentity Client for Windows folder.
Once the file is edited, a reboot can be performed at this time, but it is not necessary.
Connecting to Non-Domain-Joined Computers
If using a non-domain joined computer you will need to ensure that both passwords are the same. RapidIdentity is connected to a domain to manage user accounts. The password that is stored in the RapidIdentity domain must match the local account password when using non-domain joined computers so that Windows is able to establish a session when the user account information is presented to the system.
Connecting to Domain-Joined Computers
If using a domain-joined computer, ensure that the RapidIdentity server is configured to use the same domain. Windows will then be able to establish a session using the RapidIdentity user account linked to Active Directory. Additionally, users will be able to reset their domain passwords through the RapidIdentity portal, if necessary.
Creating an API Key In RapidIdentity
An API key is one of the fields required when configuring a Windows Client.
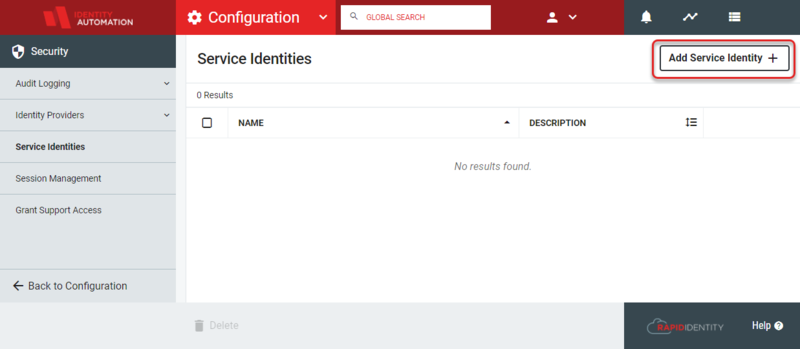
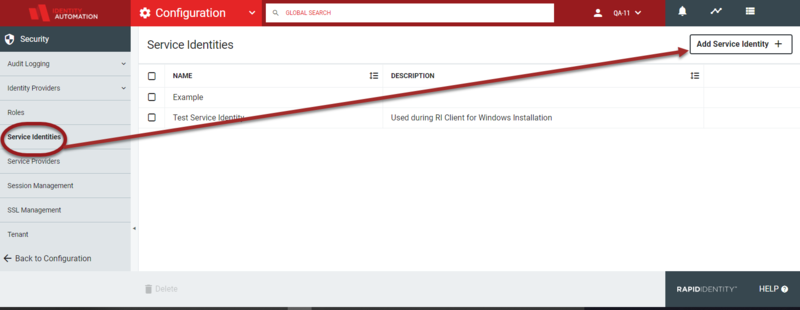
- First, navigate to Configuration > Security > Service Identities and click Add Service Identity.
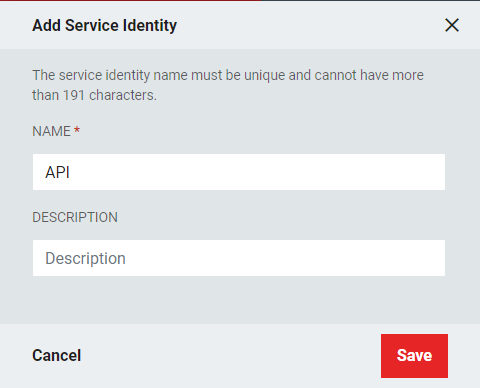
- Give the Service Identity a descriptive name (such as API) and an optional description if desired. Click Save.
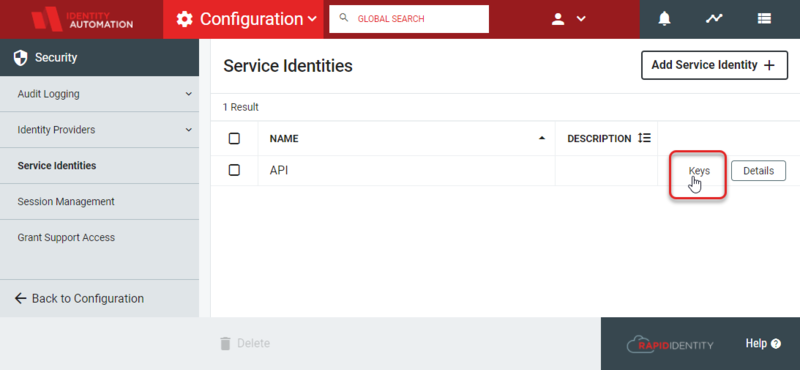
- Back in the Service Identities menu, there should now be a line item with the name of the previously created Service Identity. Hover over its rightmost column and select Keys.
- Click Add Key +.

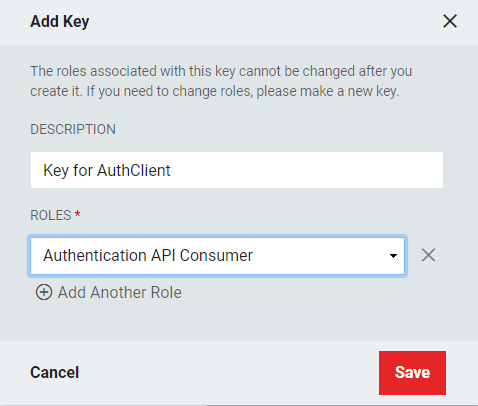
- Give the key a short but accurate description, and then assign the role Authentication API Consumer. Click Save.
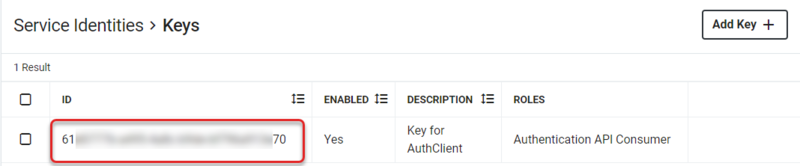
- Back on the main Keys menu, note the ID of the Key, which will need to be provided to the Authentication Client provider during installation.
Service Identities
During the installation of the RapidIdentity Client for Windows, licensed and released separately from RapidIdentity, an API Key that has been generated from the RapidIdentity Server must be entered. This key can be generated using Service Identities in Configuration > Security > Service Identities.
Create a Service Identity
A Service Identity must be created before generating the API key.
- Click Service Identities from the RapidIdentity Configuration module's Security section.
Note: Only Tenant Administrators or System Administrators have access to this menu.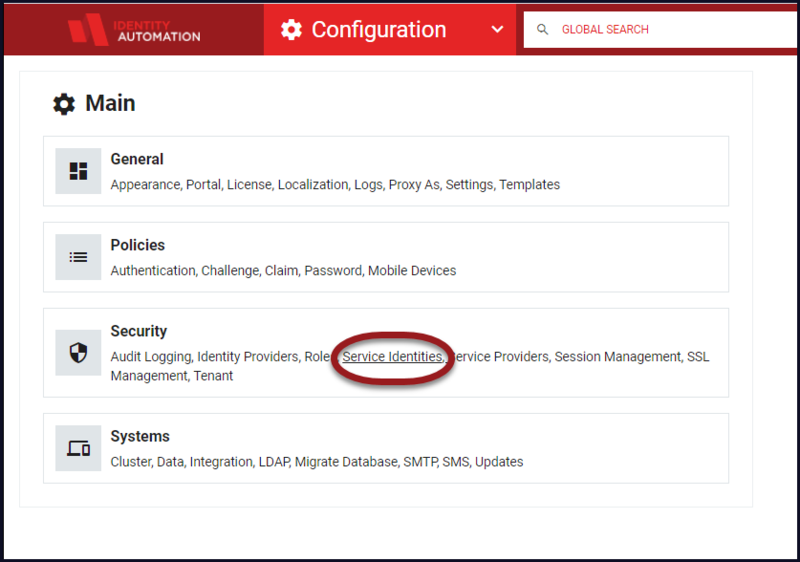
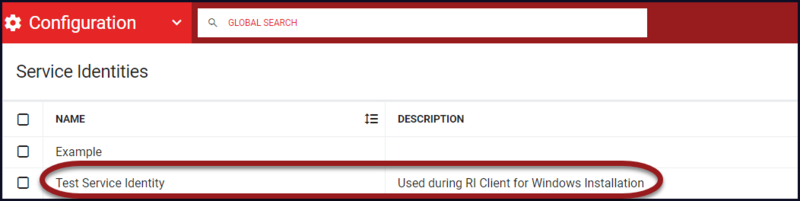
- Existing Service Identities will display in the workspace. Click Add New Service Identities+ if the Service Identity is not displayed.
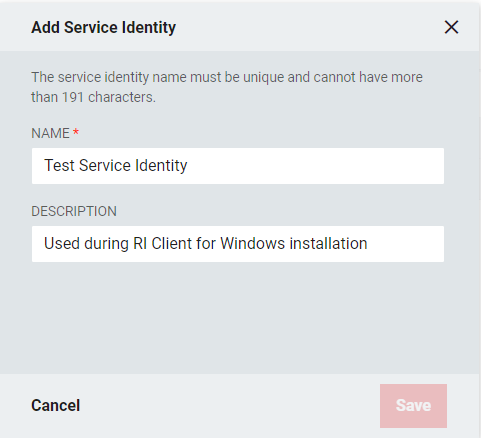
- From the "Add Service Identity" window, enter a Name and an optional Description for the Service Identity. Click Save.

- The Service Identity will now be displayed in the workspace.
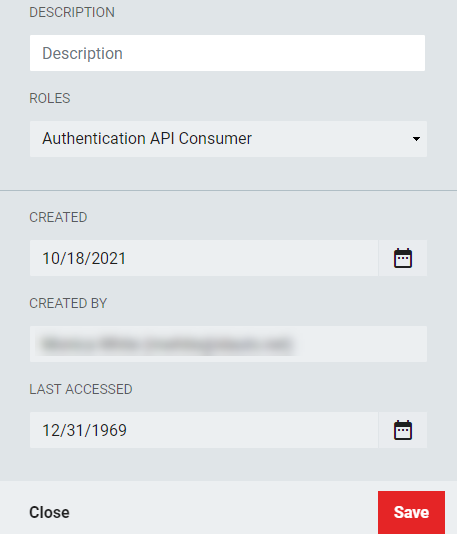
- Enter a Description and select a Role from the drop-down that will be associated with the key. If additional roles are to be added, a new Service Identity will need to be created.
Assign the Key to the Service Identity
The API Key can now be generated by using the existing Service Identity. Each key must be assigned to a role in RapidIdentity.
- From the Service Identity workspace, hover over the entry and click the Keys button that will appear in the third column.

- Click the Add Key+ button in the top right.

- If there have been keys assigned to the Service Identity, the value will be listed in the ID column.
- Enter the Description and select the Authentication API Consumer role. To assign multiple roles, click +Add Another Role and select additional roles.
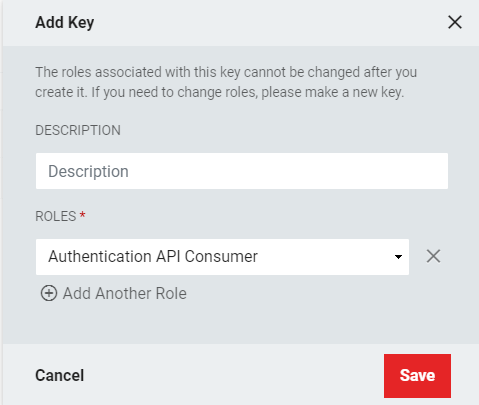
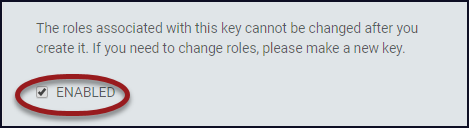
- Note: After the API Key has been saved with an associated Service Identity, additional roles can not be added, a new key must be generated and linked to the additional role(s).
- Save the Key information.
- The entry with the new Key will now be listed on the Service Identities > Keys workspace.

- Click Details in the right column to view the entry.
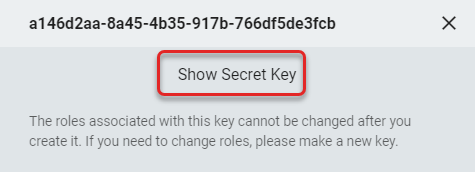
- Click to toggle Show Secret Key and Hide Secret Key to copy the key for RapidIdentity Client for Windows installation.
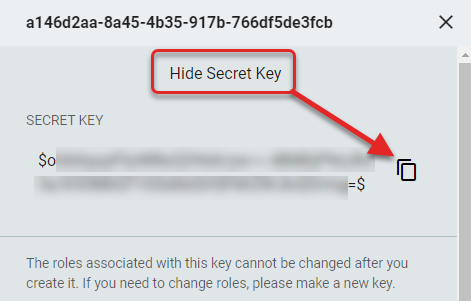
- Click the Copy icon to place the Secret Key on the clipboard.
- If the roles associated with this key require updates, deselect the Enabled checkbox, as a new key must be generated. Click Save to update this status.
- The information that was originally entered when the key was generated will be displayed.
- Click to toggle Show Secret Key and Hide Secret Key to copy the key for RapidIdentity Client for Windows installation.