Creating Announcements
- 06 Jul 2022
- 1 Minute to read
- Print
- DarkLight
Creating Announcements
- Updated on 06 Jul 2022
- 1 Minute to read
- Print
- DarkLight
Article summary
Did you find this summary helpful?
Thank you for your feedback!
Using RapidIdentity's new Persona-Based Announcement feature provides Administrators with the ability to set up, schedule, and manage particular messages that need to be crafted for certain personas and displayed at specific and/or recurring days or dates.
Configuring the Announcement
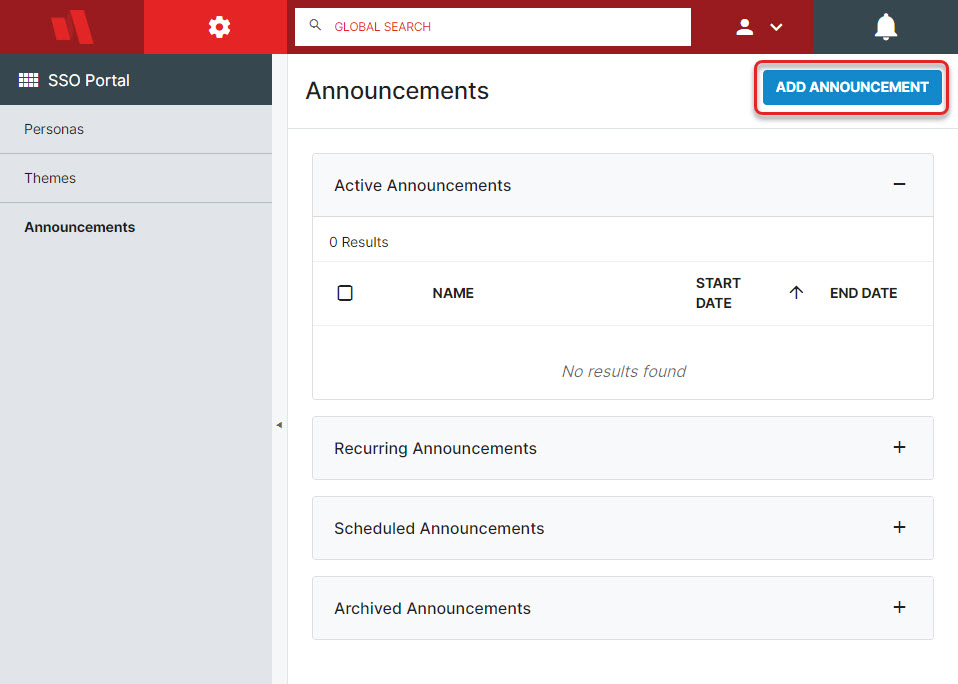
Once personas and themes have been set up and you know what message needs to be sent to which persona, navigate to Configuration > SSO Portal > Announcements.
Click Add Announcement.
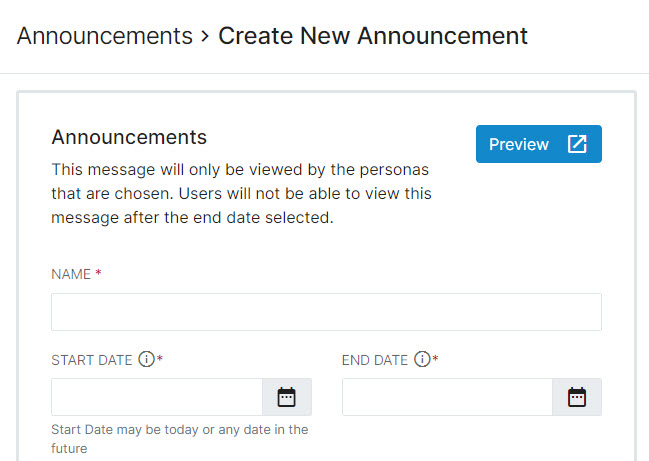
Give the announcement a Name and a Date Range. The start date can be today or any date in the future, while end date will mark the last day that announcement will be available to the selected persona.
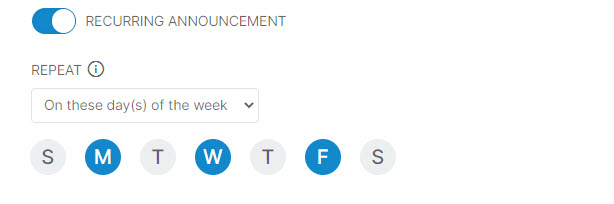
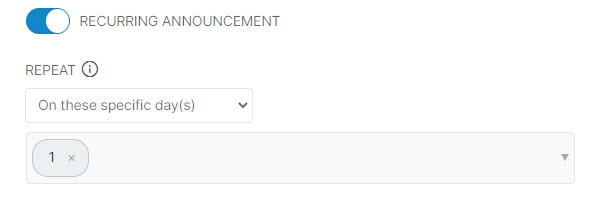
To have the announcement recur weekly or monthly, toggle the Recurring Announcement option to on. This will give two different options:
Have the announcement recur on certain days of the week (e.g., Monday, Wednesday, Friday)
Have the announcement recur on particular days of the month (e.g., first of every month)
Select the persona this message should display for.

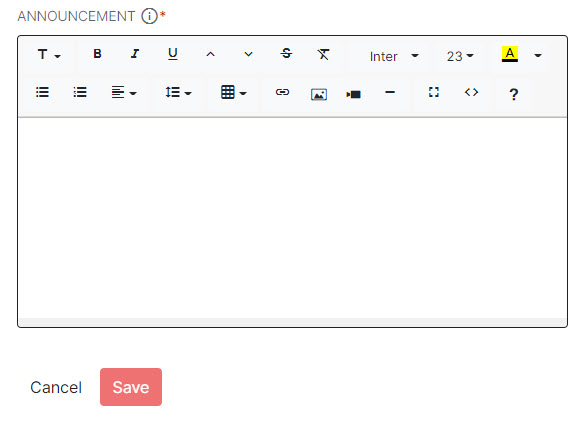
Then fill out the announcement to be displayed to the selected persona. This is a rich text field that will allow basic formatting as desired.
User Experience
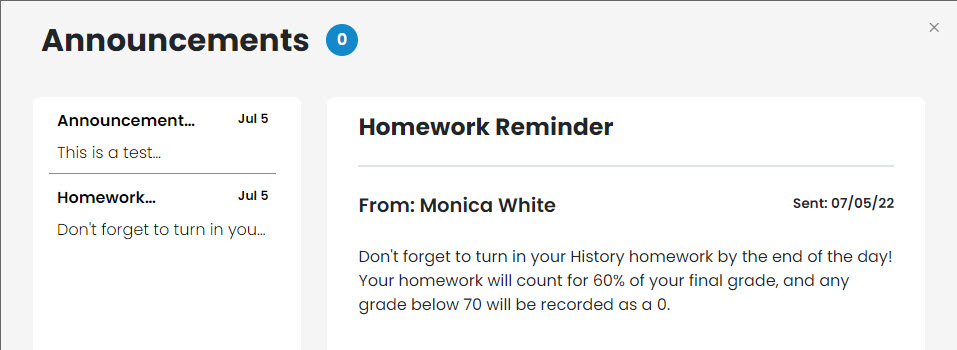
When a Portal user logs in with a pending announcement for their persona, the announcement will display at the upper right of the screen.

Announcements can be clicked to read the entirety of the message if long enough to have an ellipses (...), and previous announcements are also accessible from the History pane on the left.
Was this article helpful?