Google Authentication
- 08 Jun 2022
- 1 Minute to read
- Print
- DarkLight
Google Authentication
- Updated on 08 Jun 2022
- 1 Minute to read
- Print
- DarkLight
Article Summary
Share feedback
Thanks for sharing your feedback!
Follow these steps to configure Google social authentication:
- Navigate to the Google Developers' site and, if necessary, create an account.
Note: This account needs to have the Google Super Admin Role within Google. This role is added in the Google Admin Console. - Follow the Google API directions to Create a project. This will be a web application.
- Once the app is created, navigate to the Client ID for the Web Application page to capture the Client ID and Client Secret. Also, note the Authorized Redirect URIs. This must be entered as https://[Host Name]/idp/socialCallback?n=googleplus.

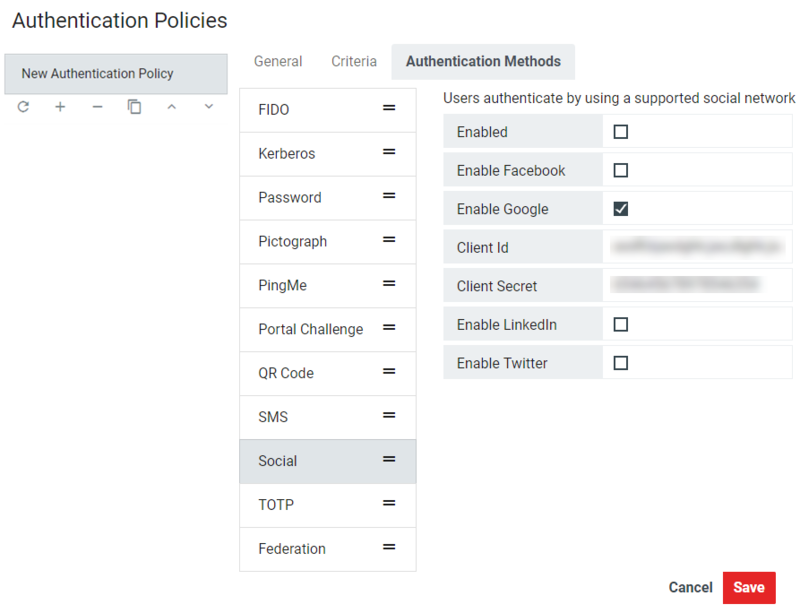
- Click the checkbox next to Enable Google. Copy and paste the Client ID and the Client Secret into Configuration > Authentication Policies > [Authentication Policy] > Authentication Methods > Social. Click the checkbox next to Enabled to enable the policy.
- Ensure the LDAP filter and other Criteria are set and that the policy has an accurate name and is Enabled on the General tab. Click Save.
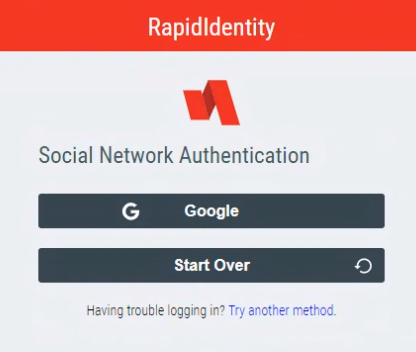
- When the user logs in, they will be prompted to log in with their Google credentials.
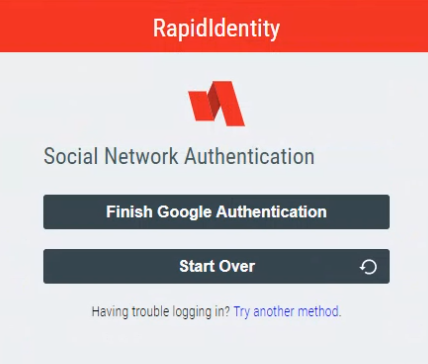
- The user will be taken to Google, where they will enter their credentials. If successful, they will be returned back to RapidIdentity to finish the login process.


Google Project Configuration
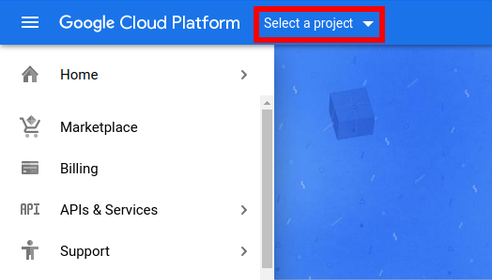
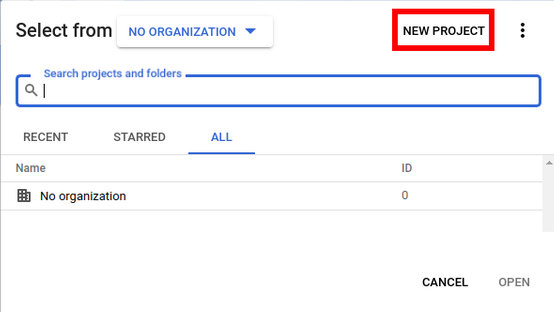
- From console.cloud.google.com, click Select a Project.
- Select New Project.
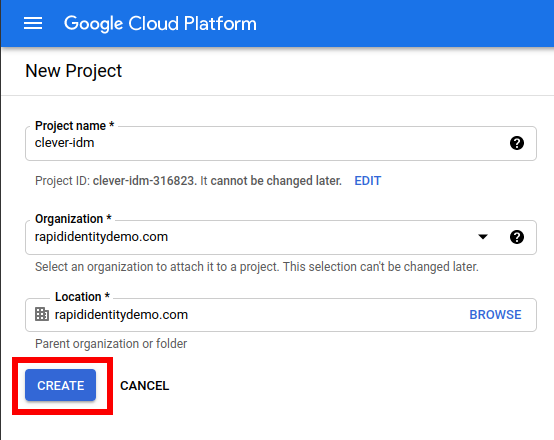
- Give the project a name, select the organization, select the location, and click Create.
- Click to Select Project or a Project Name.

- Select the project that was just created from the available list.

- Select the Hamburger menu.

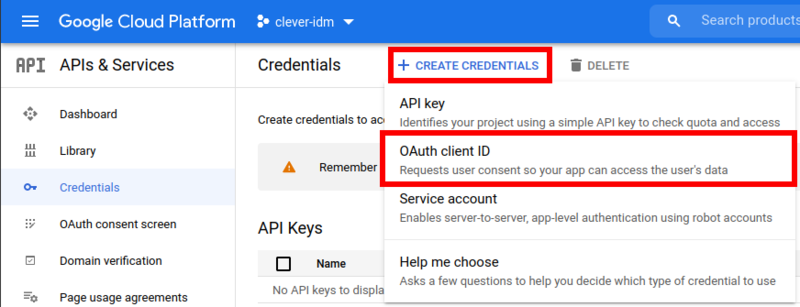
- Hover over APIs & Services and select Credentials.

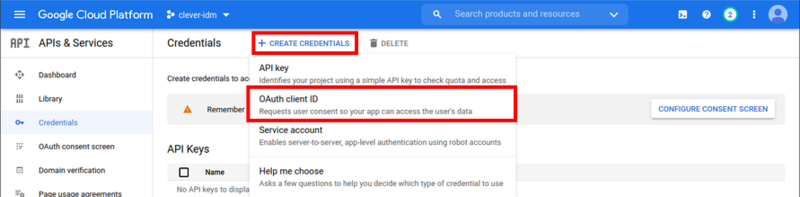
- Select Create Credentials and click OAuth Client ID.
- Select Configure Consent Screen.
Note: If you do not see this screen, skip to Step 16.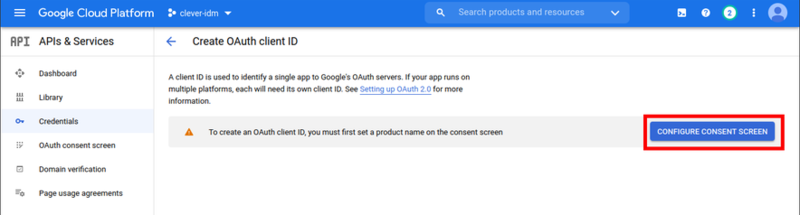
- Select Internal and click Create.

- Enter an Application Name and User Support Email address.
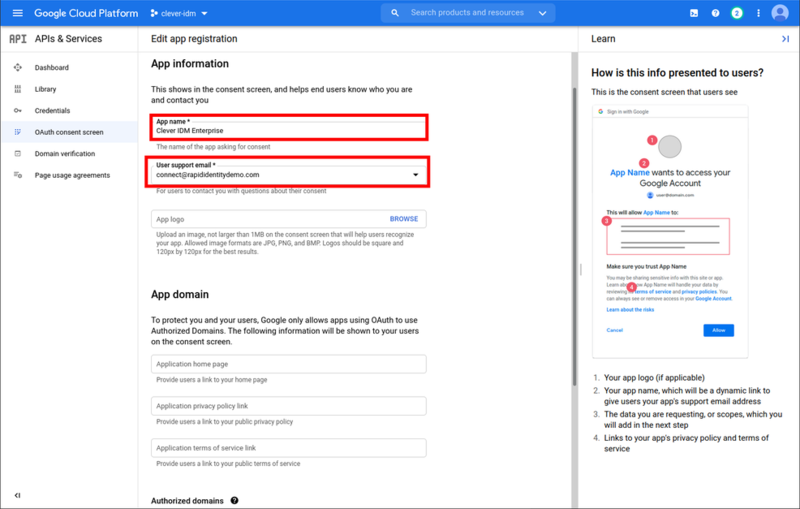
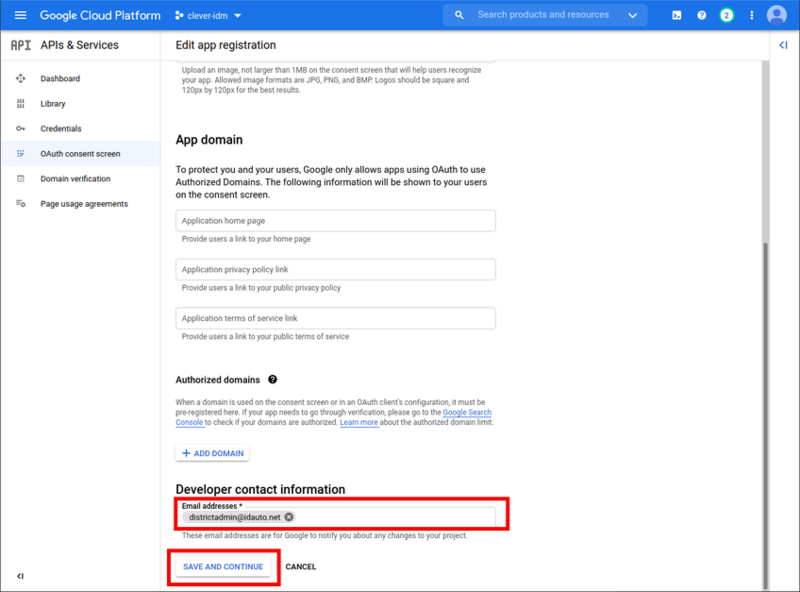
- Enter in the Developer Contact information, then click Save and Continue.
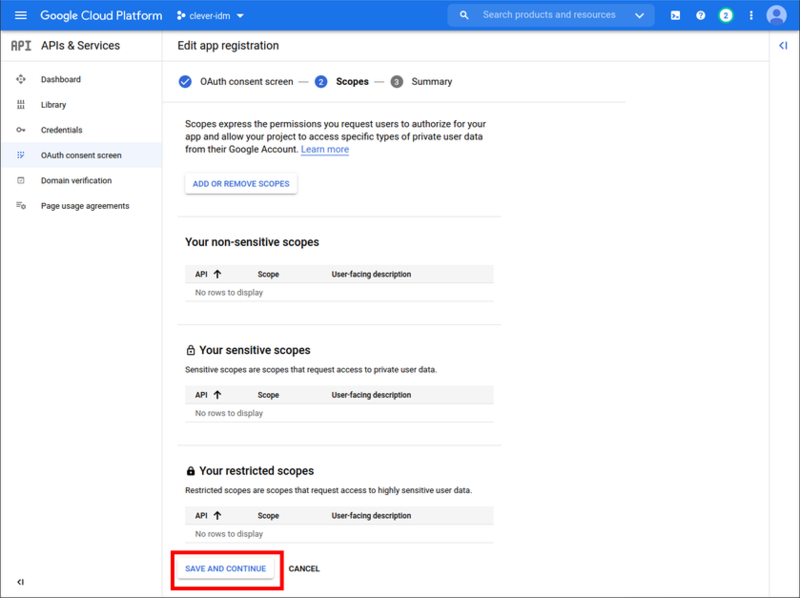
- Click Save and Continue on Scopes.
- Select Credentials from the left menu.

- Select Create Credentials and click OAuth Client ID.
- Choose Web Application, enter a Name, and click Create.
Note: Ensure the Organizational Site URL is always presented in the following format in the Consent Screen and Web application details:- https://
- Enter the redirect URI as follows:
- https://
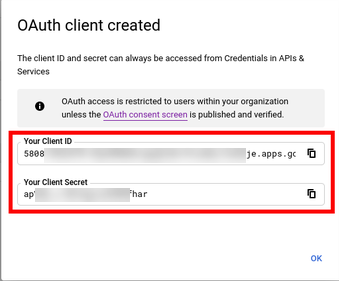
- Save the Client ID and Secret, as these will be needed for Policy Configuration later.


Was this article helpful?