Identity Bridge: Quick Start Guide
This guide will walk you through the process of creating a connection between RapidIdentity and your local resources using Identity Bridge.
RapidIdentity Identity Bridge leverages the chisel open source technology by jpillora to create a secure TCP/UDP tunnel between on premise resources and RapidIdentity Cloud. As an open source networking tool, some malware programs have also leveraged jpillora/chisel and, as a result, several antivirus solutions have falsely labeled it and all software programs using it as also being malware.
To avoid any unnecessary disruption in service, customers should configure their windows and network antivirus and intrusion prevention programs to exclude the chisel.exe file in the /Identity Automation/Identity Bridge Agent/ folder and the Bridge Host URL that is associated with each configured bridge.
Important
An Administrator assigned the "Tenant Admin" role in the RapidIdentity Portal is required to access Identity Bridge configuration options.
There are four main steps to set up a new bridge:
- Configure the Identity Bridge Agent settings in RapidIdentity.
- Download and Install .NET 8.0 framework from Microsoft (ASP.NET Core Runtime and .NET Desktop Runtime).
- Install the Identity Bridge Agent Service on the local server.
- Add a bridge in RapidIdentity to provide access to an on-premise resource.
System Requirements
To install and run the Identity Bridge agent on a Windows server, you must have the following specifications available:
Identity Bridge System Requirements
System Element | Requirement |
CPU | 1.4GHz |
Memory | 2GB |
HDD | 10GB |
Network | 10Mbps (Tested down to 1Mbps) |
OS | Windows Server 2016 or higher |
| .NET 8.0 | ASP.NET Core and .NET Desktop Runtime |
Configure the Identity Bridge Agent Settings in RapidIdentity
- From the Configuration module, select Identity Bridge from the Systems menu.
- Click Add Agent + either in the workspace or the upper right-hand action button.

- In the General Settings section, enter a Name and Description for the bridge.
- Select Enable Proxy to allow the configuration of the internet proxy connections if required by the local system service to connect to the internet.
- Click Save.
- Copy the Registration Code that appears in the information box at the top of the General Settings screen.
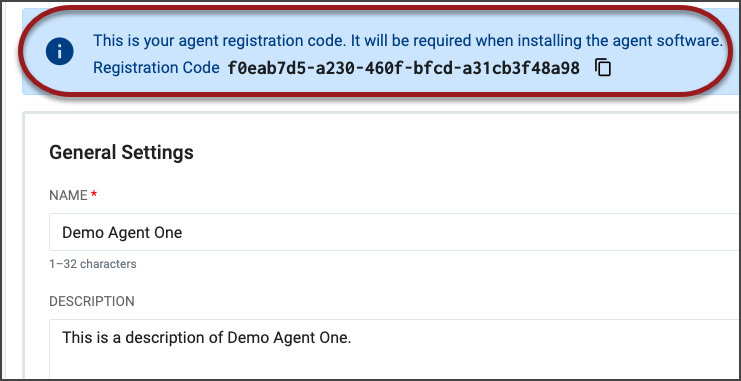
Important: This code is required when installing the agent software.
Download and Install .NET 8.0 framework from Microsoft
The on-premise server must support the .NET 8 framework before installing the Identity Bridge Agent. Follow the instructions below to download and install .NET 8 from Microsoft which includes both the ASP.NET Core Runtime and the .Net Desktop Runtime.
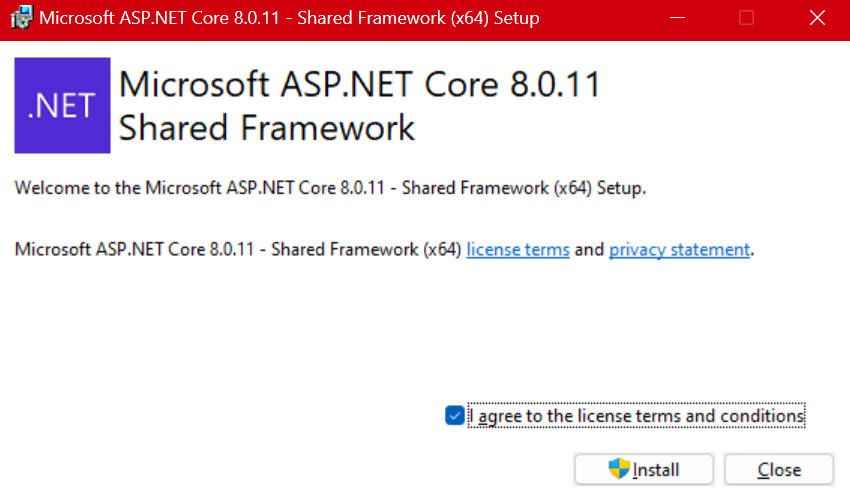
- ASP.NET Core Runtime
- From the local server go to the Microsoft .NET download page.
- Download and run the ASP.NET Core Runtime x64 installer.
- Once you agree to the license terms and conditions, click "Install"
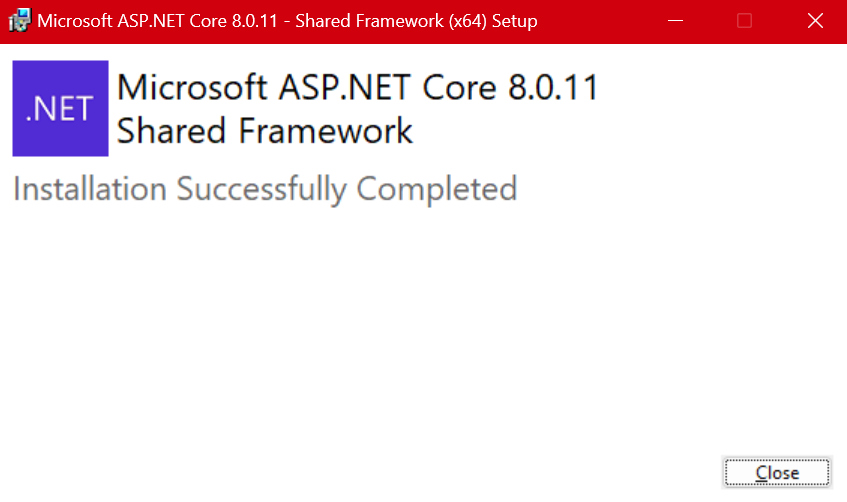
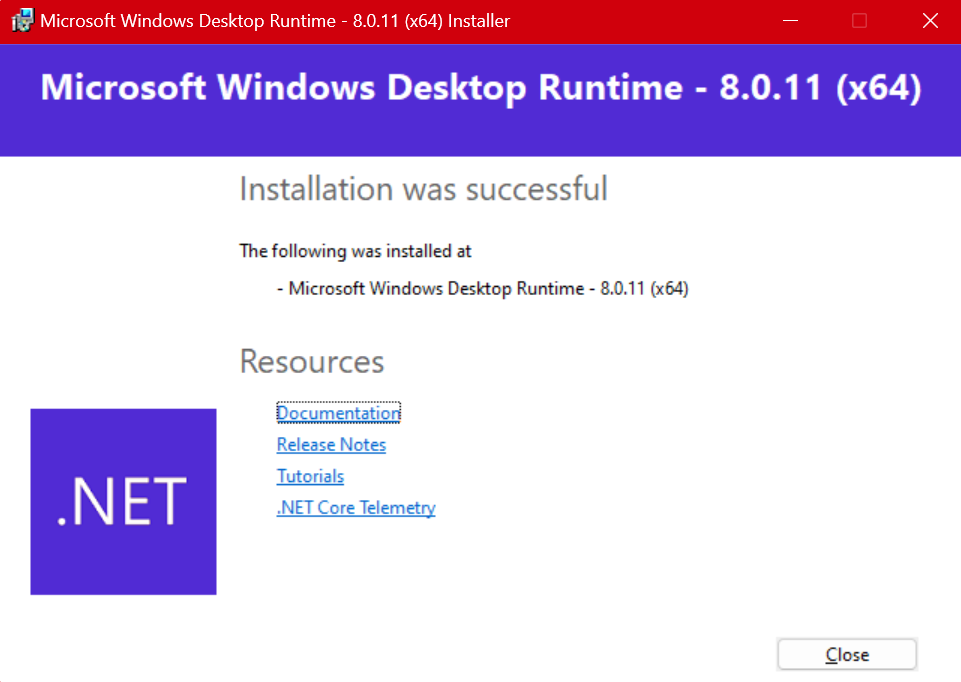
- After the install completes you will receive confirmation that the install was successfully completed.
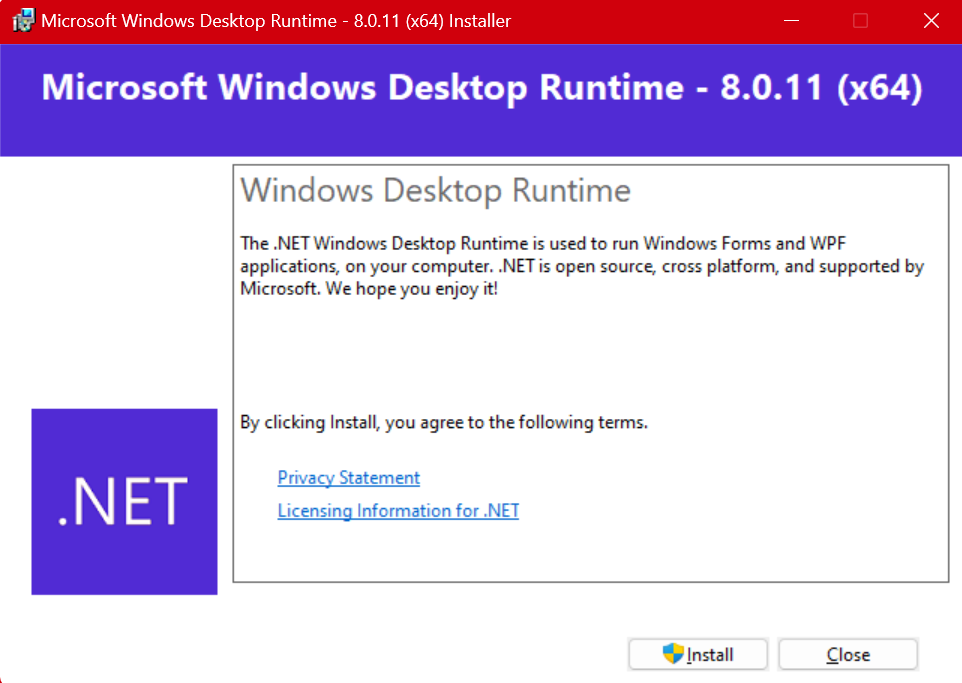
- .NET Desktop Runtime
- Download and run the .NET Desktop Runtime x64 installer.
- Click "Install"
c. You will receive confirmation when the install is complete.
Install the Identity Bridge Agent Service on the Local Server
In Addition, we recommend that best practices for administering a Windows Member server are applied.
This should include but are not limited to:
- Restricting local & remote access to only administrators of the solution
- Using firewalls on the computer to limit communication inbound/outbound only to necessary components
- Apply machine intrusion detection & prevention solutions to prevent file tampering.
- Capture and review the audit logs on the computer and look for sensitive events.
- From the Configuration module, select Identity Bridge from the Systems menu.
- Next, we need to download the Identity Bridge Agent. There are a series of locations where this installer can be found:
- The installer can be downloaded via Files -> Product Software Bundles -> Identity Bridge -> 2024.10.1 -> IdentityBridgeAgent_2024.10.1.exe
- You can also download the Installer via the link below.
3. Locate the download on the local server and run IdentityBridgeAgent.exe.
4. The Identity Bridge Agent Setup Wizard will launch.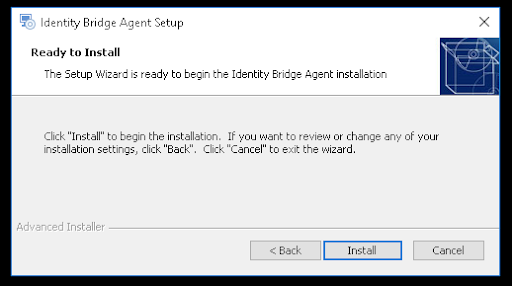
5. Click Install.
6. In Tenant Information, enter the Tenant URL and Registration Code. The Registration Code will match the code provided in Step 5 of the "Configure the Identity Bridge Agent Settings in RapidIdentity" section. Please note: It is not recommended to use the Vanity URL for this step.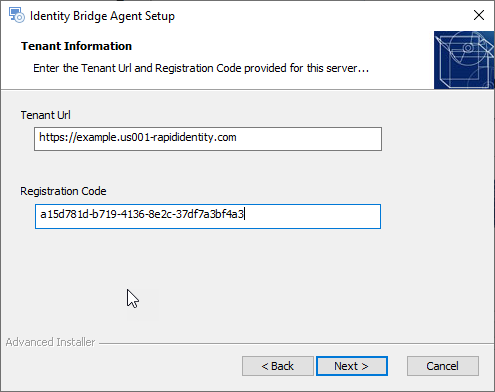
7. Click Next.
8. Click Finish.
Note: The connection should now be established with the RapidIdentity Identity Bridge Agent.
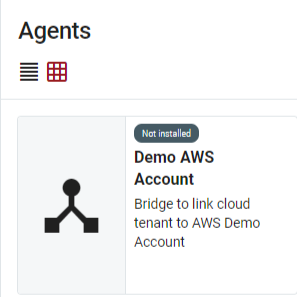
9. Return to the Identity Bridge section in the Configuration Module. The newly added Agent tile in the workspace will display the connection status.
10. If a "Heartbeat" status was returned, the connection is successful.
Add a Bridge in RapidIdentity to Provide Access to an On-premise Resource
- From the Configuration module, select Identity Bridge from the Systems menu.
- Click Details from the recently added agent tile.
- In the Agent Details, scroll down to the Bridges section. After the Agent has been successfully installed, the option to Add Bridge is now available.
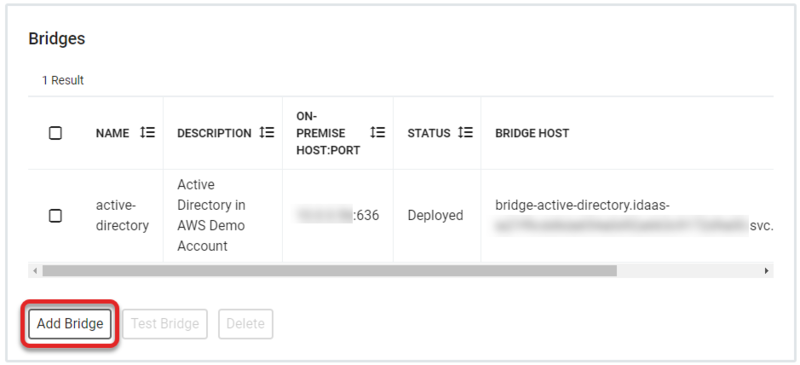
- Click Add Bridge and enter the Name, On-Premise Host IP address, and On-Premise Port information in the Add Bridge details.
Example: If I am trying to connect to an Active Directory DC with an IP Address of 1.2.3.4 on port 636, then I would use the following settings when adding the bridge: Name: active-directory. On-Premise Host/IP: 1.2.3.4. On-Premise Port: 636.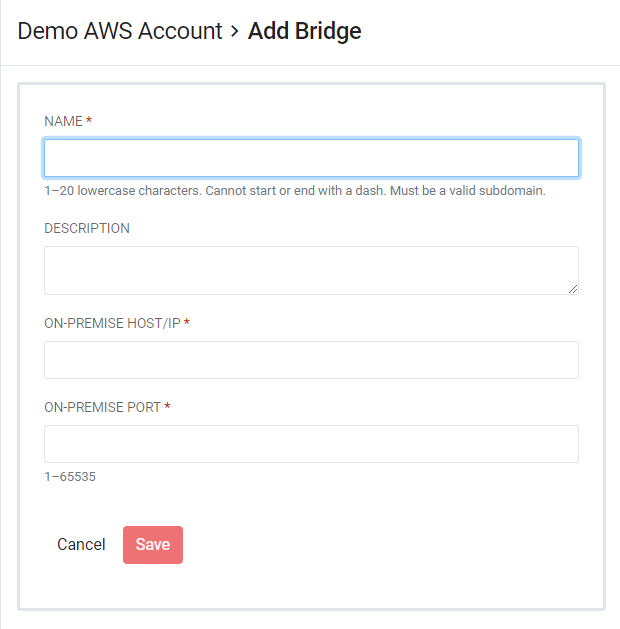
- The On-Premise Host IP address and the On-Premise Port information are from the system on which the Agent is being installed. For example, if the service being bridged is a database that is accessible from the Agent server as "database.local" on "port 5432," then choose those values.
- Click Save.
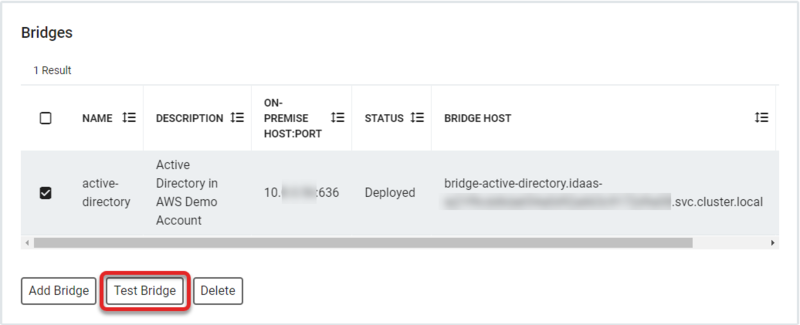
- The ability to test or delete the bridge will become available after the bridge is successfully deployed. There are several available statuses:
- Deploying: Initial status when the bridge is first saved
- Deployed: The status after the bridge is successfully deployed
- Destroying: The status while the bridge is being removed from the list
- After the bridge has been successfully deployed, select the bridge from the Bridges list and click Test Bridge.
- The successfully created bridge will register the configuration information in the Test window.