ISAPI Filter Configurations for SSO
Overview
ISAPI filters are DLL files that can be used to modify and enhance the functionality provided by IIS. ISAPI filters always run on an IIS server, filtering every request until they find one they need to process. The ability to examine and modify both incoming and outgoing streams of data make ISAPI filters powerful and flexible. A filter listens to all requests to the site on which it is installed.
There are some internal sites at organizations that require basic auth credentials for authentication. With an ISAPI Filter, once a User is logged into RapidIdentity, credentials can be automatically passed to these internal sites to enable SSO. Previously, the Enboard product provided this functionality through an ISAPI filter that lived in the on-prem IIS web server that handles redirection to the intended application after an authentication event. The proposed solution presented here will emulate that behavior with RapidIdentity as the SSO agent, replacing the Enboard system.
Prerequisites
- Required .NET 6.0 framework or higher.
- Required Internet Information Services (IIS) with ISAPI Filters module, Basic Authentication.
- RapidIdentity User should sync with Active Directory(AD).
- Configure Service Identity Key with Authentication API Consumer role on RapidIdentity.
-
Install .NET 6.0 framework or higher
Download & Install through this link .NET 6.0 framework (x64) on the windows server. -
Install Internet Information Services (IIS) with ISAPI Filters module enabled.
- On the taskbar, click on the Server Manager.
- In Server Manager, click the Manage menu, and then click on the Add Roles and Features.
- In the Add Roles and Features wizard, click on the Next. Select the installation type and click Next. Select the destination server and click on the Next.
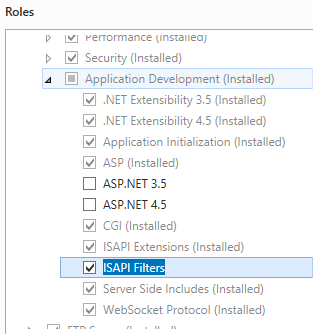
- On the Server Roles page, expand Web Server (IIS), expand Web Server, expand Application Development, and then select ISAPI Filters.
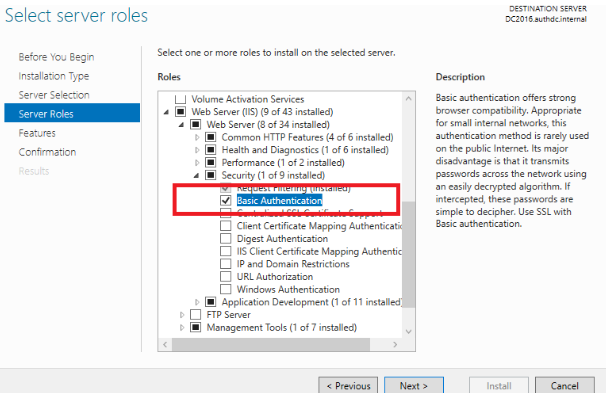
- On the Server Roles page, expand Web Server (IIS), expand Web Server, expand Security, and then select Basic Authentication. Click Next.
- On the Select features page, click on the Next.
- On the Confirm installation selections page, click on the Install.
- On the Results page, click on the Close.
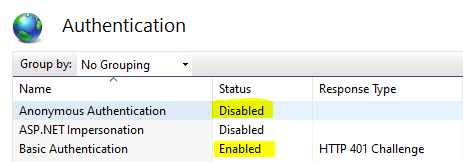
- Enable Basic Authentication & Disable Anonymous Authentication
-
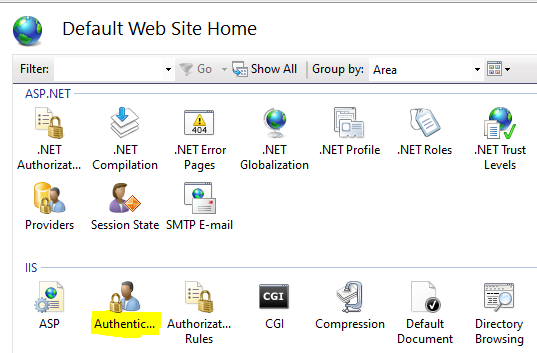
Press Win+R and type inetmgr. On IIS Server> Sites> Double Click on Default Web Site > Double Click Authentication
-
Right Click on Basic Authentication and then click on the Enable.
-
Right Click on Anonymous Authentication and then click on the Disable.
-
-
To sync RapidIdentity User with Active Directory(AD) follow Sync Idaas tenant user with Active Directory steps.
-
Service Identity must exists and it should have key with Authentication API Consumer role as shown in below screenshot.
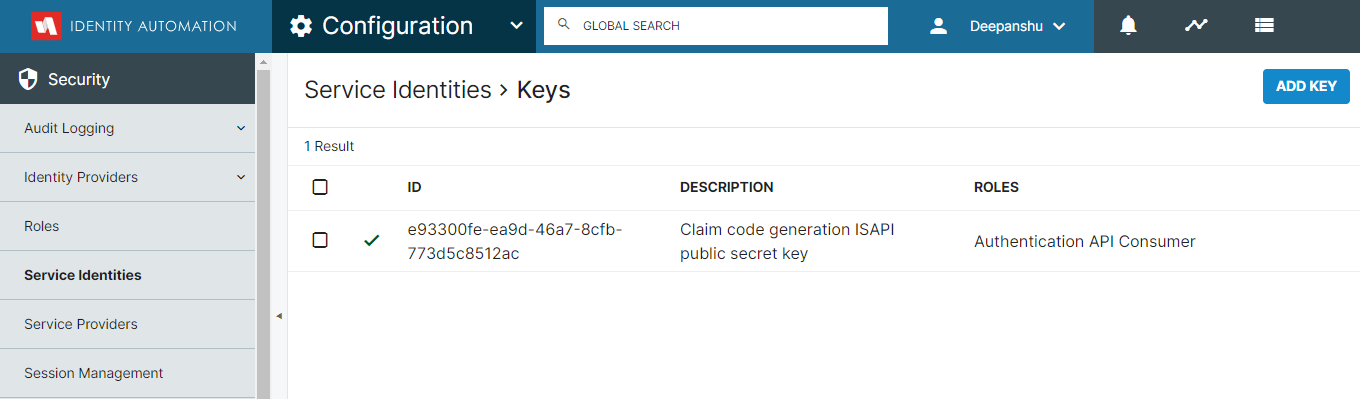
- For configuring secret key for ISAPI a user must login with Grant Support Access.
- Secret key must be active.
Configuration steps:
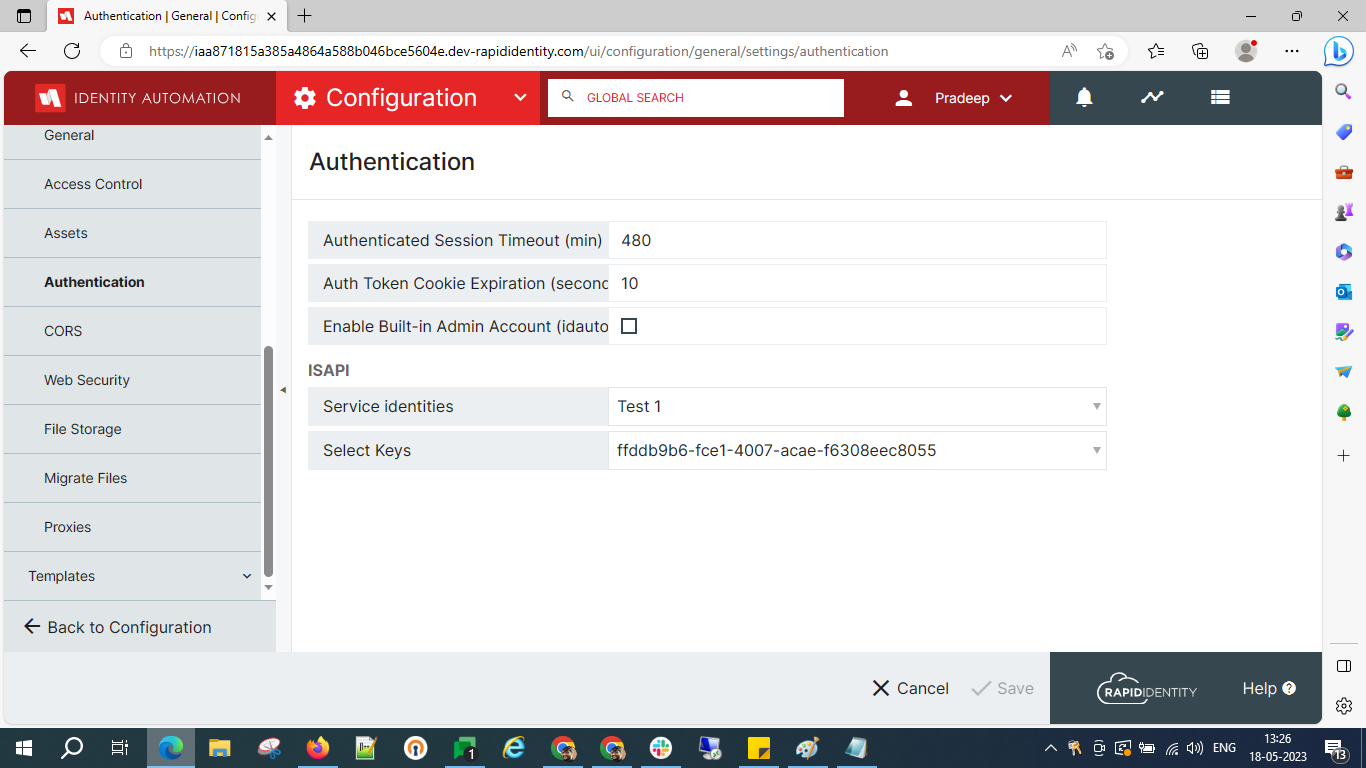
Step 1 : Go to Configuration >> General >> Settings >> Authentication module.
Step 2 : For ISAPI select Service Identities and Secret Keys which will be used for ISAPI requests, as shown in below screenshot.
ISAPI Filter Installation Steps
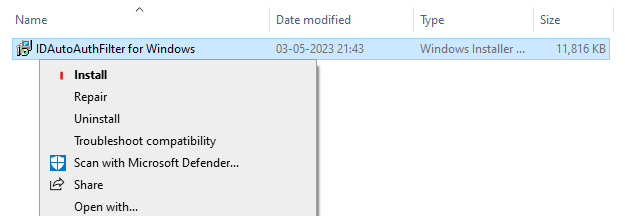
- Login to the Server machine as Administrator user, locate the Windows IDAutoAuthFilter installer.
- Right click on the installer file and Click on the install.
-
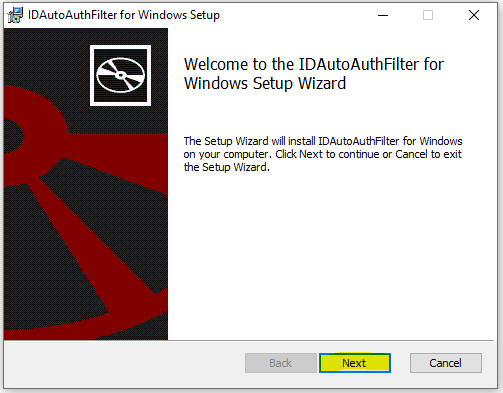
Click on the Next button.

-
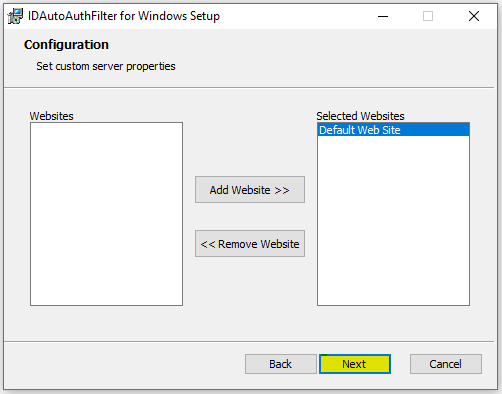
Select Single or multiple websites from the left panel on which we need to enable ISAPI filter as below and click on the Next button.
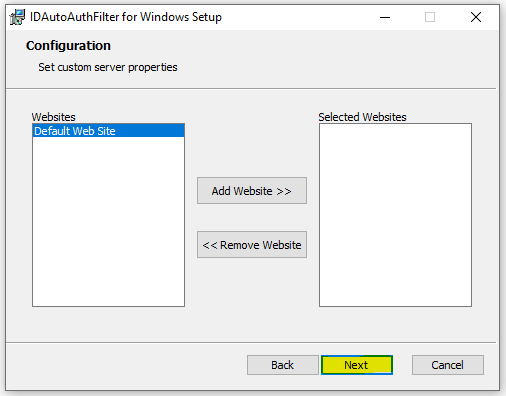
Now selected website(s) will be shown on right panel then click on the Next button.

- Enter Cookie Domain, Tenant Name and API Key and click on the Next button.
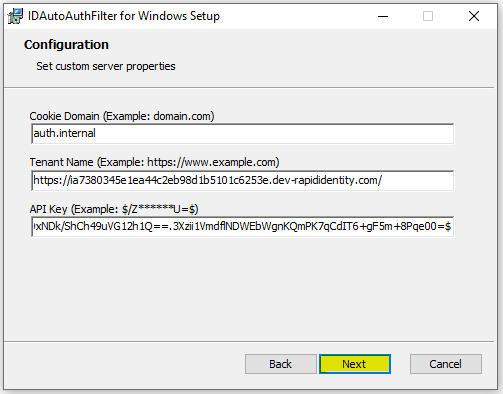
- Cookie Domain: Enter Cookie Domain Name
- Tenant Name: Enter Tenant Name
- API Key: Enter Tenant Secret API Key
-
Click on the Next button
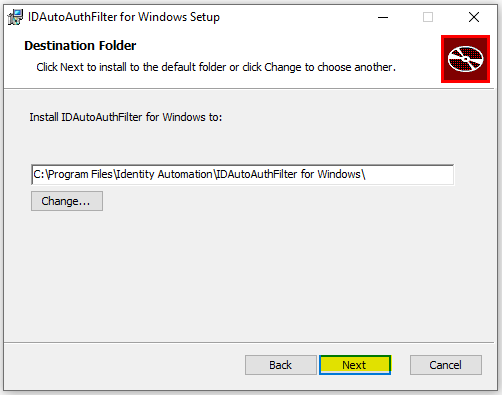
-
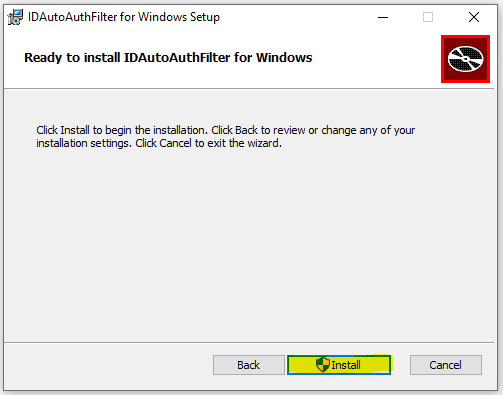
Now Click on the Install button

-
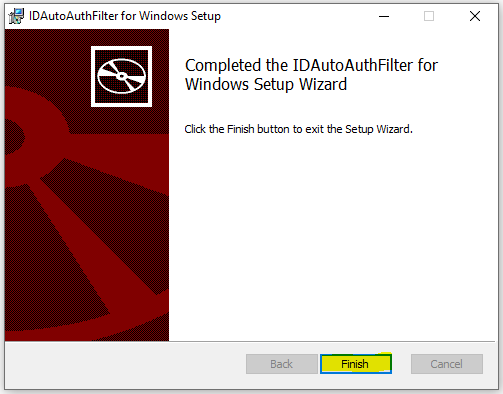
Now Click on the Finish button and Installer window will be closed.

-
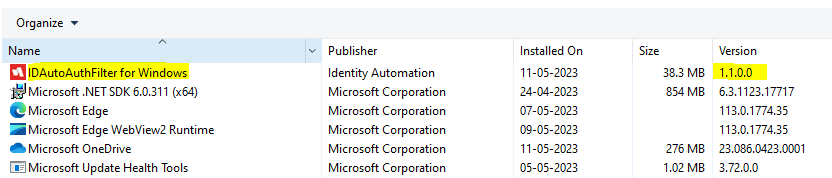
Open Control panel> Programs> Uninstall a program ISAPI Filter will be shown as IDAutoAuthFilter for Windows.

-
Open Server Manager> Tools > Internet Information Services (IIS) Manager. Alternatively Press Win+R and type inetmgr.
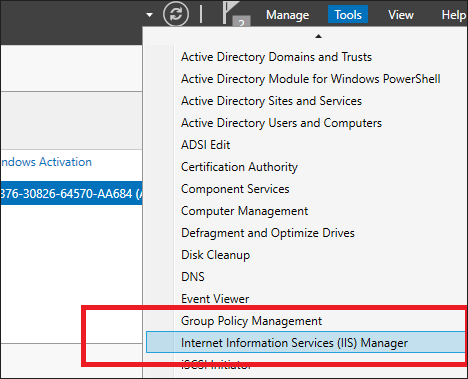
-
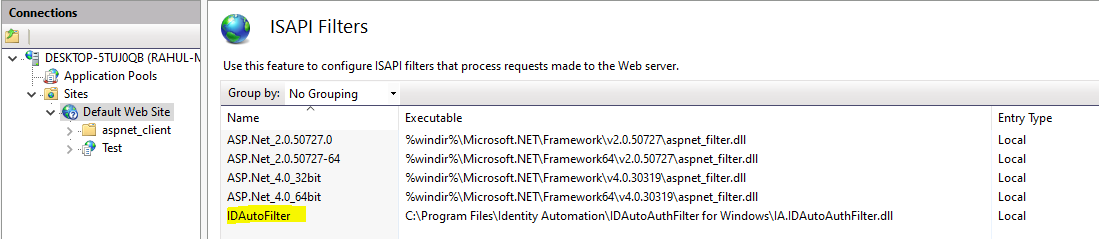
On IIS Server> Sites> Double Click on Default Web Site > Double Click ISAPI Filters
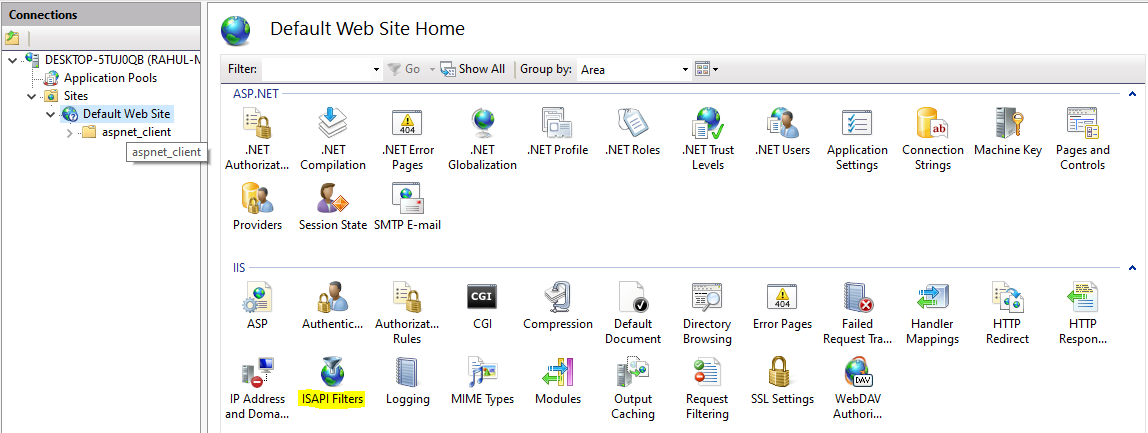
-
ISAPI Filter will be shown as IDAutoFilter and it is configured.
-
To change the Secret API Key, Follow the steps given below.
- Open Installer Location Example: C:\Program Files\Identity Automation\IDAutoAuthFilter for Windows.
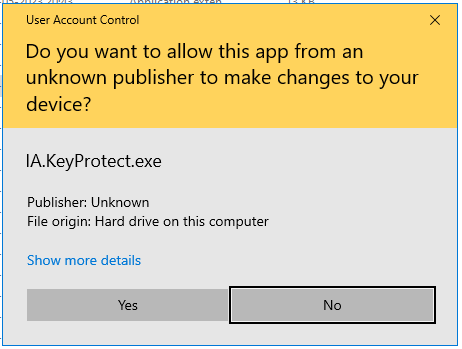
- Double Click on IA.KeyProtect
- Click Yes.
-
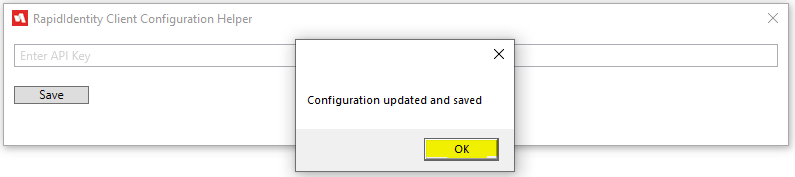
Enter Secret API Key and Click on the Save button.

-
Click on the OK button.
-
To change the Cookie Expiration Time, Follow the steps given below.
-
Press Win+R and type regedit then click on the OK button.
-
Open Computer>HKEY_LOCAL_MACHINE>SOFTWARE>Identity Automation>InstalledProducts>IDAutoAuthFilter for Windows
-
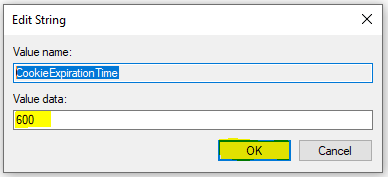
Double Click on CookieExpirationTime

-
Change value data to updated value then click on the Ok button.
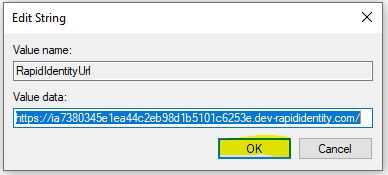
- To change the Tenant Name, Follow the steps given below.
-
Press Win+R and type regedit then click on the OK button.
-
Open Computer > HKEY_LOCAL_MACHINE > SOFTWARE >Identity Automation>InstalledProducts>IDAutoAuthFilter for Windows
-
Double Click on RapidIdentityUrl

-
Change value data to updated value then click on the Ok button.
ISAPI Filter Silent Installation
- Open command prompt as Administrator user.
- And run the below command.
- msiexec.exe /i "Path:\ IDAutoAuthFilter for Windows.msi" /quiet /passive DOMAIN=
SERVER_URL= APIKEY= SELECTED_WEBSITES=
Example for Single Website:
msiexec.exe /i "C:\IDAutoAuthFilter for Windows.msi" /quiet /passive DOMAIN="domain.com" SERVER_URL="https://example.com" APIKEY="" SELECTED_WEBSITES="Default Web Site"
Example for Multiple Website:
msiexec.exe /i "C:\IDAutoAuthFilter for Windows.msi" /quiet /passive DOMAIN="domain.com" SERVER_URL="https://example.com" APIKEY="" SELECTED_WEBSITES="Website1,Website2"
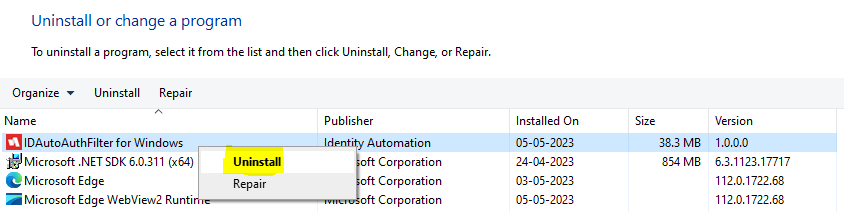
ISAPI Filter Uninstallation Steps
Note: The Configured ISAPI Filter will be deleted on selected websites when application is uninstalled. Ensure that logged into the workstation as an Administrative account with permissions to install/uninstall applications.
Open Control panel> Programs> Uninstall a program Right click on IDAutoAuthFilter for windows and click Uninstall.
ISAPI Filter Upgradation Steps
-
Login to the Server machine as Administrator user, locate the Windows IDAutoAuthFilter installer.
-
Right click on the installer file and click on the Install.

-
Click on the Next button
-
Click on the Next button.
-
Click on the Next button.

-
Click on the Next button.

-
Now click on the Install button.
-
Now click on the Finish button and Installer window will be closed.
-
Open Control panel> Programs> Uninstall a program ISAPI Filter will be shown as IDAutoAuthFilter for Windows.
ISAPI Filter Silent Upgrade
- Open command prompt as Administrator User.
- The Run the below command.
- msiexec.exe /i "Path:\IDAutoAuthFilter for Windows.msi" /quiet /passive
Example
msiexec.exe /i "C:\IDAutoAuthFilter for Windows.msi" /quiet /passive