Password Filter Installation
Password filters are used to enforce password policies as configured via Microsoft API. To our knowledge, every third party application that synchronizes passwords from Active Directory to another set of foreign accounts uses this Password Filter API to capture password changes.
The process for installing a password filter on a RapidIdentity system has two parts:
Update Active Directory Schema
This part is only done on one domain controller, and the installer will need to be run with an account that is a member of the both the Schema Admins and Domain Admins groups in Active Directory.
-
Download the Password Filter Installer file adpwfilterx86-64-latest-msi
-
Run the installer as an Administrator.
-
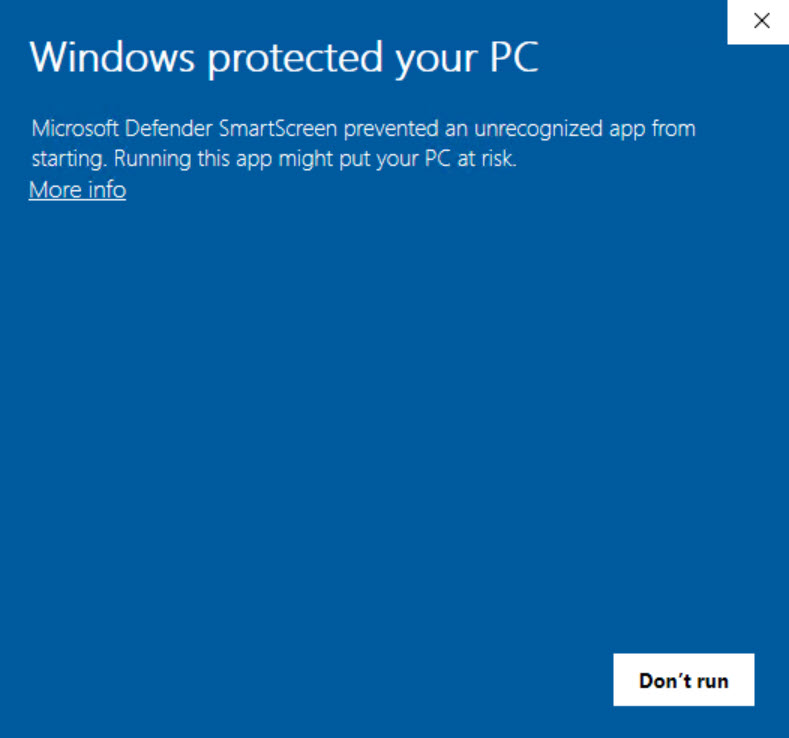
If you receive a message that Windows has protected your PC, click More Info.
-
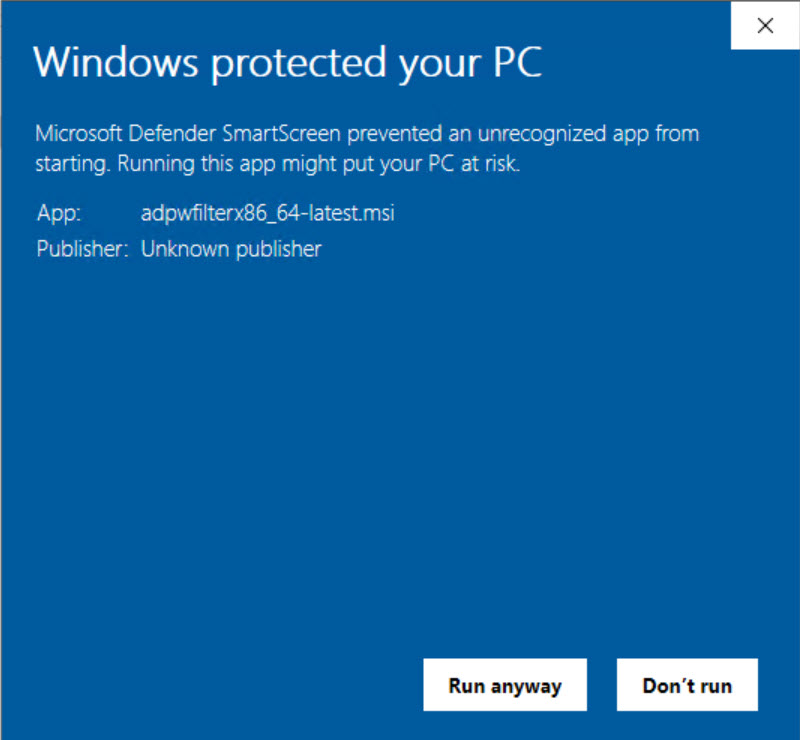
On the next screen, click Run Anyway.
-
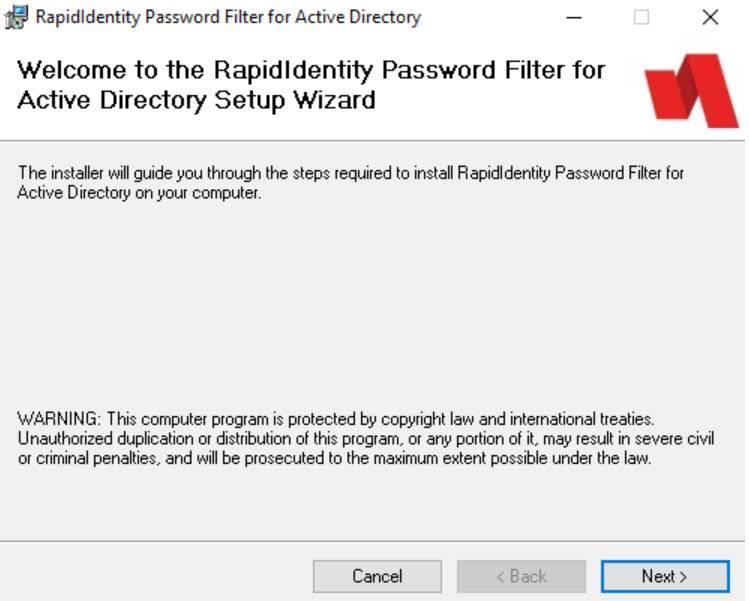
When the installer comes up, click Next.
-
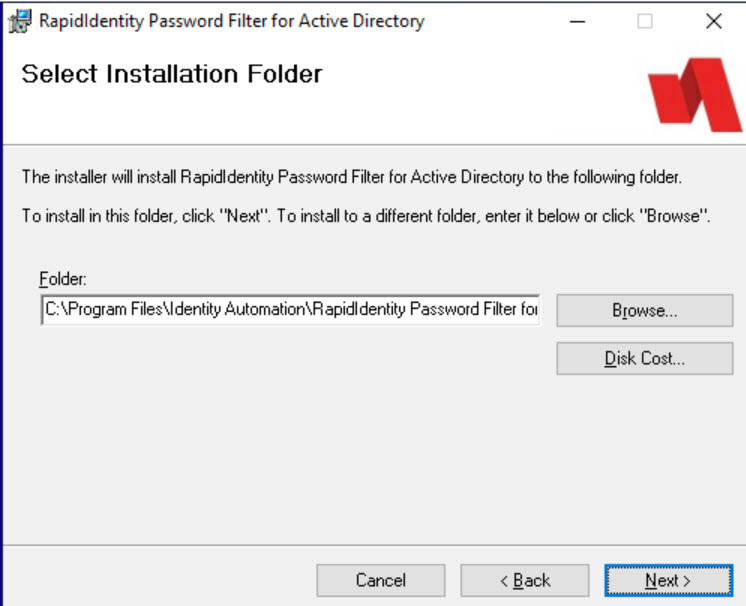
Select the Installation folder and click Next. Most districts will accept the default location.
-
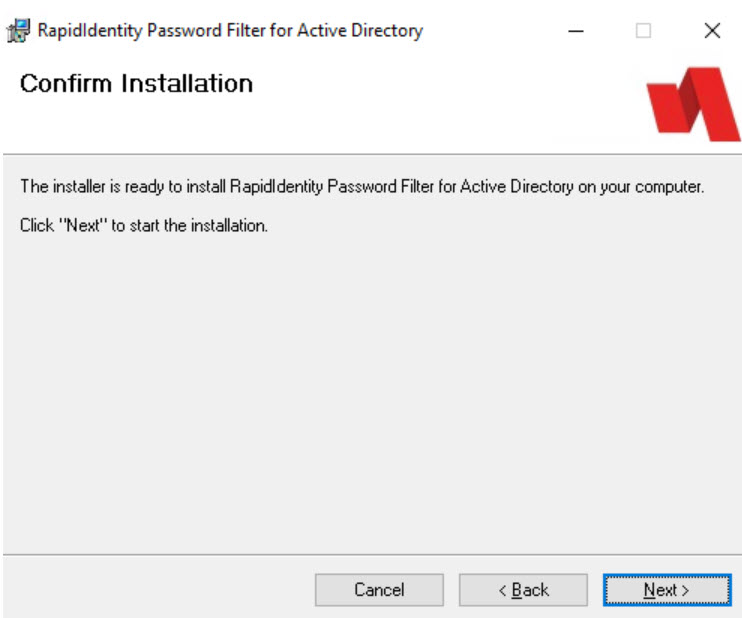
Click Next to confirm installation.
-
A progress bar will pop up and track the progress of your installation. At the end, you may receive a message that asks if you want to allow an app from un unknown publisher to make changes to your device. Click Yes.
-
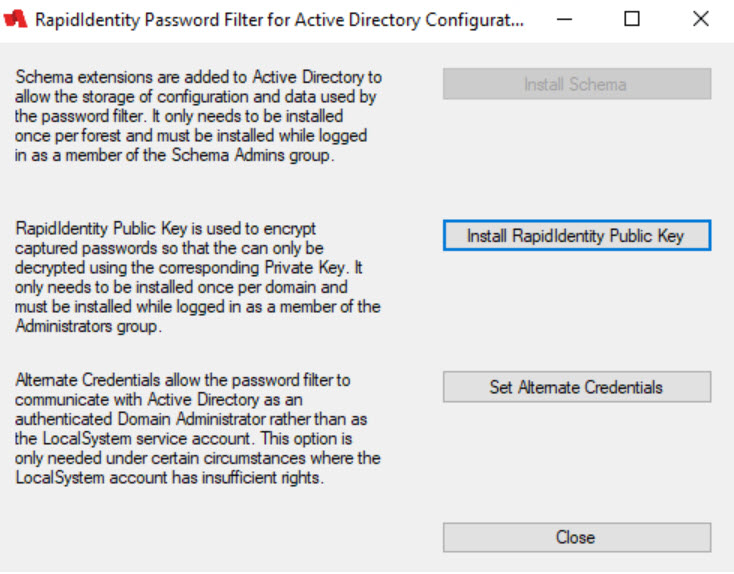
When the next screen appears, click Install Schema. Once this completes, a message will appear confirming Schema extended.

-
Next, install the RapidIdentity Public Key. This is used to encrypt captured passwords so that they can only be decrypted using this key, and only applies once per domain.
-
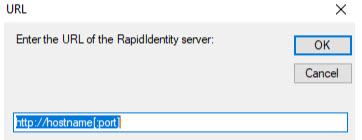
Enter your district's tenant URL (e.g., https://yourdistrict.rapididentity.com) and click OK. Once this completes, a message will appear confirming RapidIdentity Public Key Installed.
-
Click Close to close the RapidIdentity Password Filter for Active Directory Configuration. You will then be taken back to the main installer and should see a screen that says Installation Complete.
-
Click Close to close the installer.
-
When the installer closes, a message will appear asking whether you would like to restart your system now. Click Yes.
Install the Agent on each Domain Controller
The second part of this process installs the agent on each domain controller. When installing the password filter, it will need to be installed on all writeable Active Directory domain controllers. After the installer completes on each domain controller, that domain controller will need to be restarted before the changes take effect.
Install the software on any domain controllers (cannot be read-only). Reboot each domain controller once the installation has completed. Install Schema will be deactivated, as it has already been installed.
- Once the first domain controller has been updated with the schema and key, all that is needed for other writeable domain controllers is to install the .msi file from Step 1 of Part 1.
- The installation wizard will fill in existing defaults that can be changed if desired, but generally defaults can be accepted throughout the wizard until completed.
- Reboot the domain controller for the changes to take effect.