RapidIdentity supports multiple languages via Changing Languages within the browser and a localization file within Configuration. RapidIdentity maintains the Spanish files and provides support for customers to generate additional language files.
RapidIdentity will utilize the language selected in the user's web browser once the appropriate locale files are loaded. To set the preferred language in the web browser:
For Spanish Language Support
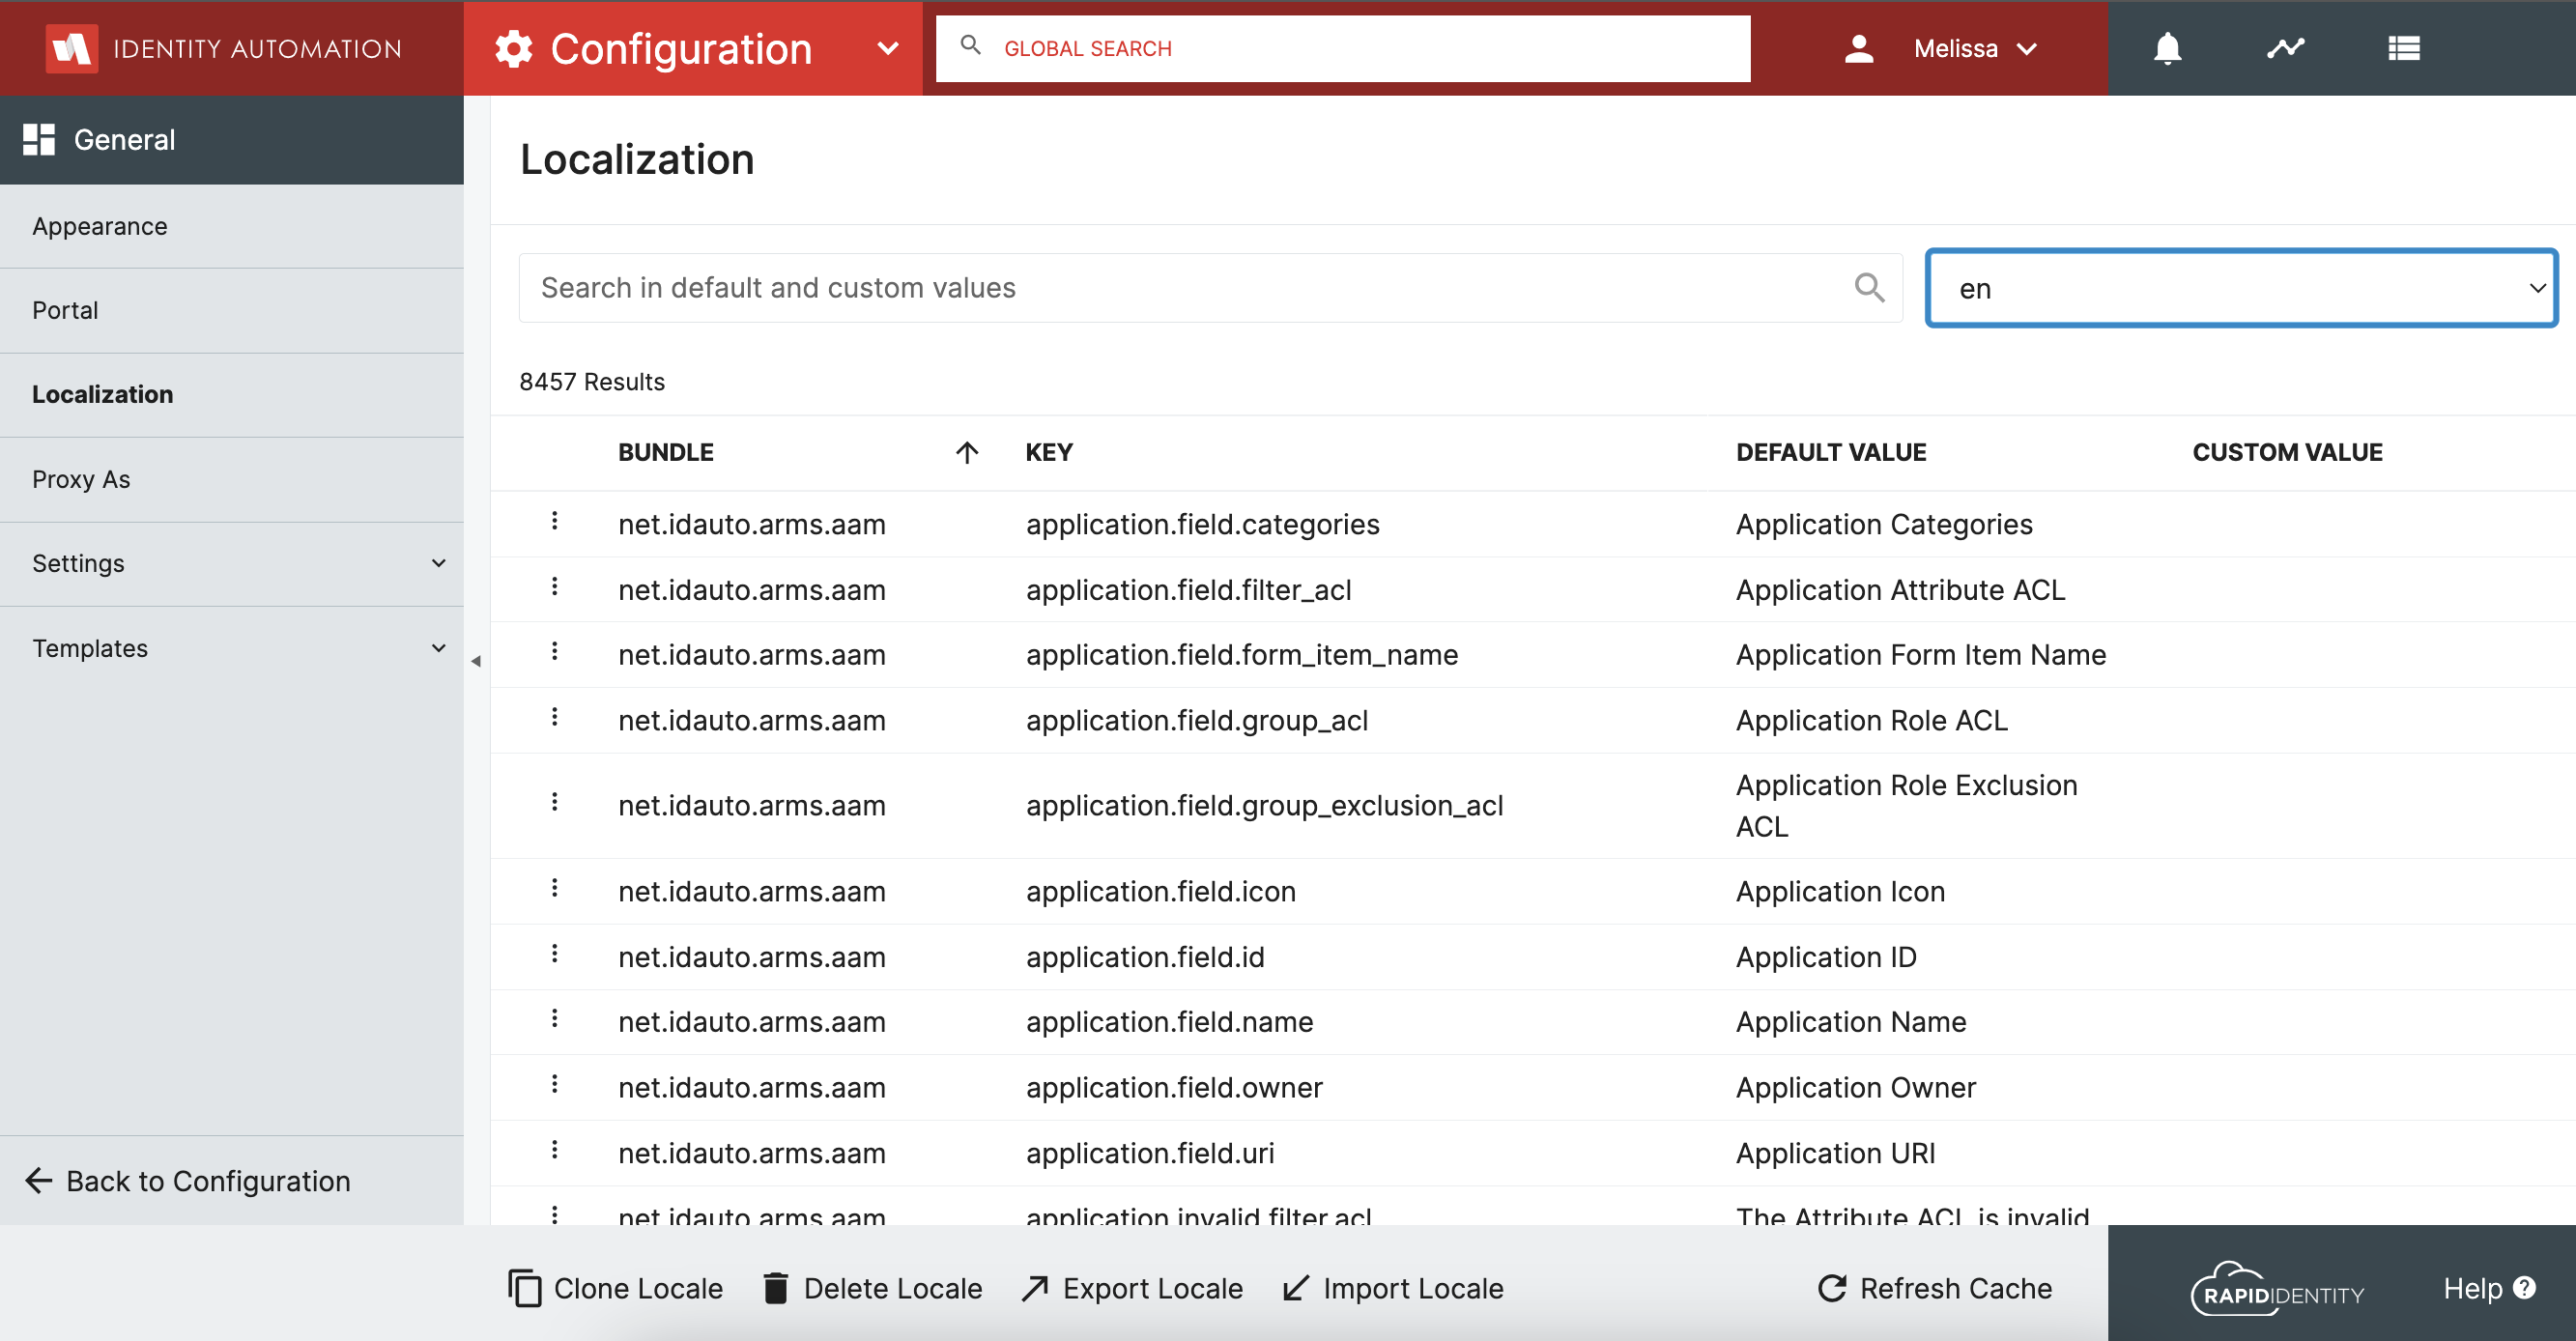
Access RapidIdentity Localization by going to Configuration -> General -> Localization

Click on Import Locale in the bottom menu bar

Download and Select the below File
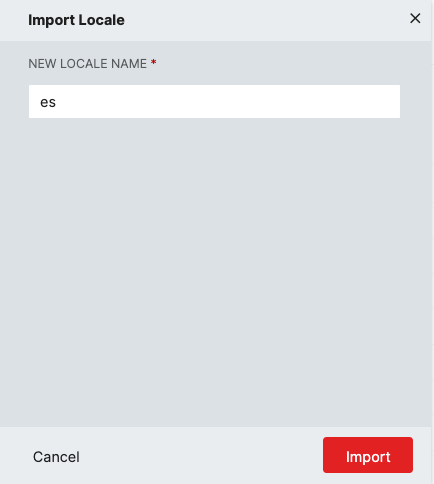
Name the new locale es and click Import

Click on Refresh Cache

For Additional Language Support
Access RapidIdentity Localization by going to Configuration -> General -> Localization

Download the below file to build your new Locale file
Open the .csv file and you will want to translate the word in column C to your new language and put the translated values in column D. Ignore the first row as that is your header. Below is a snippet of the file from the Spanish Locale File for an example.

When your .csv file is complete please save it as a .csv file
Access RapidIdentity Localization by going to Configuration -> General -> Localization

Click on Import Locale in the bottom menu bar

Select your .csv file you saved above.
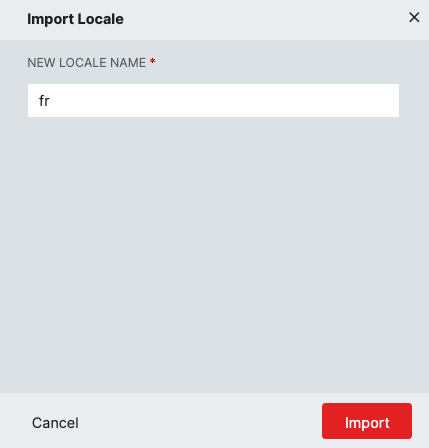
Name your new Locale to match the browser locale code you are importing (see list here). For example fr for French.

Note:
Standardization on browser locale codes can be hit or miss on both acceptance and usage. It is a good practice to load your site in all browsers used by your end users and check the network log in your browsers dev tools for the Accept-Language header. The Accept-Language header is used to match your browsers requested language to the file created via the instructions above and needs to match 1 to 1. As an example were you to add french as a desired language in your browser your browser would pass “Accept-Language: fr” and if you have more than one language in your browser settings would send something like “Accept-Language: fr;q=0.9,en-US;q=0.8” where q=x.x denotes the priority. Particular issues have arisen using unsupported browsers like Edge where (at least on Edge version 131.0.2903.86) sends an outdated or invalid locale code for some locations, Norwegian for instance has an accepted language and area combo of nb-NO in chrome but edge only sends nb so a separate file needs to be generated to allow both browsers to see the translation.
Click on Refresh Cache
