Synchronizing Data with Incident IQ
Identity Automation provides two different methods for synchronizing RapidIdentity Account information including Identity Data and Roster Data with Incident IQ. Either method can be used individually or they can both be used together depending on your institution's specific needs.
-
Identity Data references information about all users in the institution including contractual and temporary users and is typically sourced from other systems than the Student Information System. Identity Data includes information such as Group Memberships, Affiliations, Responsibilities, Authorizations etc.
-
Roster Data references information about students and teaching staff in relation to their enrollments in courses and classes. Roster Data is primarily sourced from the Student Information System.
Integrating Identity Data in Real-time with Incident IQ
To integrate identity data in real-time with Incident IQ, download and install the IncidentIQ Connect Project into RapidIdentity Connect.
The IncidentIQ Connect Project and following instructions provide real-time data integration between RapidIdentity and IncidentIQ however, districts with a large amount of users, groups and/or group memberships will exceed it's ability to return that information in real-time.
When integrating a large amount of users, groups and/or group memberships please use the IncidentIQ_Batch Connect Project instead.
Instructions for installing the IncidentIQ_Batch Connect Project can be found here
Install the IncidentIQ Project
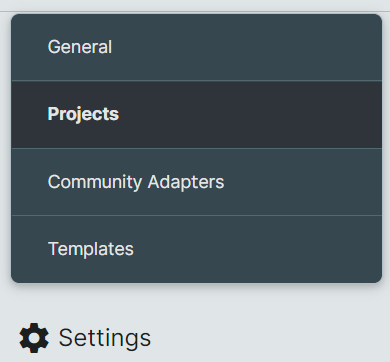
To install the IncidentIQ Connect Project, navigate to the Connect Module in RapidIdentity Portal, click the Settings icon from the right-side navigation menu and select Projects.
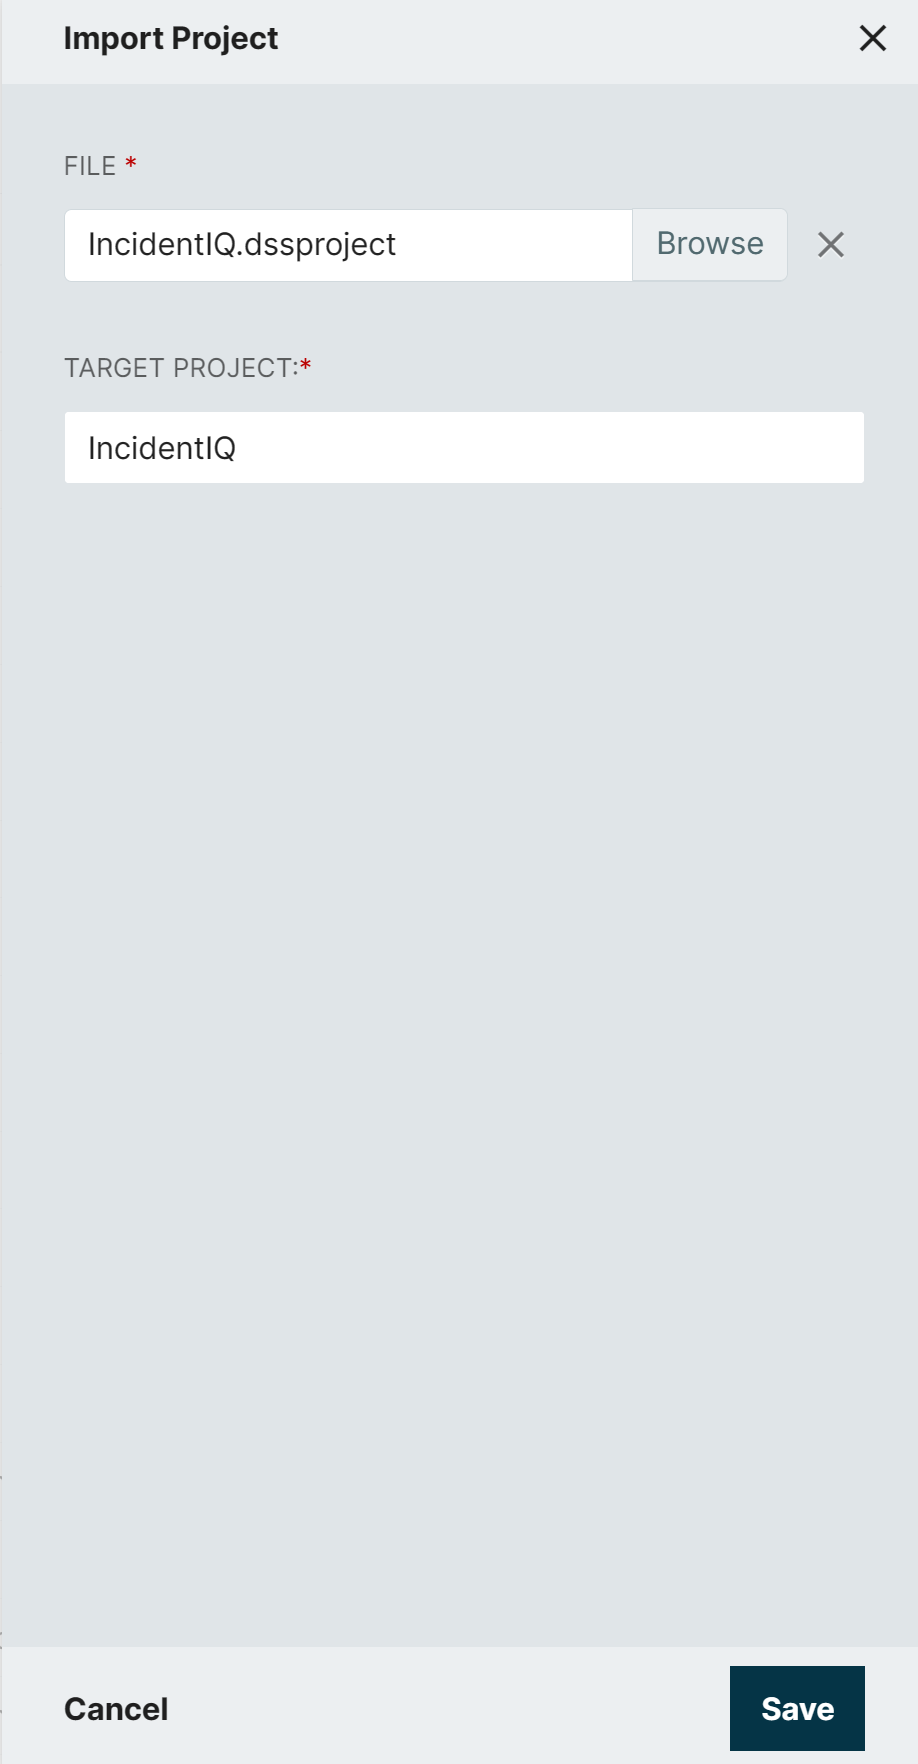
Click the Import command from the bottom command menu, browse for the downloaded IncidentIQ.dssproject file on your computer. Click Save to import the IncidentIQ project into Connect.
The IncidentIQ project creates three RESTful endpoints that return information for Groups, Group Memberships and Users in RapidIdentity. All three endpoints are accessible via the GET method.
-
https://server[:port]/api/rest/restpoints/IncidentIQ/groups
Uses the (objectClass=groupOfNames) filter to return LDAP group information{ "DN": "ou=Groups", "Id": "28795ee3-3235-40db-a766-7ce59df7d169", "Name": "Administrative Staff" } -
https://server[:port]/api/rest/restpoints/IncidentIQ/members
Uses the (objectClass=groupOfNames) filter to return group membership information{ "GroupId": "28795ee3-3235-40db-a766-7ce59df7d169", "MemberIds": [ "idautoID=11d80529-400a-419c-9855-98a5064b008a,ou=Accounts,dc=meta", "idautoID=39963242-00dd-41a8-a83d-30d996179b93,ou=Accounts,dc=meta" ] } -
https://server[:port]/api/rest/restpoints/IncidentIQ/users
Uses the (&(objectClass=idautoPerson)(!(idautoDisabled=TRUE))) filter to return user information{ "BusinessPhone": "5559234879", "Email": "fred@flintstone.com", "FirstName": "Fred", "Id": "39963242-00dd-41a8-a83d-30d996179b93", "LastName": "Flintstone", "LocationCode": "30001", "LocationName": "Boulder High School", "MobilePhone": "2817487050", "RoleName": "Sponsored", "SchoolIdNumber": "stu-45698", "Username": "fflintstone" }
Create the Consumer Key and Secret for Incident IQ
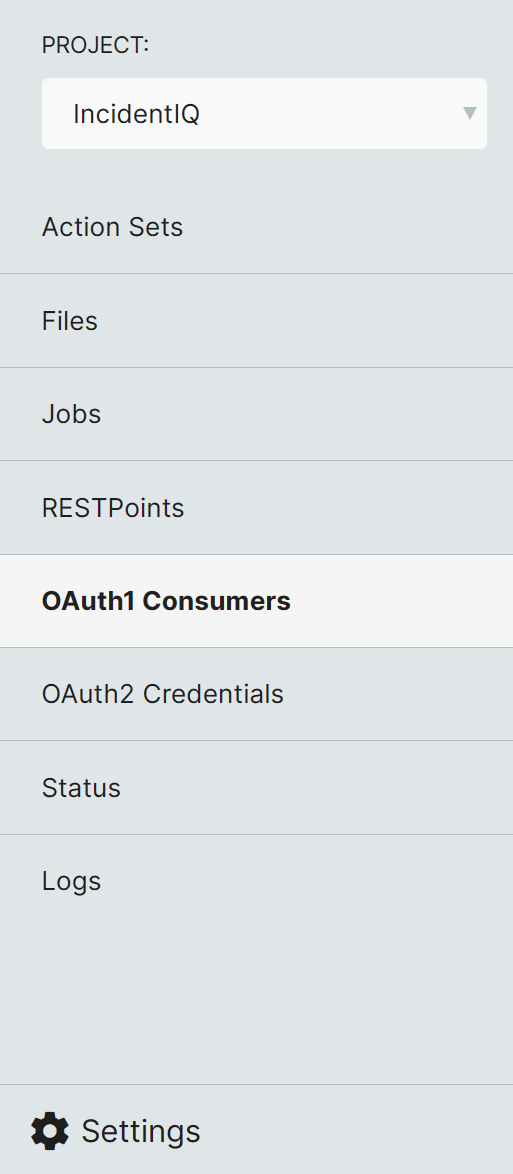
With the IncidentIQ project chosen, select OAuth1 Consumers from the right navigation menu and click the ADD OAUTH1 CONSUMERS button to create the Consumer Key for Incident IQ.
To display the Consumer Secret, click the Details button associated with the Consumer Key and click the Show button.
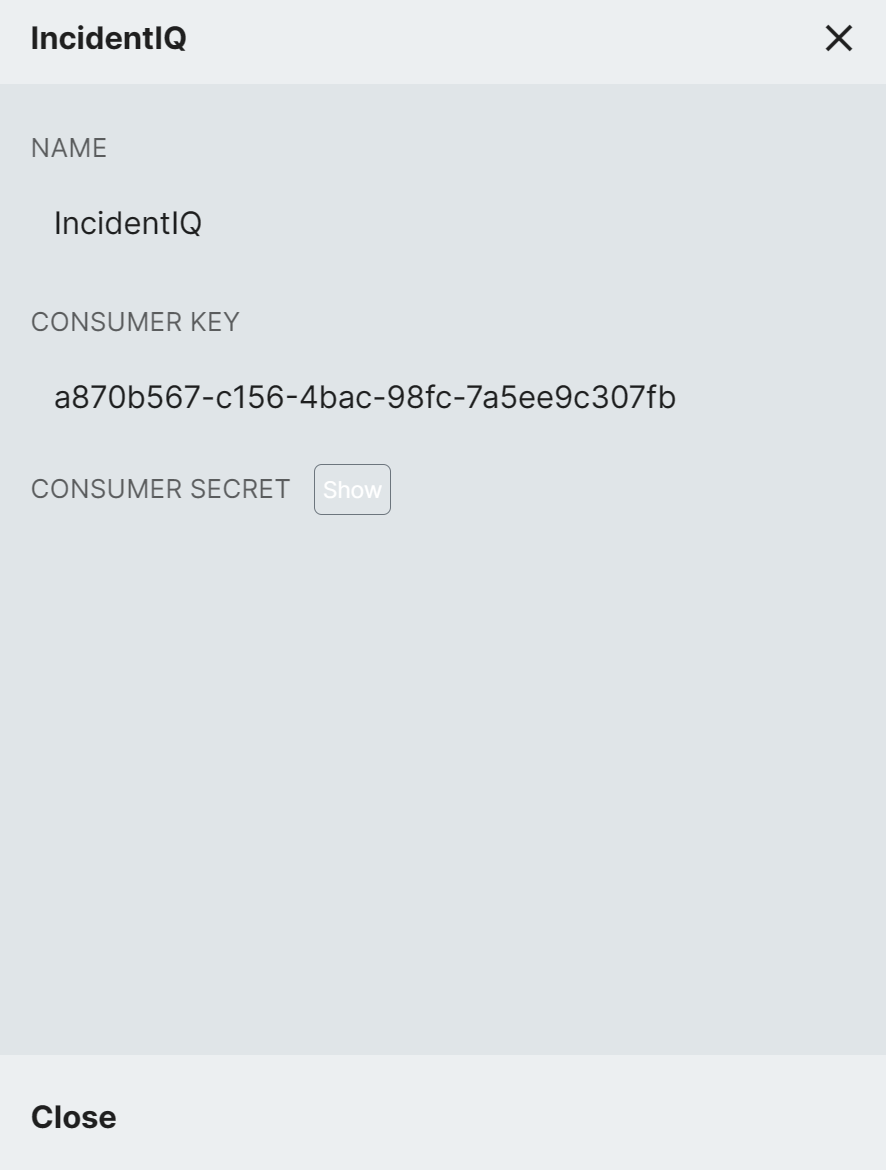
Provide both the Consumer Secret and Consumer Key to Incident IQ.
Add or Change Attributes Shared with Incident IQ
Use the following instructions to add or change the attribute data that is shared with Incident IQ.
Adding or changing the attributes shared with Incident IQ is an advanced capability that requires a basic understanding of RapidIdentity Connect Action Sets and and the Global Attribute List in RapidIdentity.
Customers who are not familiar with these advanced capabilities are advised to contact Identity Automation Support for assistance.
-
Select Connect from the top module selection menu to enter Connect
-
Select IncidentIQ project from the left-hand project filter to open the Project Settings
-
Select Action Sets from the left-hand navigation panel to display the IncidentIQ Action Sets
-
Hover over the users Action Set and click Details to open the IncidentIQ users Action Set
-
Double-click the
getLDAPRecords()action in the Fetch Records section to open the action that retrieves the user attributes from OpenLDAP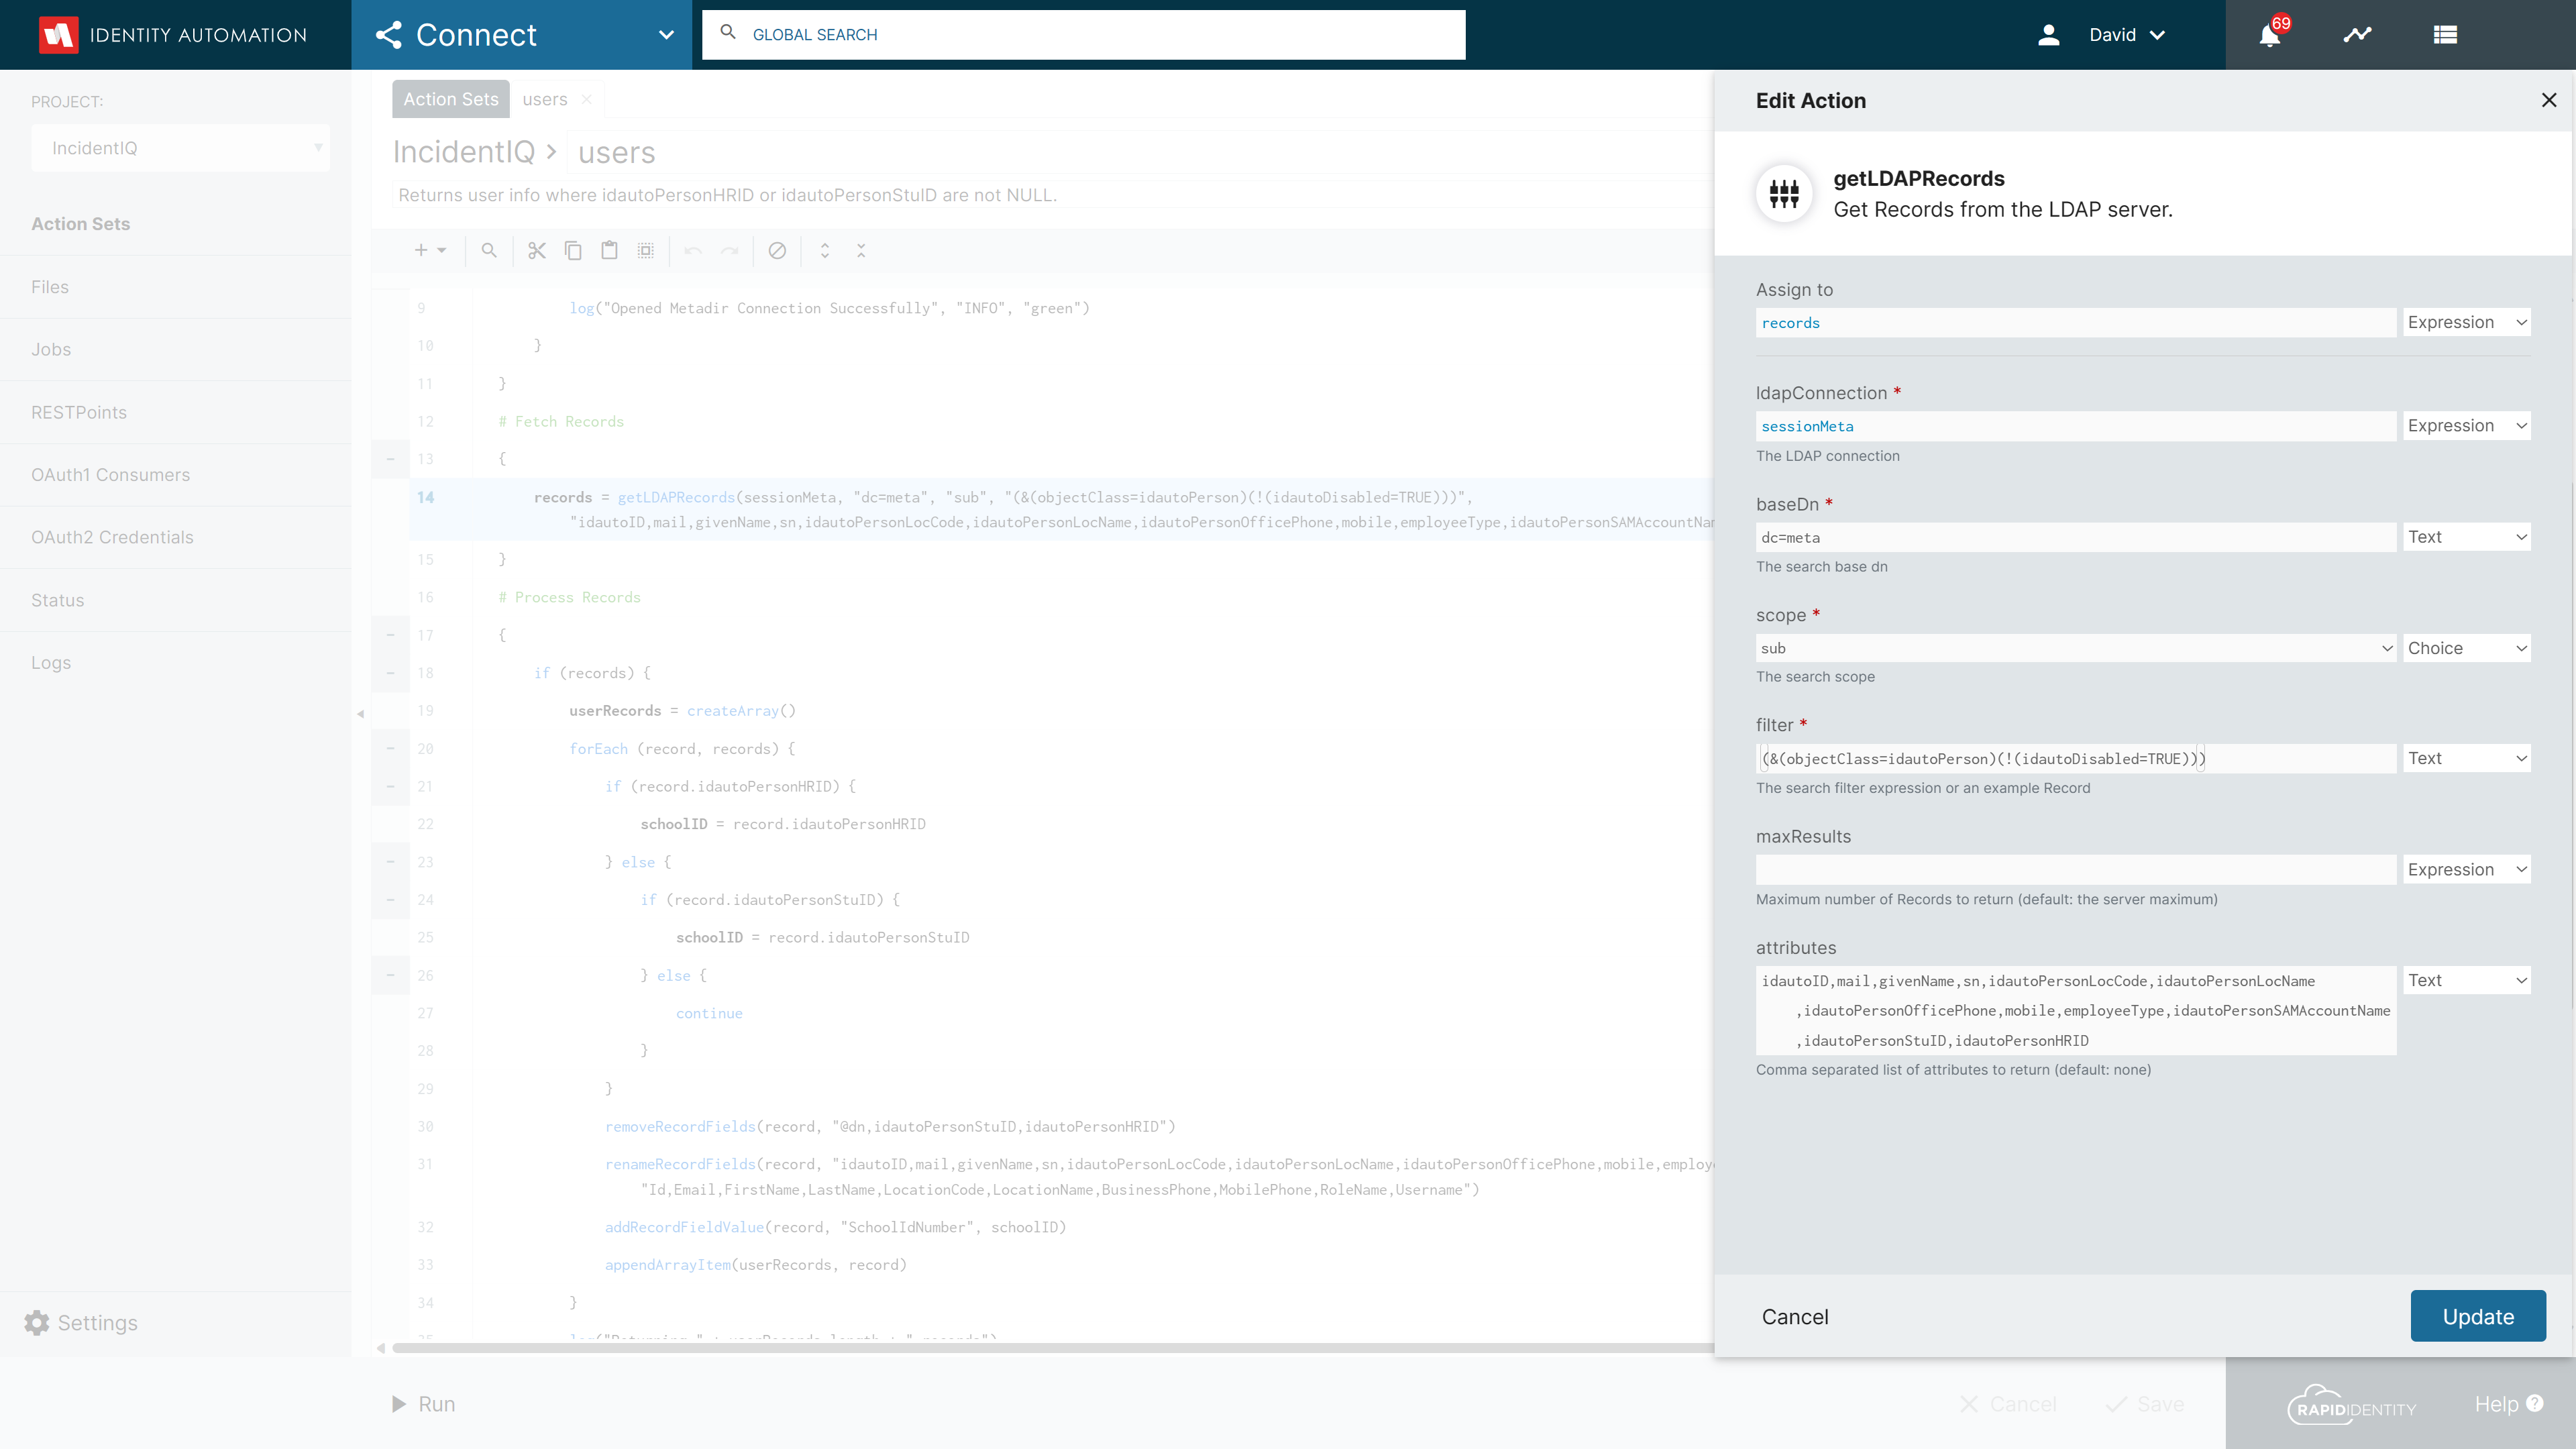
-
Add the required attribute or attributes, separated by commas, into the attributes input area and click Update when done
NOTE:The attribute or attributes to be added must be in the Global Attribute List (GAL). For instructions on modifying GAL items can be found here
-
Change the
keyvalue in the JSON being sent to Incidient IQ if necessaryBy default, the newly added attribute or attributes will automatically be included in the JSON response to IncidentIQ using the name of the attribute as the
key.To change the
keyname, double-click therenameRecordFields()action in the Process Records section to open the action that defines thekeyfor each attribute.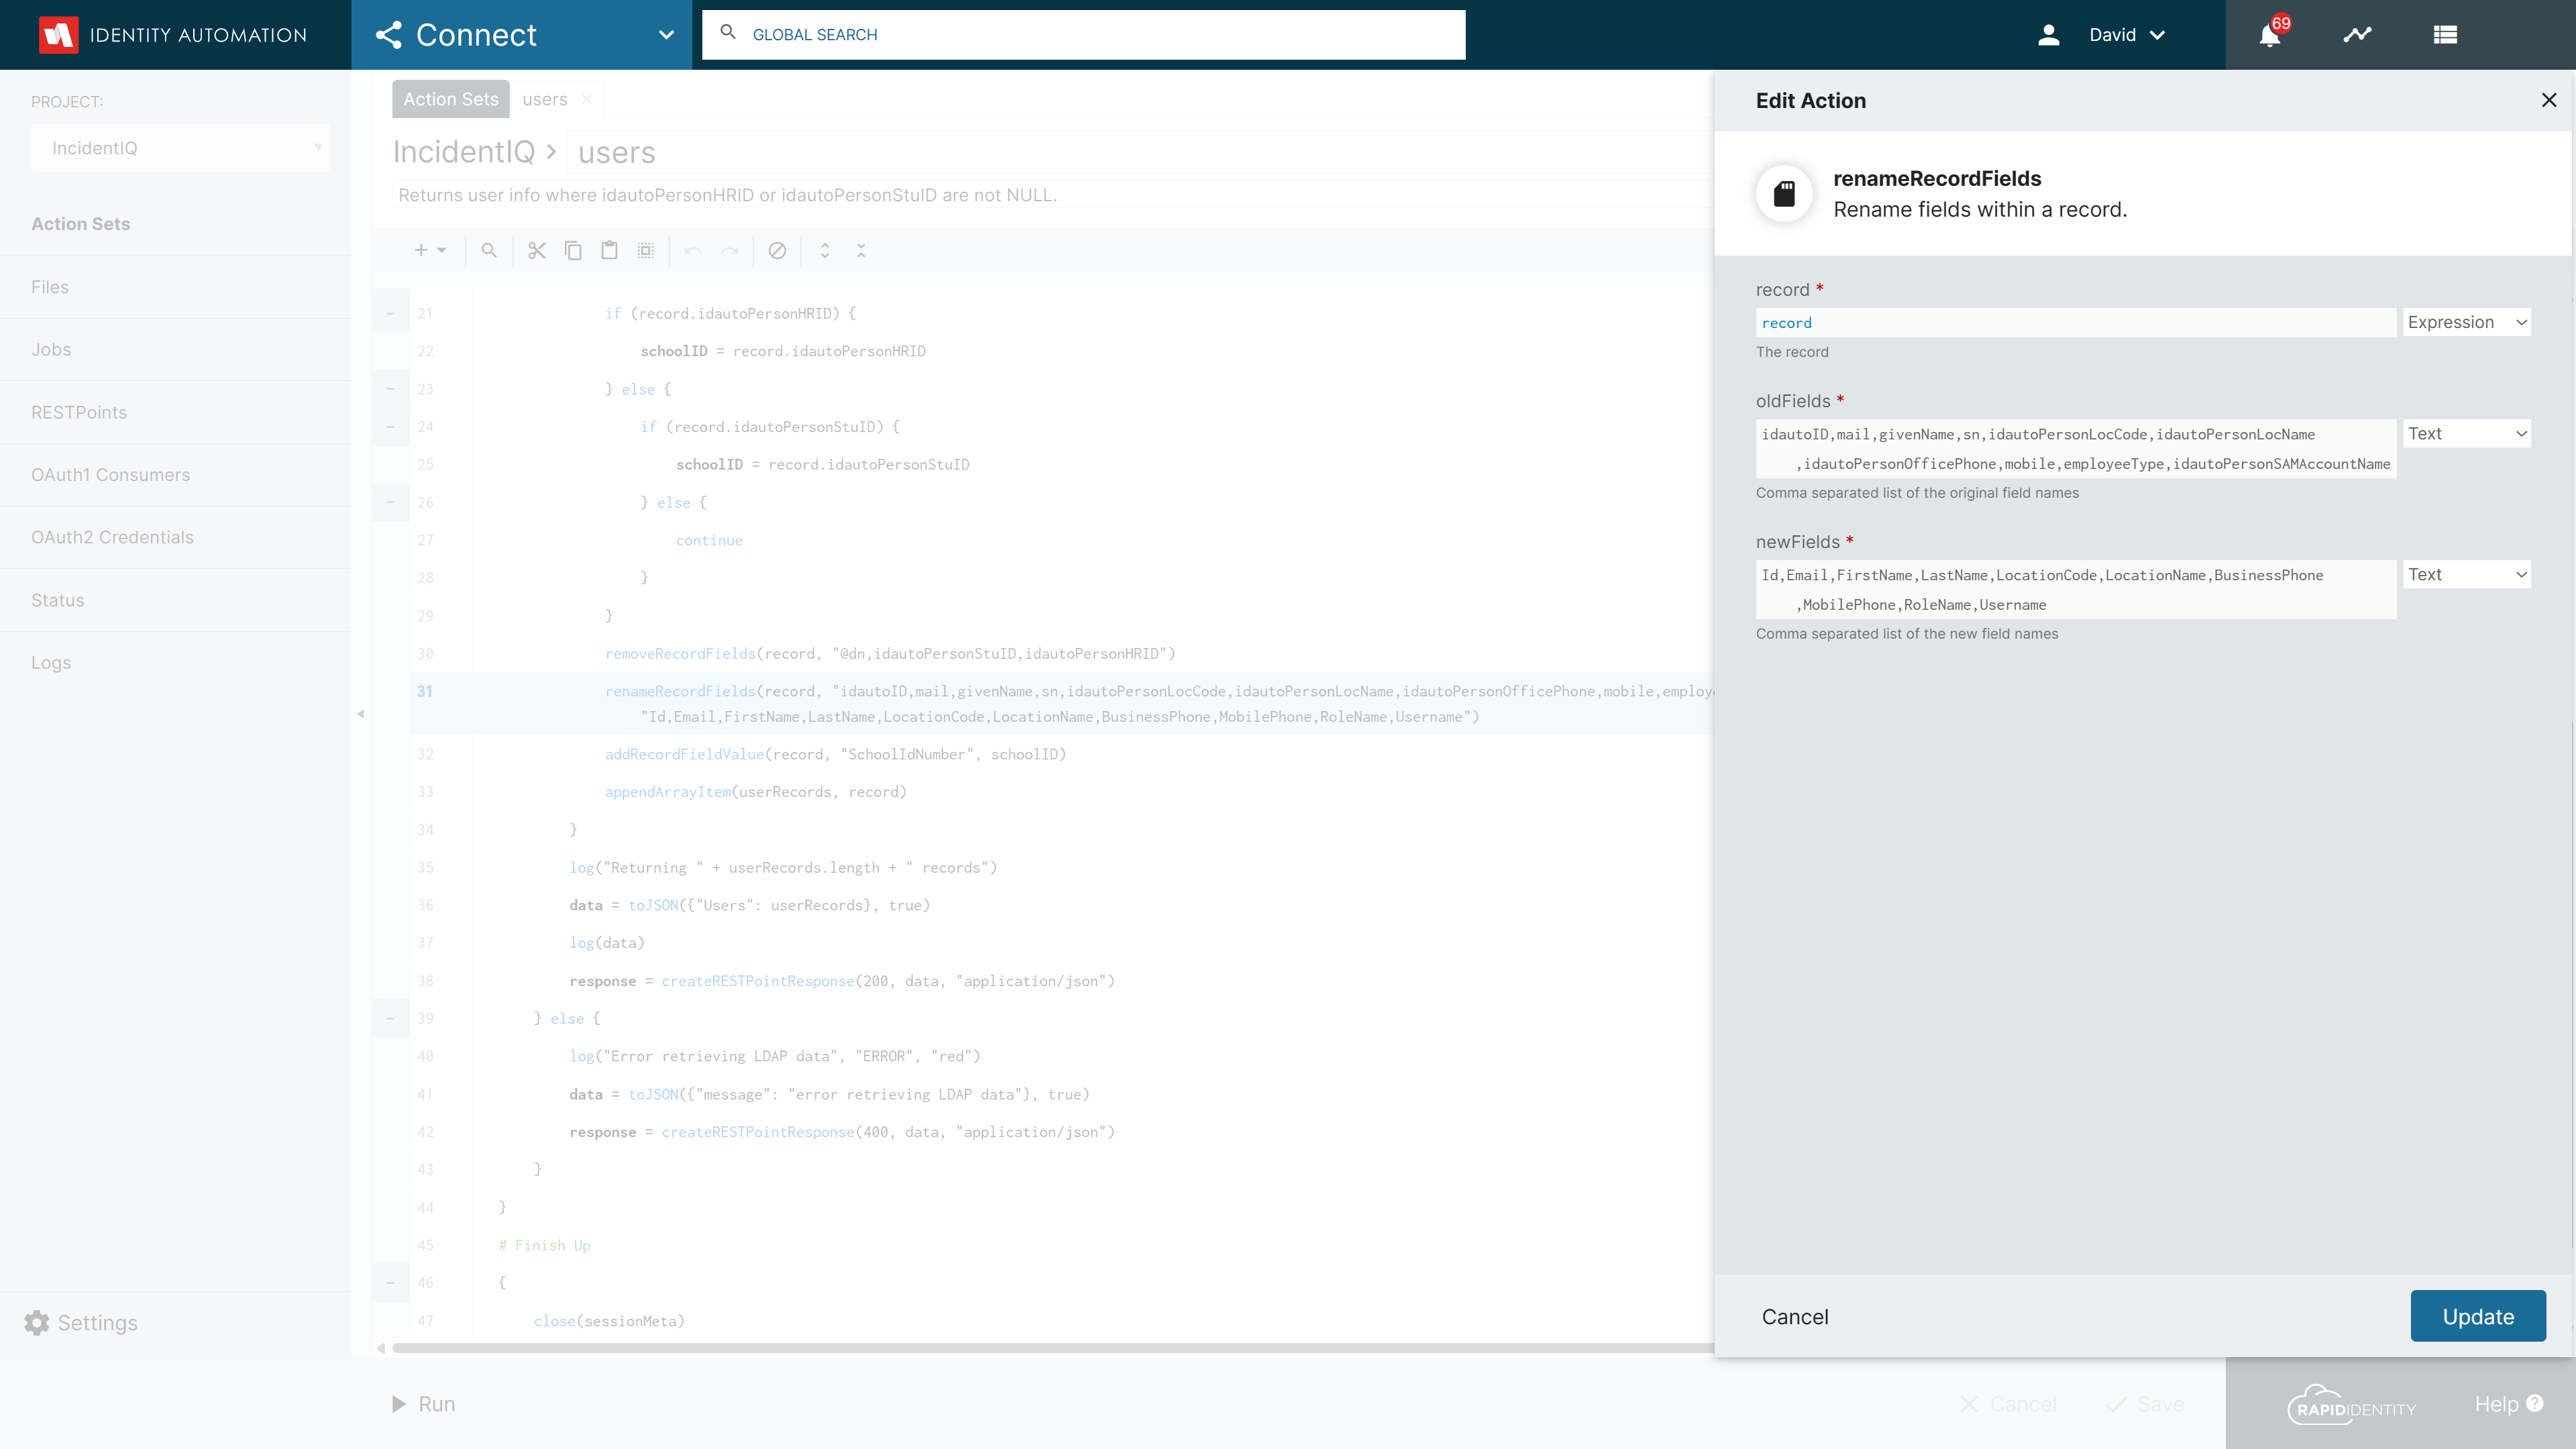
Add each attribute to the comma delimited list of
oldFieldsand the associatedkeyname to the comma delimited list ofnewFields. Click Update when done. -
When the necessary edits have been made click the Save button on the bottom action menu to save the Action Set.
Integrating Roster Data with Incident IQ
RapidIdentity Studio provides two pre-defined, OneRoster compliant, out-of-the-box integrations with Incident IQ that produces roster files such as Classes, Courses, Orgs and Users in either REST or .CSV formats and based on information gathered from the Student Information System.
Using RapidIdentity Studio and one of the two Incident IQ Consumer Applications enables advanced functionality in Incident IQ like My Classes which allows teachers to easily submit help requests on behalf of their students.
To integrate Roster Data with Incident IQ using RapidIdentity Studio:
-
As an Admin in RapidIdentity, navigate to the Studio Module
Note:Studio is a licensed module in RapidIdentity and is only available to customers who have purchased Rapididentity Rostering from Identity Automation. If you would like to roster with Rapididentity Studio but do not have a license, please contact your customer success representative or, click here.
-
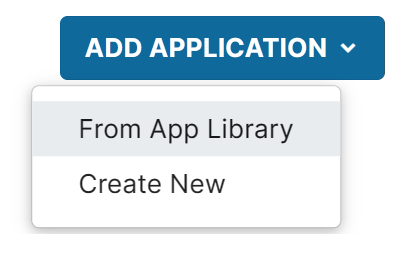
Select Applications from the Left Navigation Menu, click the Add Application button in the top right corner of the page and select From App Library
-
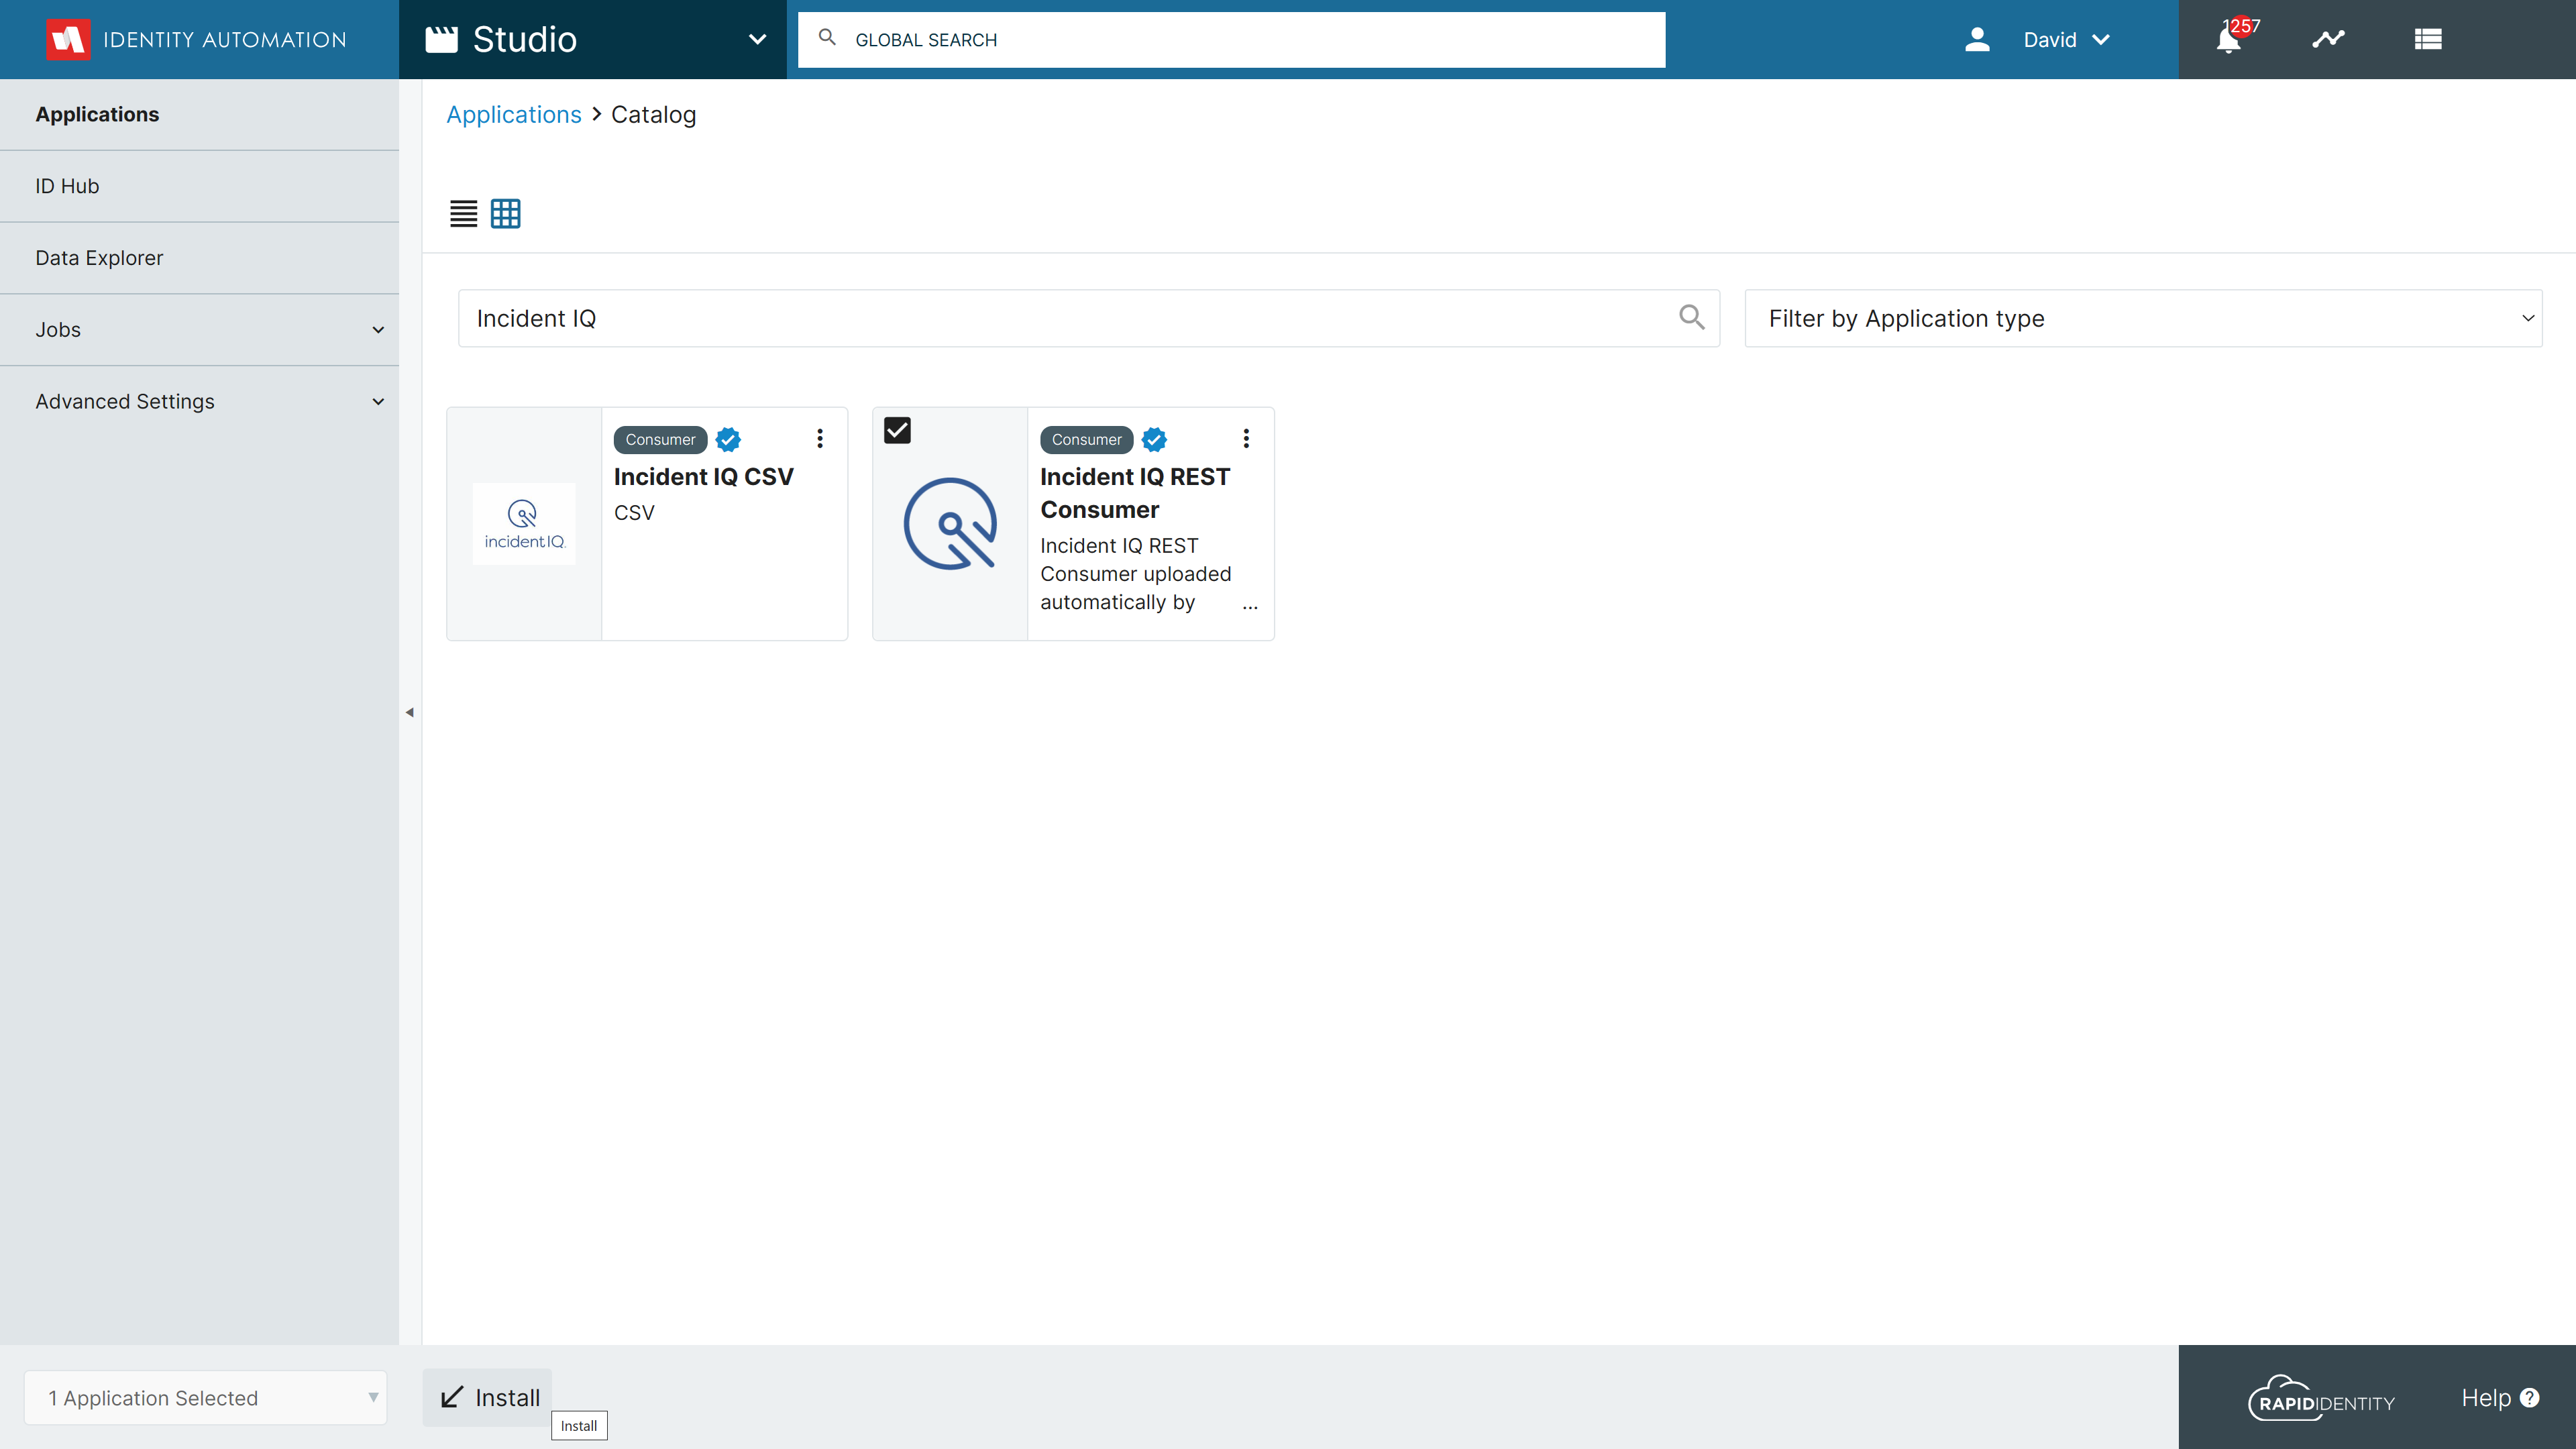
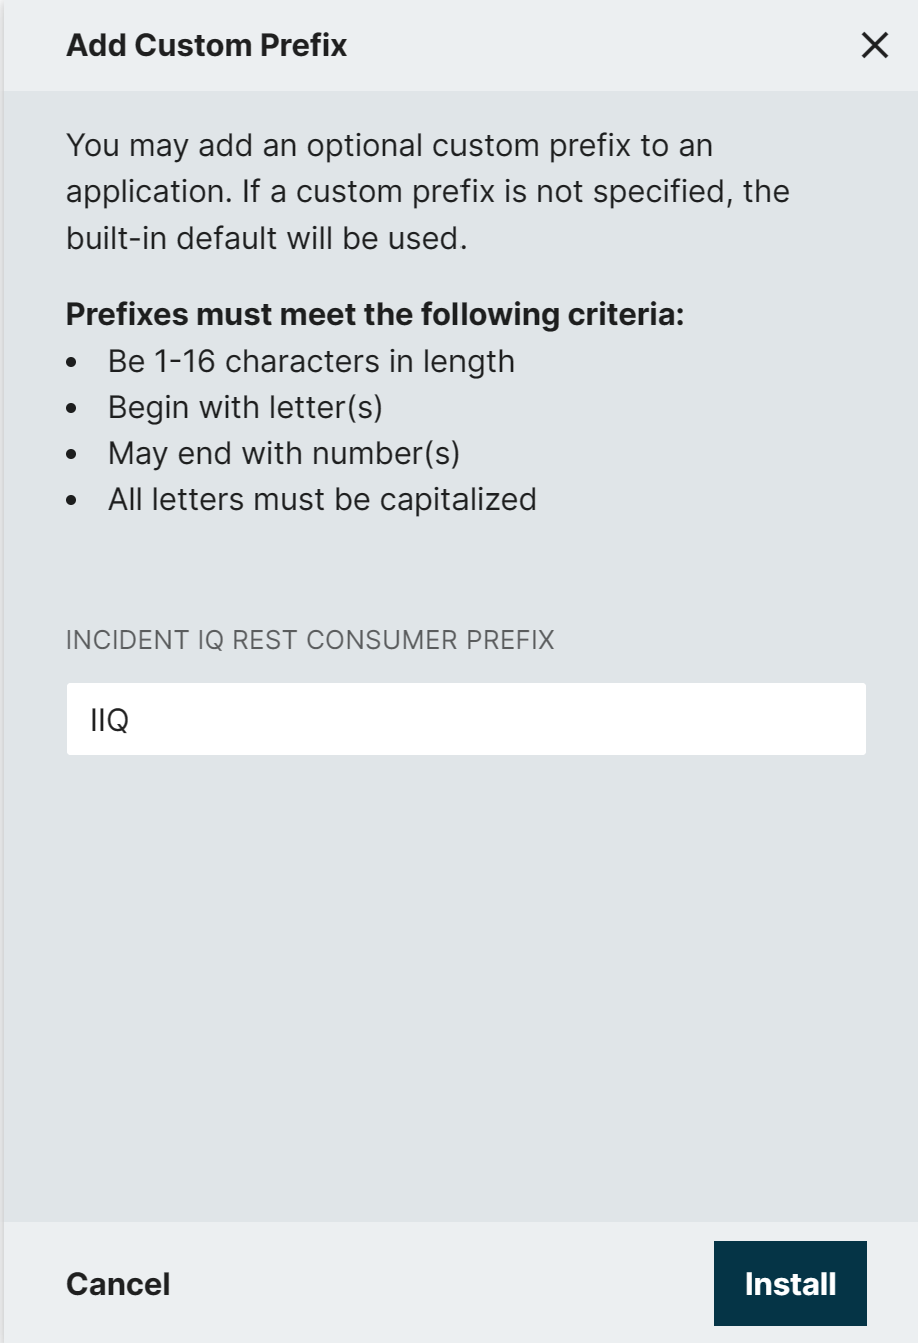
Search for Incident IQ, select the REST or CSV Consumer Application and click the Install button at the bottom of the page
-
Use the default IIQ Consumer Prefix or enter your own. Prefixes must be capitalized, from 1 to 16 characters long, begin with a letter and be unique within the Studio Module.
-
Configure the Connection Settings to share Roster Data with Incident IQ.
-
For REST connections:
- Create a Consumer Secret and copy it to a safe location.
- Generate a Consumer Key and copy it to the same location.
- Share the Consumer Secret and Consumer Key with Incident IQ along with the Base URL and Access Token URL
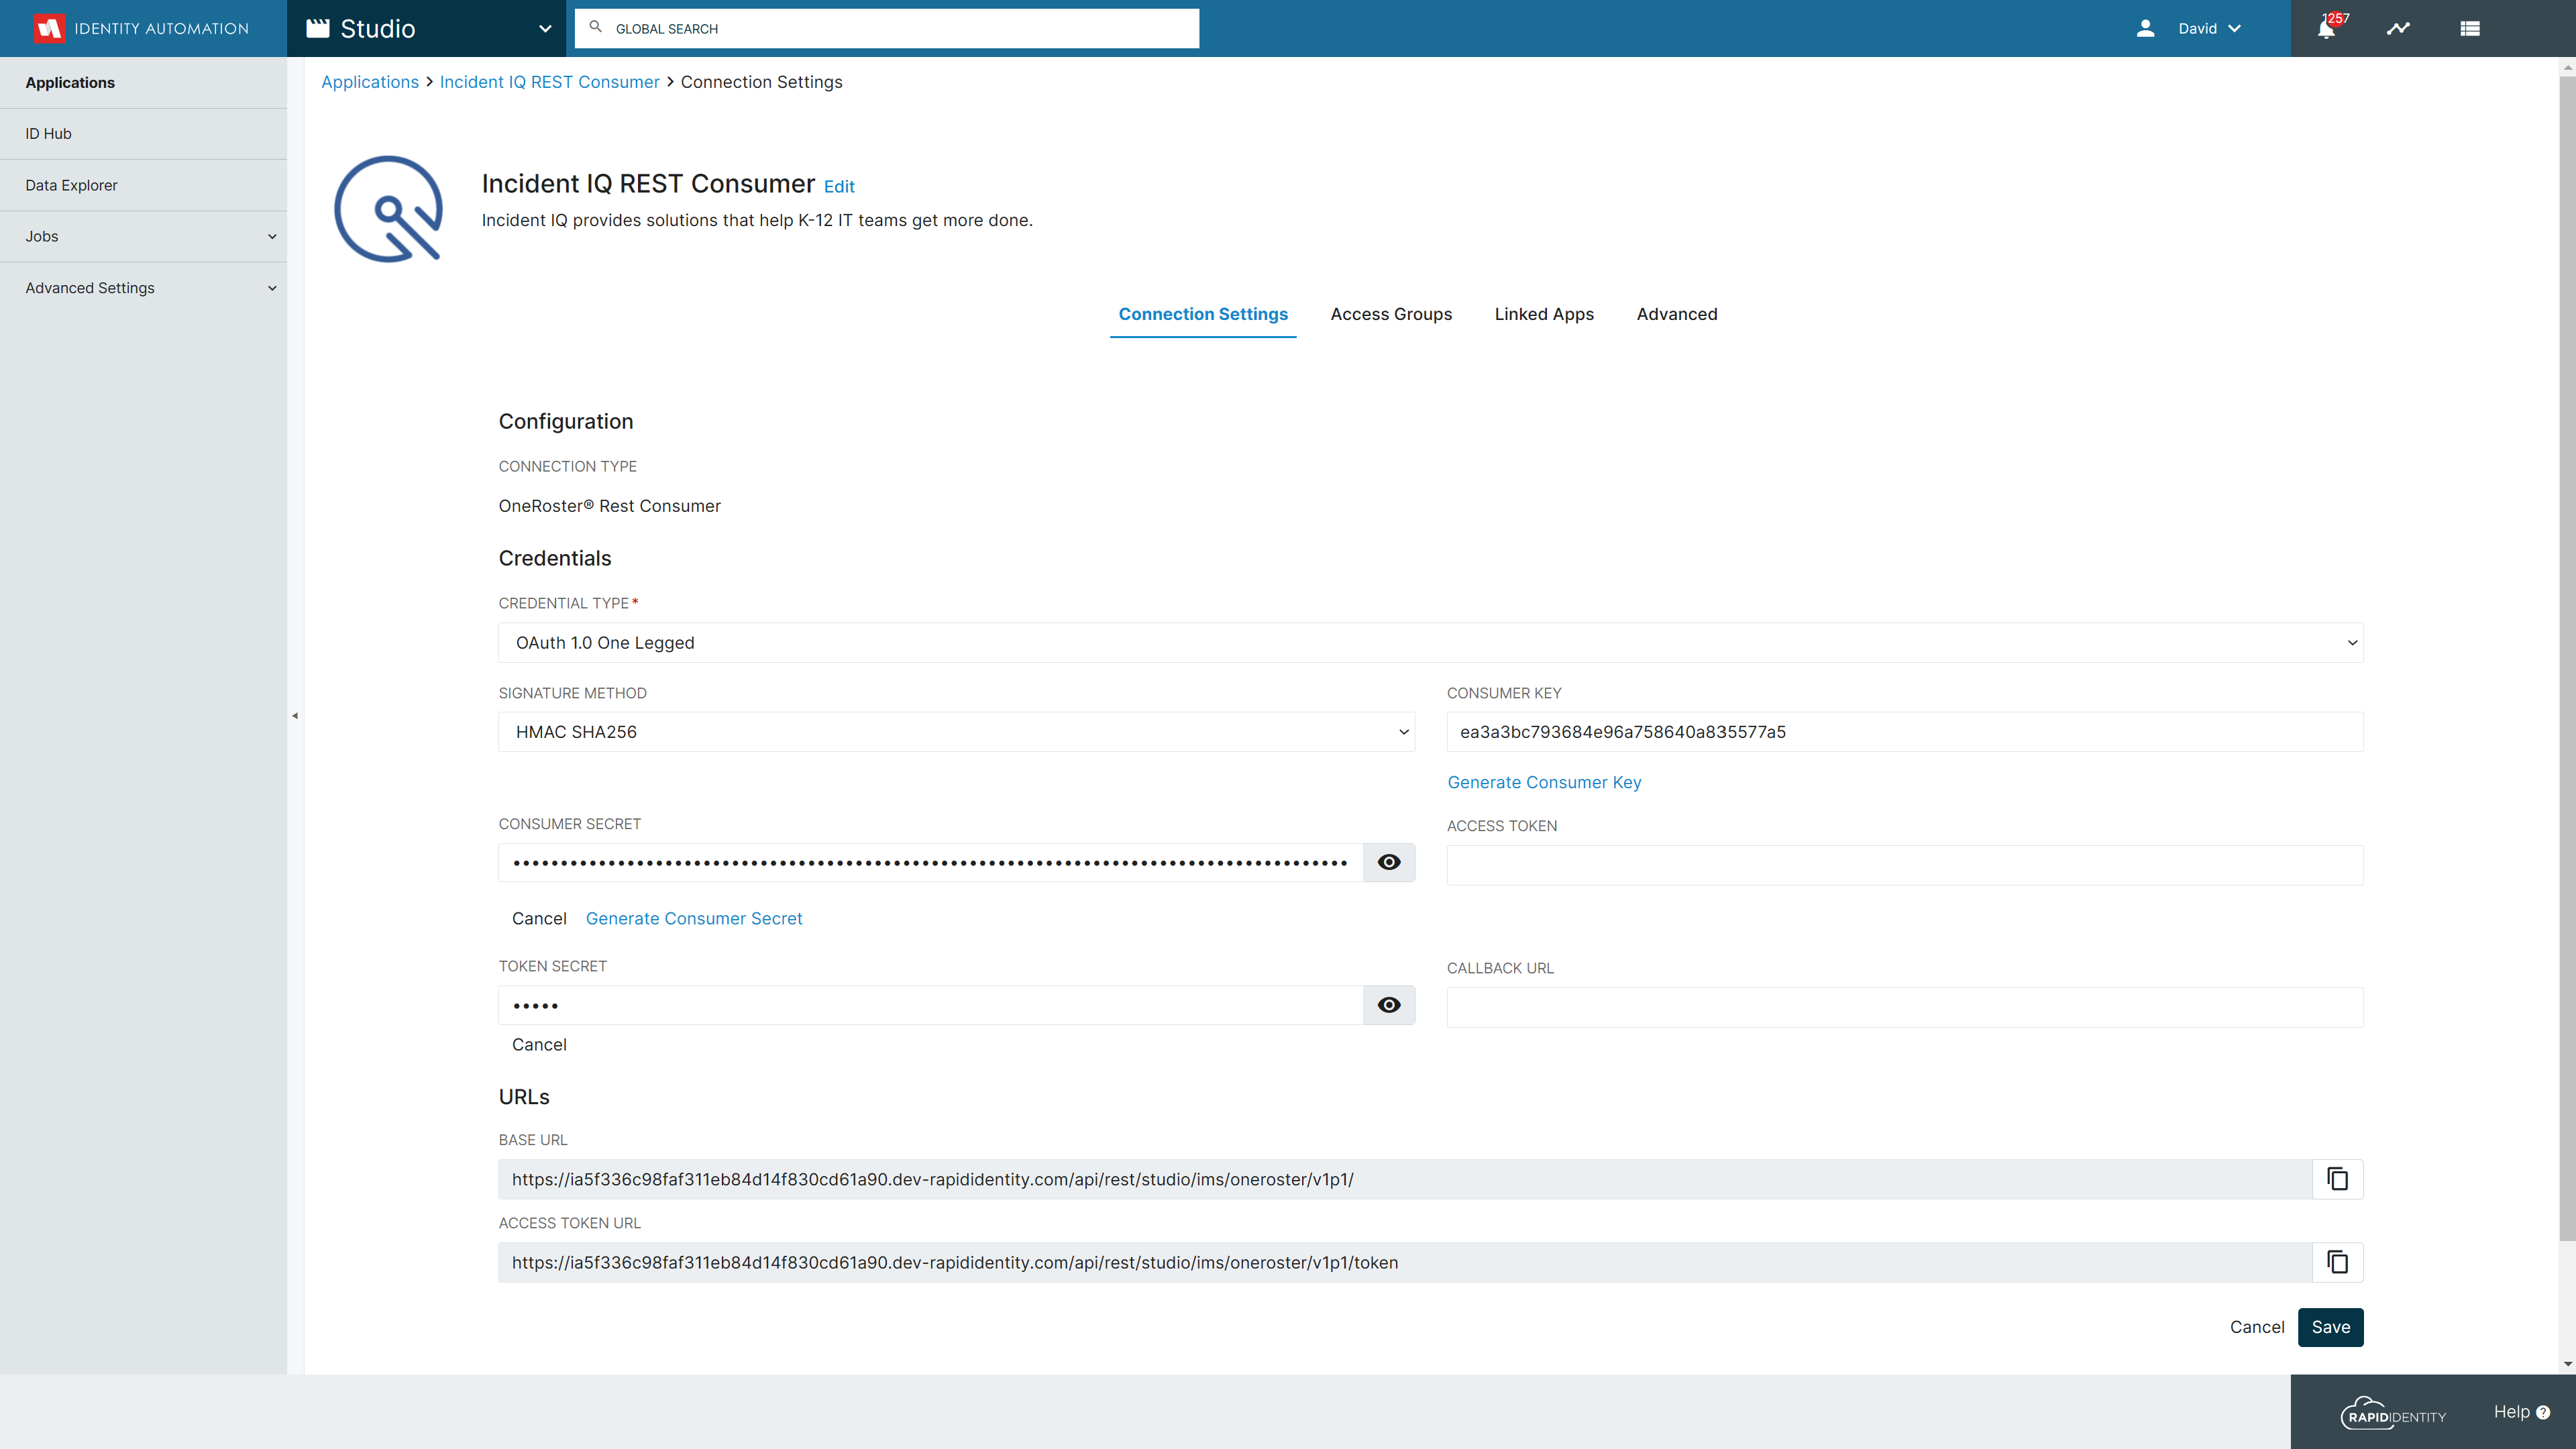
Click here to learn more about installing a REST Consumer from the Studio Catalog
-
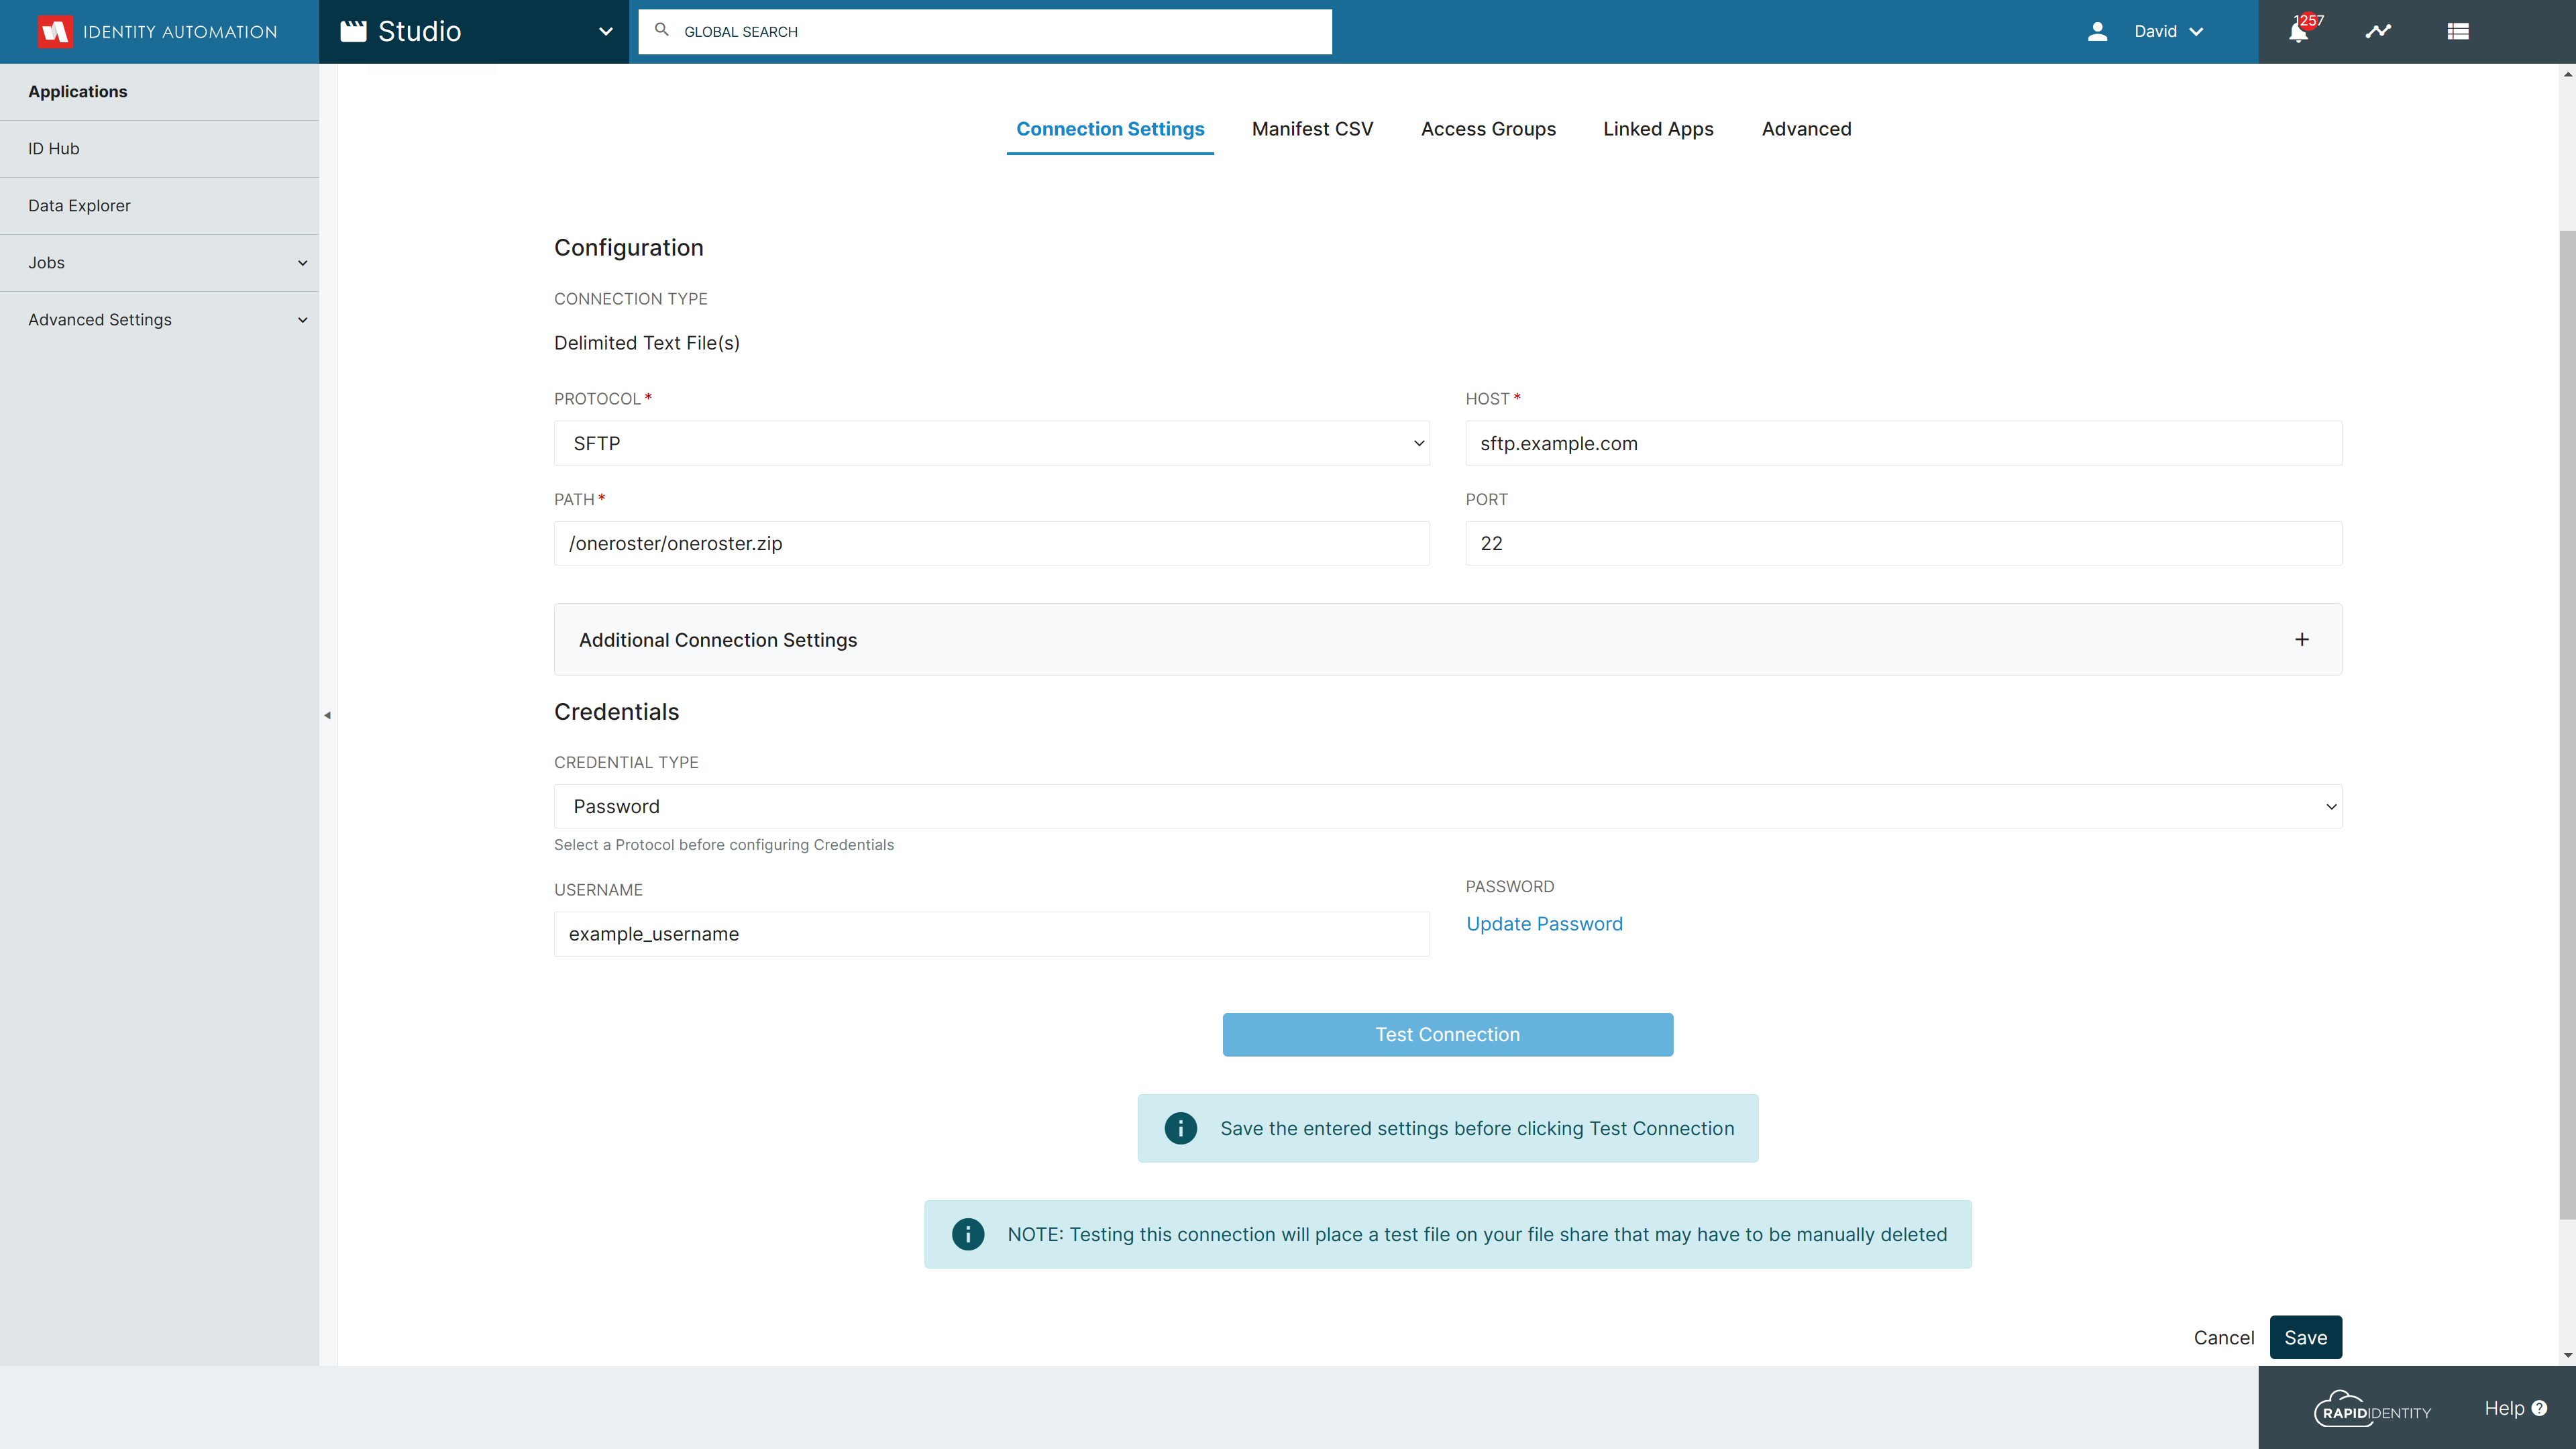
For CSV connections:
- Enter the Host name of the SFTP server provided from Incident IQ
- Confirm or update the Path as advised by Incident IQ
- Enter the Port number used by the SFTP server provided from Incident IQ
- Enter the Username and Password of the SFTP server provided from Incident IQ
- Click Save and use the Test Connection button to ensure the Connection Settings are correct
Click here to learn more about installing a CSV Consumer from the Studio Catalog
-
-
Configure one or more Access Groups to limit the Roster Data shared with Incident IQ. If Access Groups are not configured, all Roster Data will be shared.
Click here to learn more about Access Groups in Studio
- Enable and/or Run the Incident IQ Jobs to Select Jobs from the left navigation menu to enable and/or run the Incident IQ job
- Click All Jobs
- Search for Incident IQ
- Select All Incident IQ jobs and:
- Click Enable from the bottom menu to add them to the job schedule
- Click Run from the bottom menu to run them immediatelyCSV Export
When running CSV consumer jobs you must run the Export job separately, after all mapping jobs have been run successfully
Click here to learn more about Job Scheduling in Studio