Synchronizing Data with Incident IQ in Batch
Identity Automation provides two different methods for synchronizing RapidIdentity Account information including Identity Data and Roster Data with Incident IQ. Either method can be used individually or they can both be used together depending on your institution's specific needs.
-
Identity Data references information about all users in the institution including contractual and temporary users and is typically sourced from other systems than the Student Information System. Identity Data includes information such as Group Memberships, Affiliations, Responsibilities, Authorizations etc.
-
Roster Data references information about students and teaching staff in relation to their enrollments in courses and classes. Roster Data is primarily sourced from the Student Information System.
Integrating Identity Data in Batch with Incident IQ
To integrate identity data in batch with Incident IQ, download and install the IncidentIQ_Batch Connect Project into RapidIdentity Connect and schedule the GroupsQuery, MembersQuery and the UsersQuery jobs.
Install the IncidentIQ_Batch Project
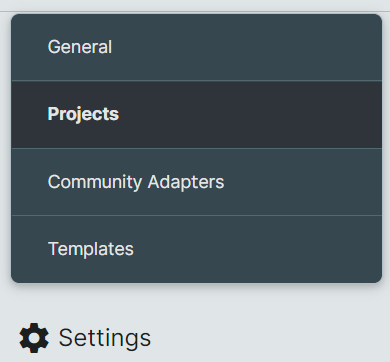
To install the IncidentIQ_Batch Connect Project, navigate to the Connect Module in RapidIdentity Portal, click the Settings icon from the right-side navigation menu and select Projects.
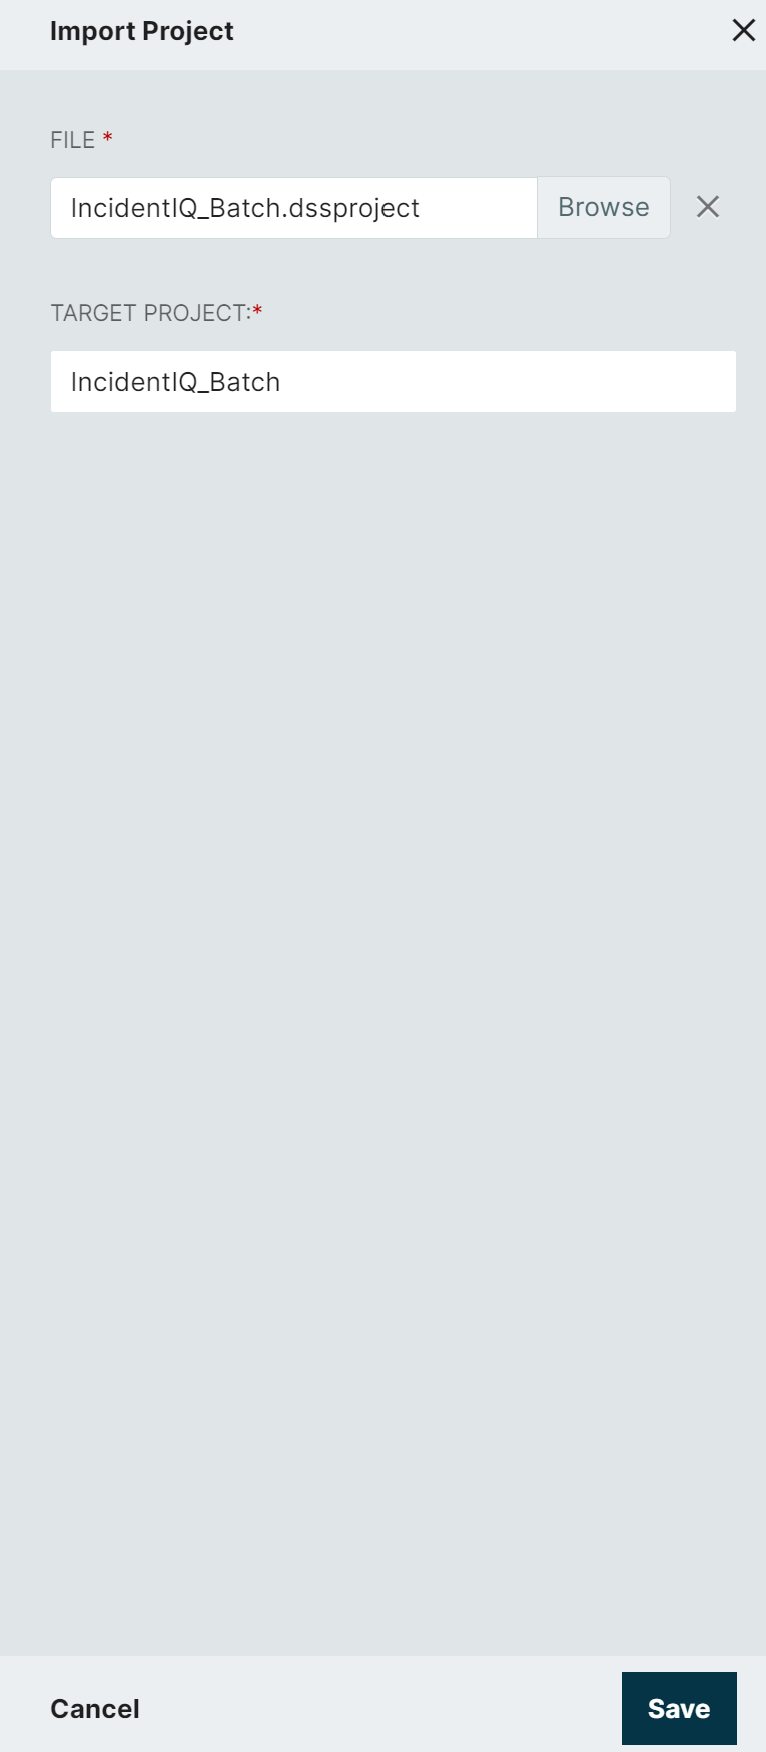
Click the Import command from the bottom command menu, browse for the downloaded IncidentIQ_Batch.dssproject file on your computer. Click Save to import the IncidentIQ_Batch project into Connect.
The IncidentIQ_Batch project creates three RESTful endpoints that return information for Groups, Group Memberships and Users in RapidIdentity from .csv files that are created per schedule. All three endpoints are accessible via the GET method.
-
https://server[:port]/api/rest/restpoints/IncidentIQ/groups
Uses the (objectClass=groupOfNames) filter to return LDAP group information{ "DN": "ou=Groups", "Id": "28795ee3-3235-40db-a766-7ce59df7d169", "Name": "Administrative Staff" } -
https://server[:port]/api/rest/restpoints/IncidentIQ/members
Uses the (objectClass=groupOfNames) filter to return group membership information{ "GroupId": "28795ee3-3235-40db-a766-7ce59df7d169", "MemberIds": [ "idautoID=11d80529-400a-419c-9855-98a5064b008a,ou=Accounts,dc=meta", "idautoID=39963242-00dd-41a8-a83d-30d996179b93,ou=Accounts,dc=meta" ] } -
https://server[:port]/api/rest/restpoints/IncidentIQ/users
Uses the (&(objectClass=idautoPerson)(!(idautoDisabled=TRUE))) filter to return user information{ "BusinessPhone": "5559234879", "Email": "fred@flintstone.com", "FirstName": "Fred", "Id": "39963242-00dd-41a8-a83d-30d996179b93", "LastName": "Flintstone", "LocationCode": "30001", "LocationName": "Boulder High School", "MobilePhone": "2817487050", "RoleName": "Sponsored", "SchoolIdNumber": "stu-45698", "Username": "fflintstone" }
Create the Consumer Key and Secret for Incident IQ
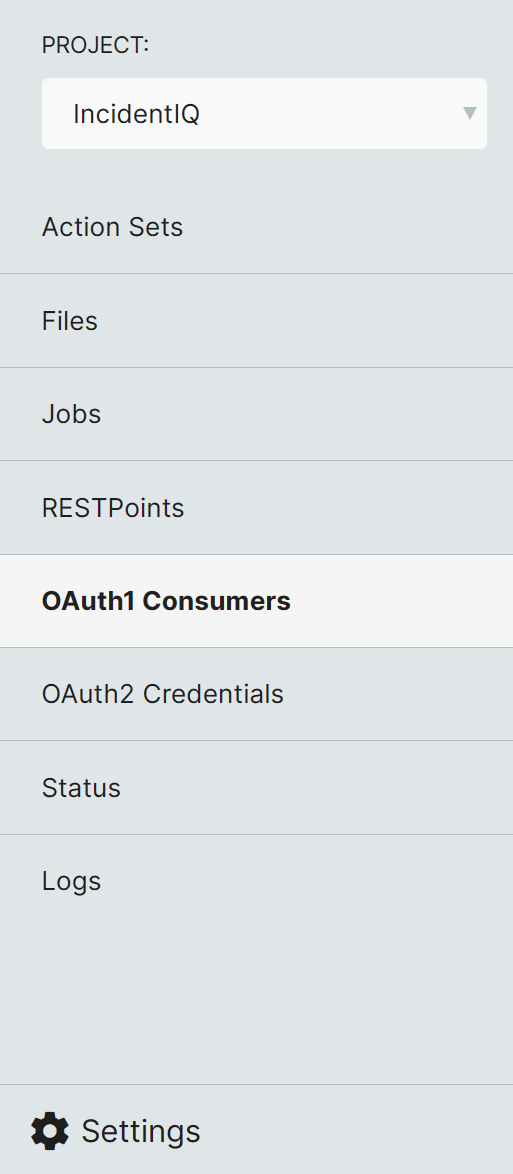
With the IncidentIQ project chosen, select OAuth1 Consumers from the right navigation menu and click the ADD OAUTH1 CONSUMERS button to create the Consumer Key for Incident IQ.
To display the Consumer Secret, click the Details button associated with the Consumer Key and click the Show button.
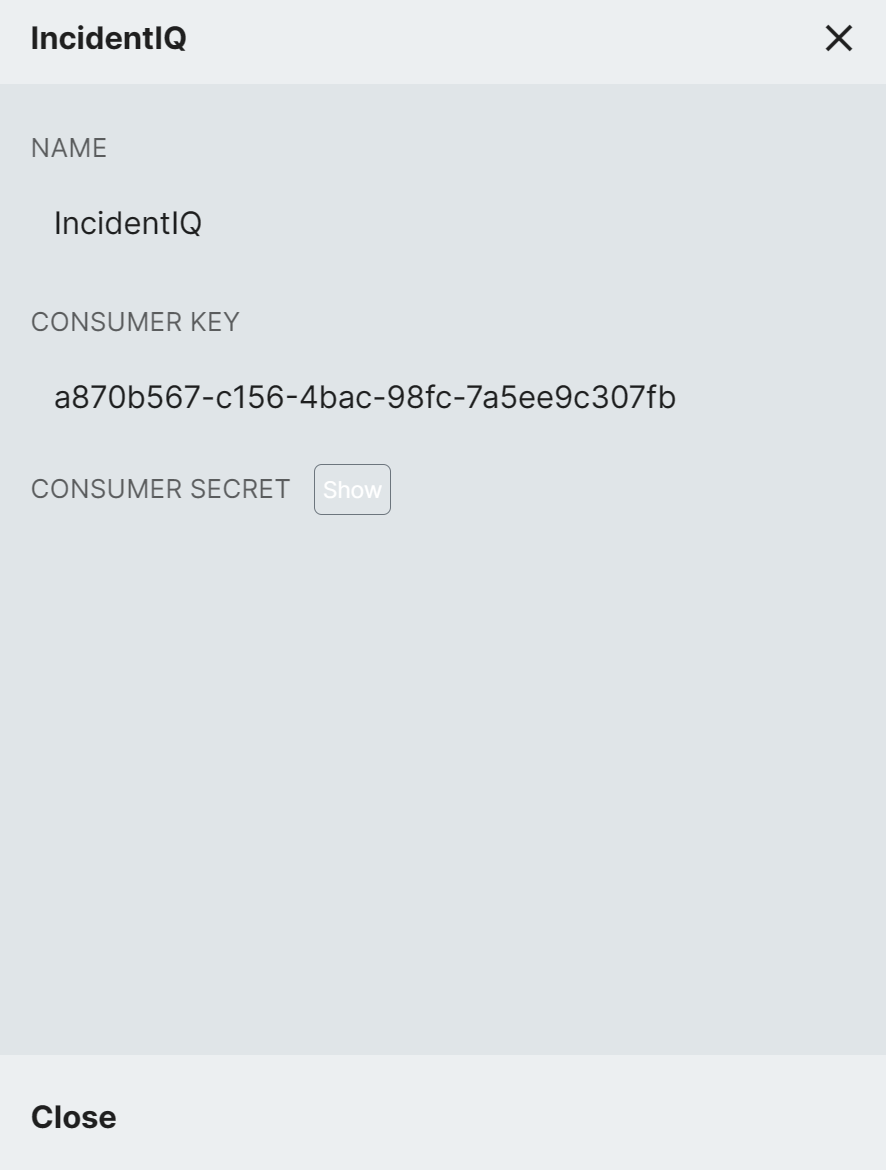
Provide both the Consumer Secret and Consumer Key to Incident IQ.
Add or Change Attributes Shared with Incident IQ
Use the following instructions to add or change the attribute data that is shared with Incident IQ.
Adding or changing the attributes shared with Incident IQ is an advanced capability that requires a basic understanding of RapidIdentity Connect Action Sets and and the Global Attribute List in RapidIdentity.
Customers who are not familiar with these advanced capabilities are advised to contact Identity Automation Support for assistance.
- Select Connect from the top module selection menu to enter Connect
- Select IncidentIQ_Batch project from the left-hand project filter to open the Project Settings
- Select Action Sets from the left-hand navigation panel to display the IncidentIQ Action Sets
- Hover over the users_query Action Set and click Details to open the IncidentIQ users Action Set
- Double-click the
getLDAPRecords()action in the Fetch Records section to open the action that retrieves the user attributes from OpenLDAP
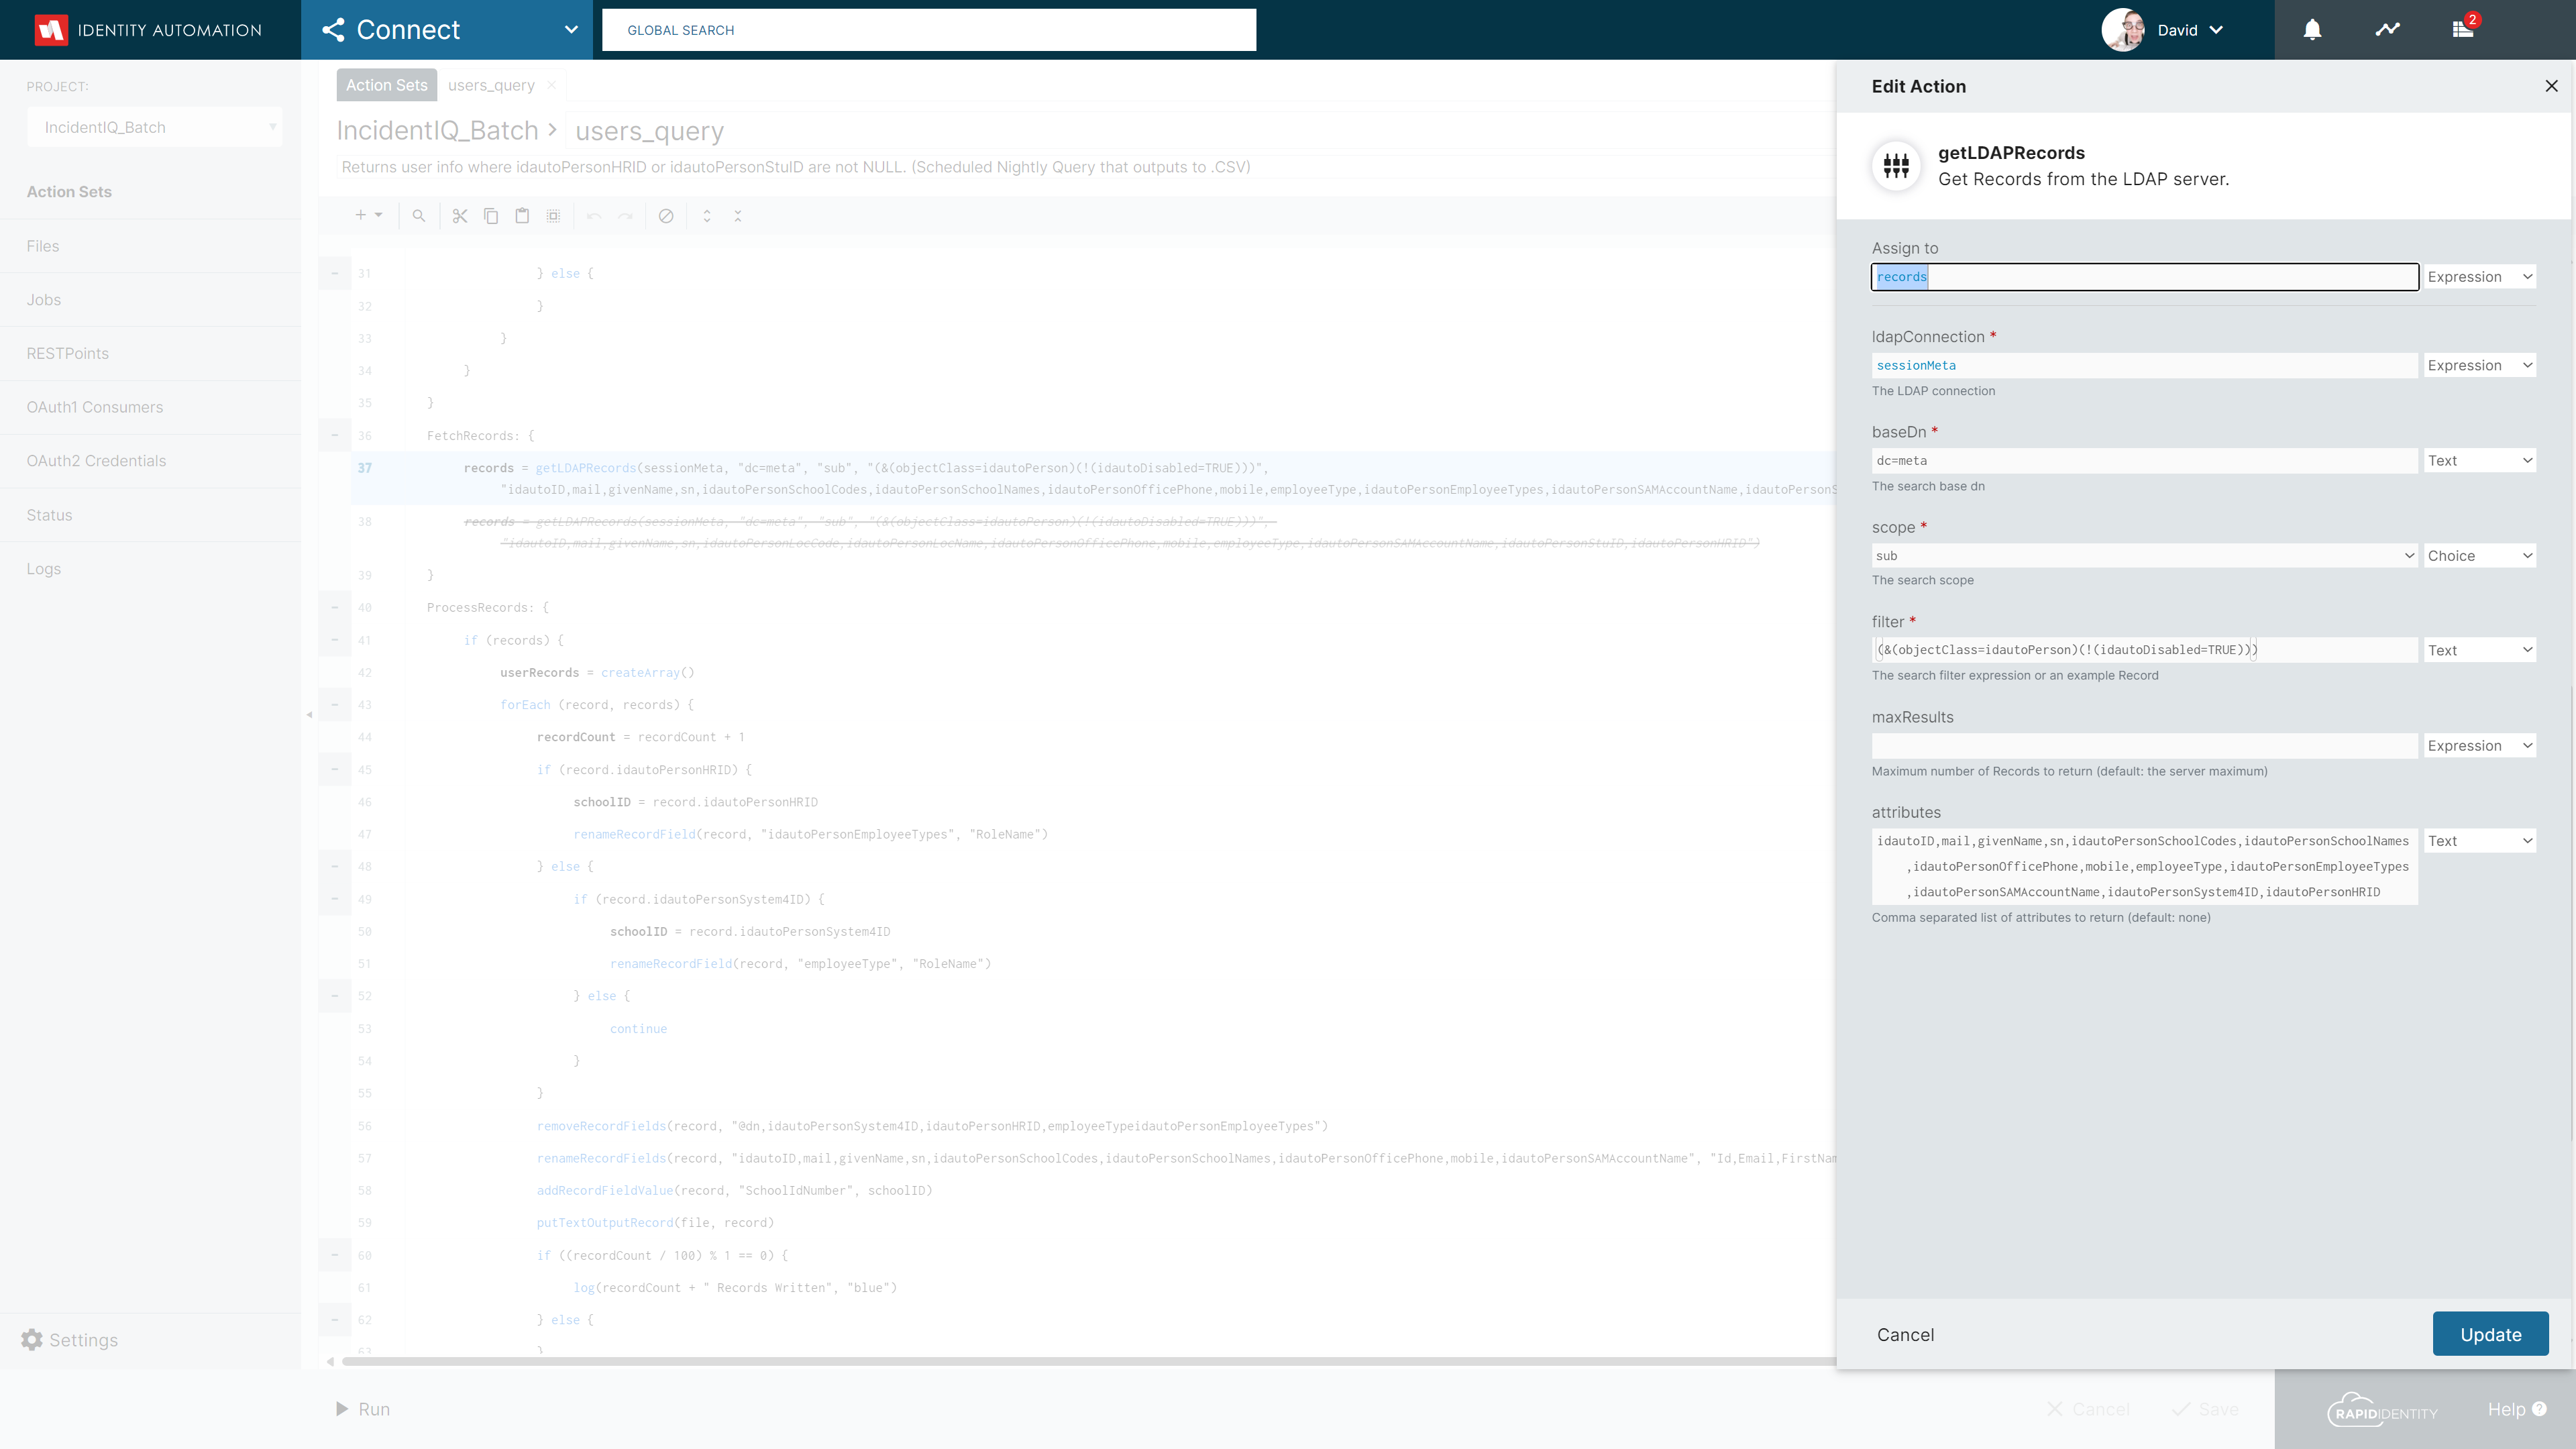
- Add the required attribute or attributes, separated by commas, into the attributes input area
The attribute or attributes to be added must be in the Global Attribute List (GAL). For instructions on modifying GAL items can be found here
-
Double-click the
fieldsaction in the Setup section to open the action that defines the field names to be saved in the associated users.csv file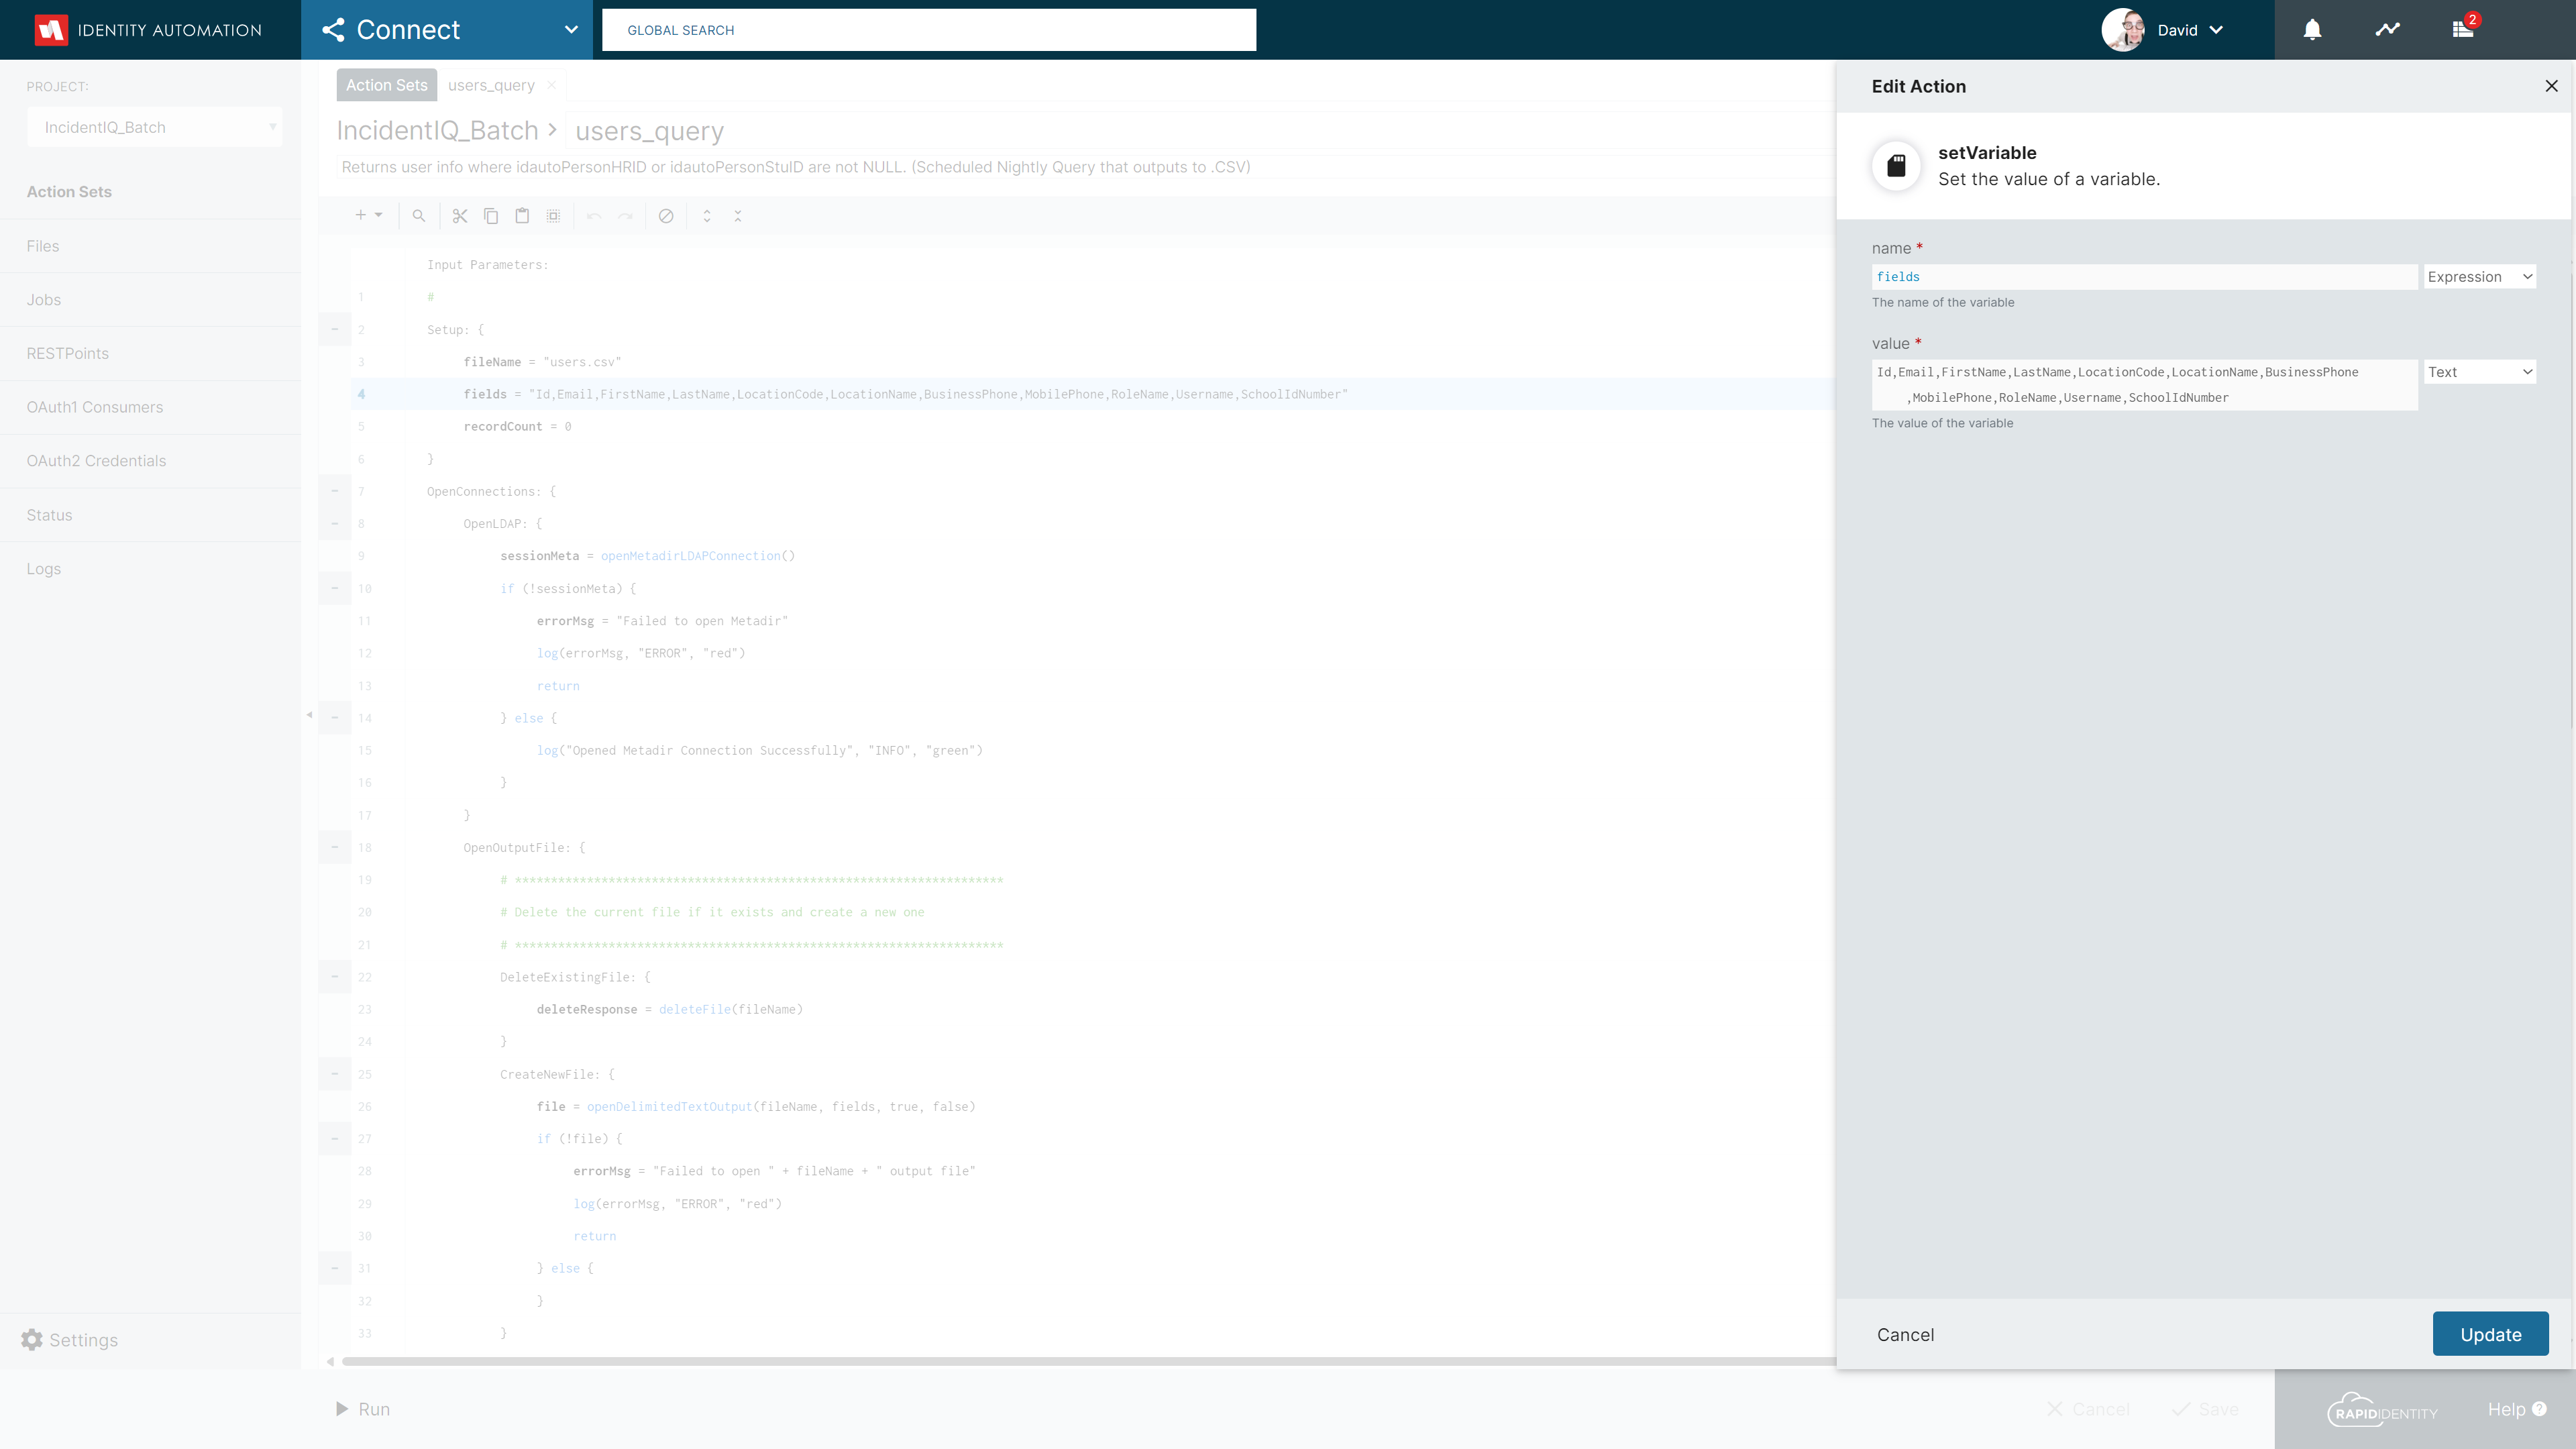
-
Add the same attribute or attributes to the list of fields in the appropriate order and click Update when done
-
Change the
keyvalue in the JSON being sent to Incidient IQ if necessaryBy default, the newly added attribute or attributes will automatically be included in the JSON response to IncidentIQ using the name of the attribute as the
key. To change thekeyname, double-click therenameRecordFields()action in the Process Records section to open the action that defines thekeyfor each attribute.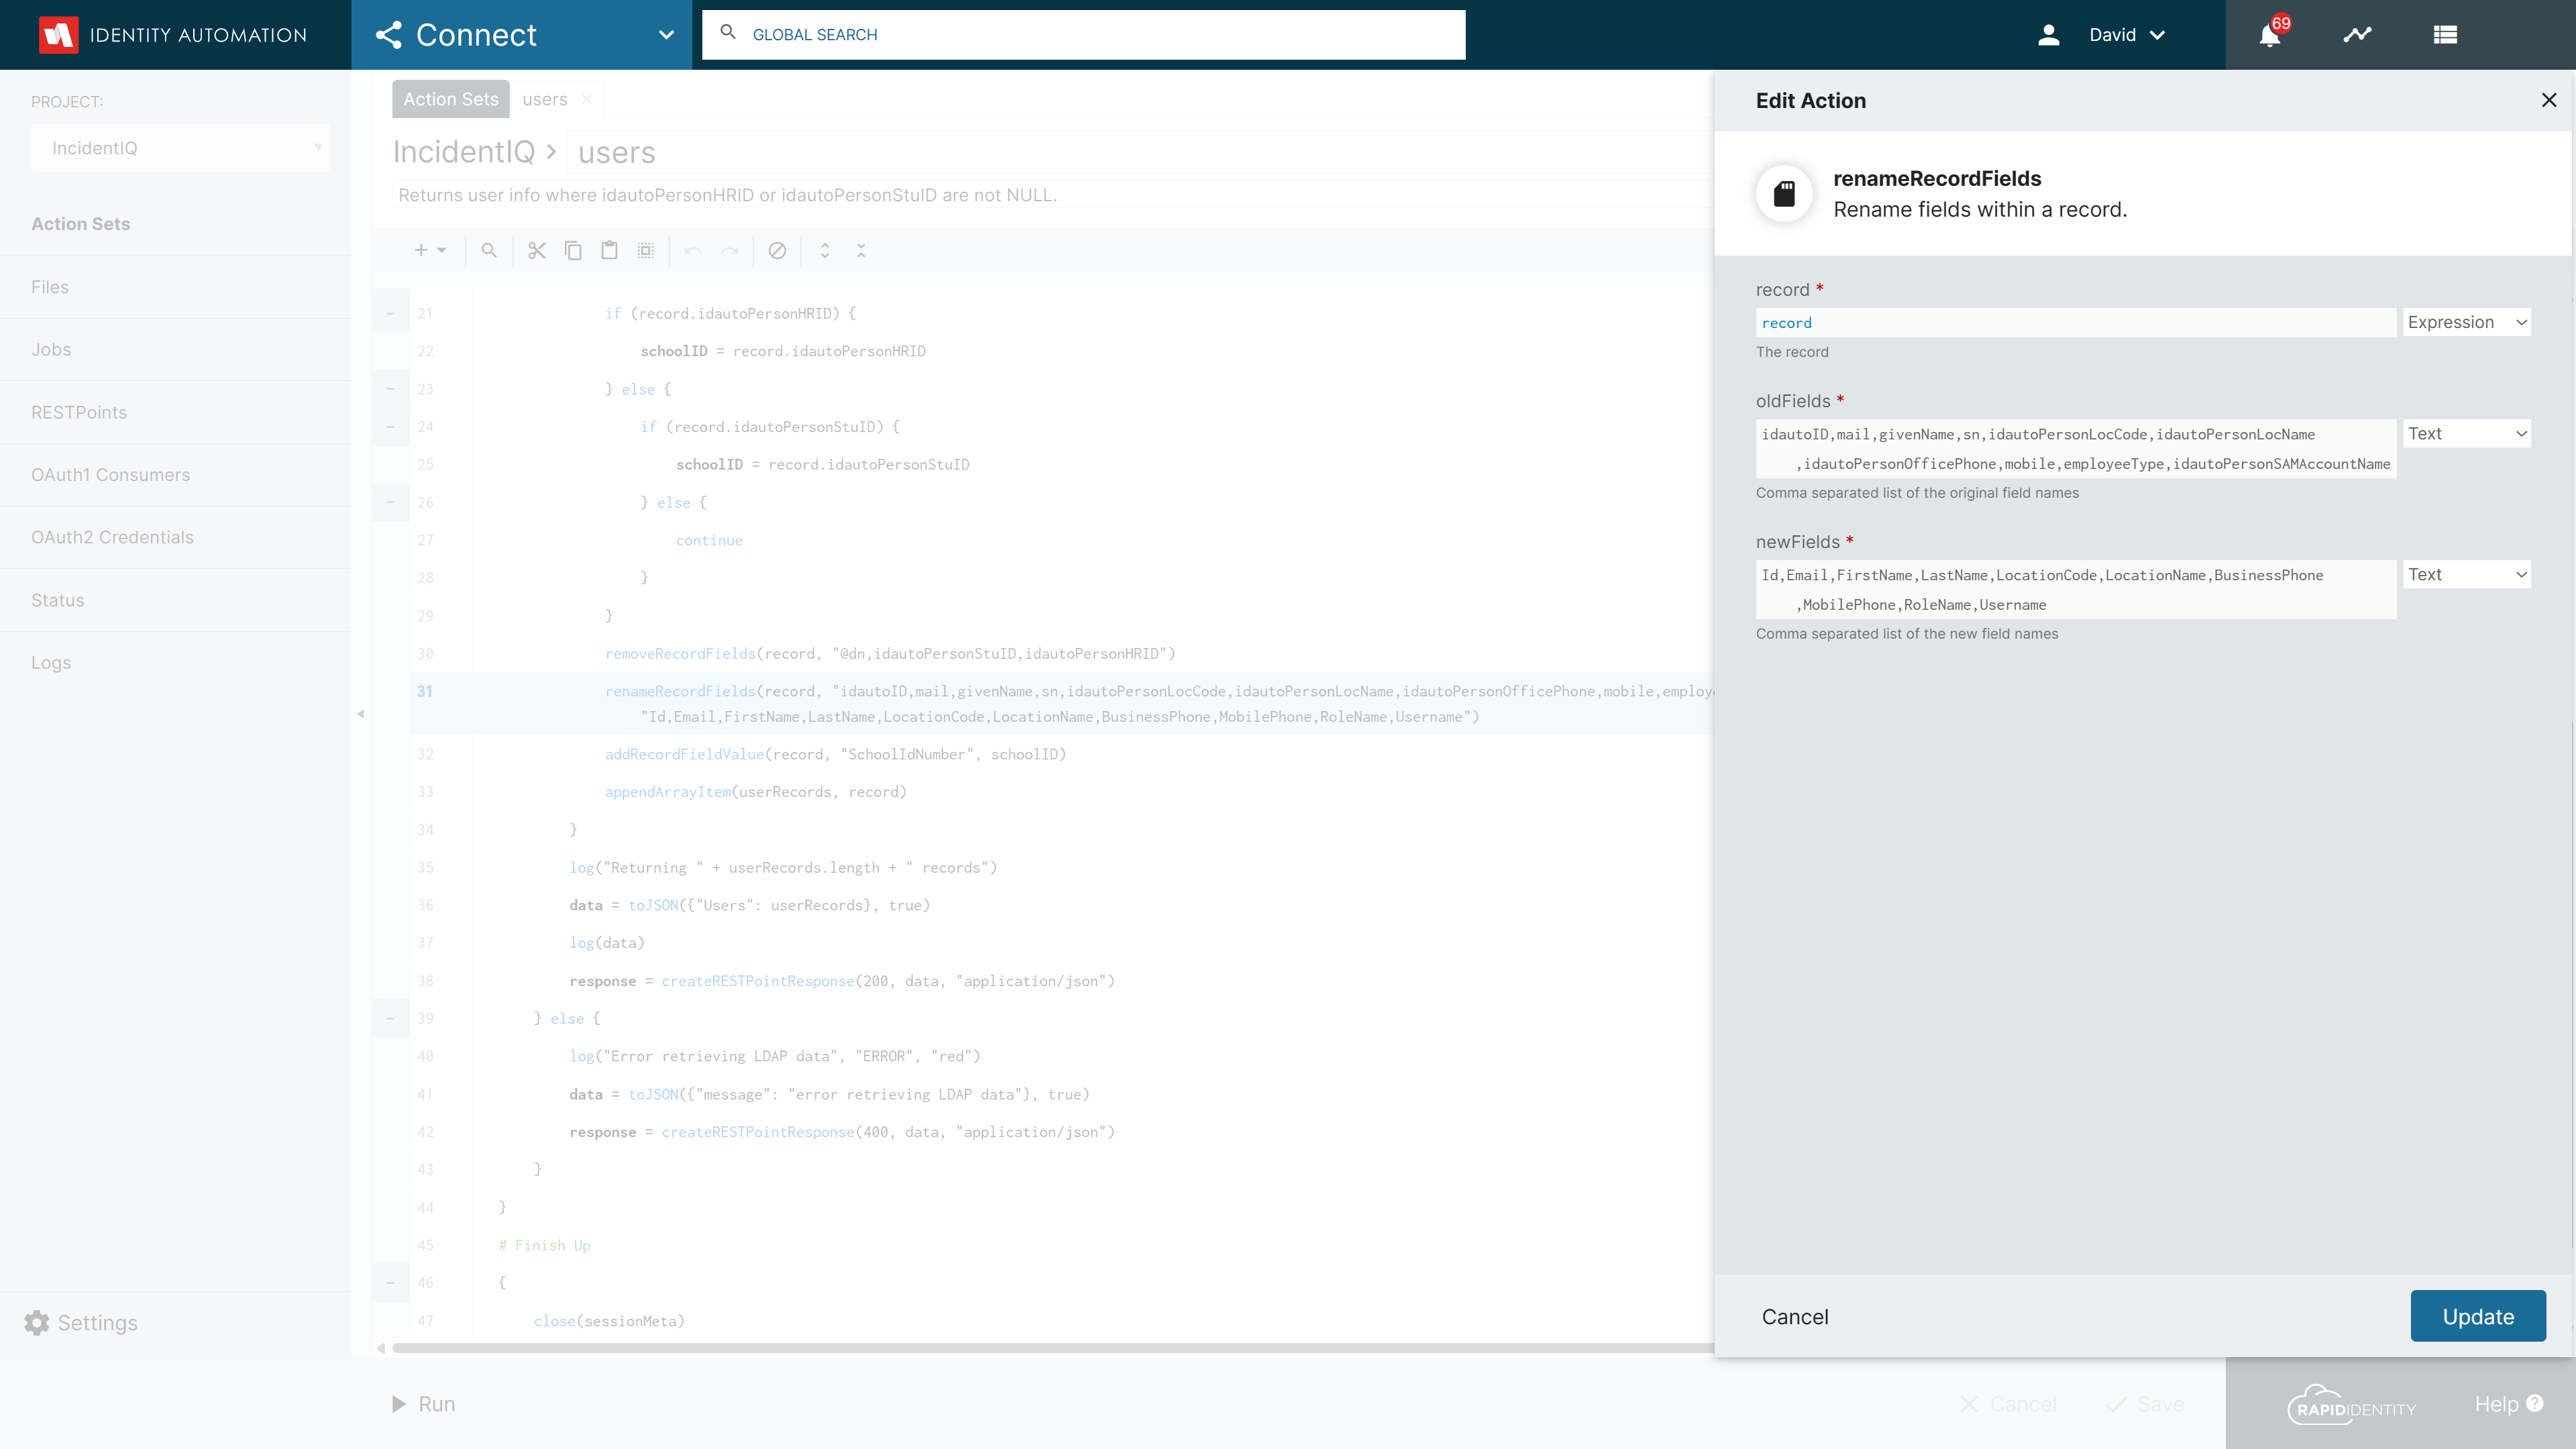
-
Add each attribute to the comma delimited list of
oldFieldsand the associatedkeyname to the comma delimited list ofnewFields. Click Update when done. -
When the necessary edits have been made click the Save button on the bottom action menu to save the Action Set.