Setting up a REST API Target from the Catalog
-
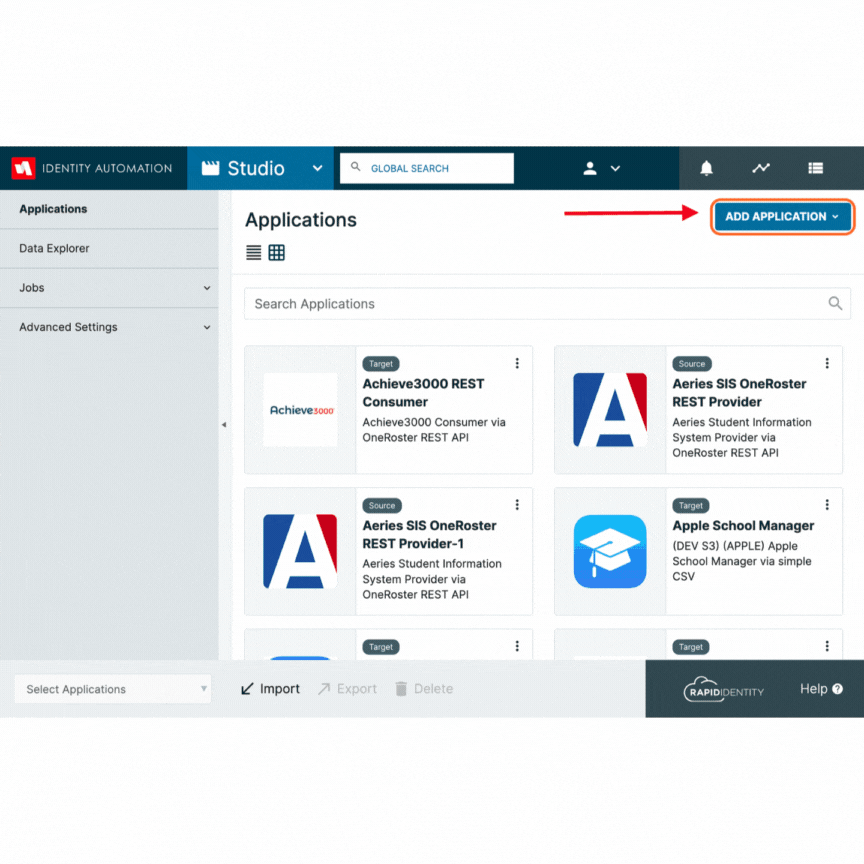
Start by accessing the Studio > Applications tab in RapidIdentity. Click on Add Application and select From App Library.
-
To find your desired Target Application:
- Apply a filter by selecting "Target" to narrow down your search.
- Alternatively, use the search box to locate the application directly.
-
Once you've identified the Target Application, select the checkbox next to it, and then click Install.
-
If needed, you can customize the name of the Application at this stage.
-
Proceed by clicking Install to initiate the installation process.
-
After Installation, select the appropriate Credential Type
-
After installation, click Generate Consumer Key (OAuth 1.0) or Client ID (OAuth 2.0).
- If using OAuth 1.0 Credentials make sure to select the correct Signature Method
- If using OAuth 2.0 Credentials make sure to select the Requested Scopes
-
Confirm your action by clicking Yes.
-
Click Update Consumer Secret.
-
Generate a new Consumer Secret by clicking Generate Consumer Secret.
-
Copy the generated Consumer Secret. You'll need this to provide access to the Target for data integration.
-
Confirm your choice by clicking Yes.
-
Finally, save your settings by clicking Save.
IMPORTANT: Give the Consumer Key and Consumer Secret to the Target Vendor. You will need to schedule the Mapping jobs to run early enough or frequently enough that the vendor can always get the most accurate data whenever they access the records.