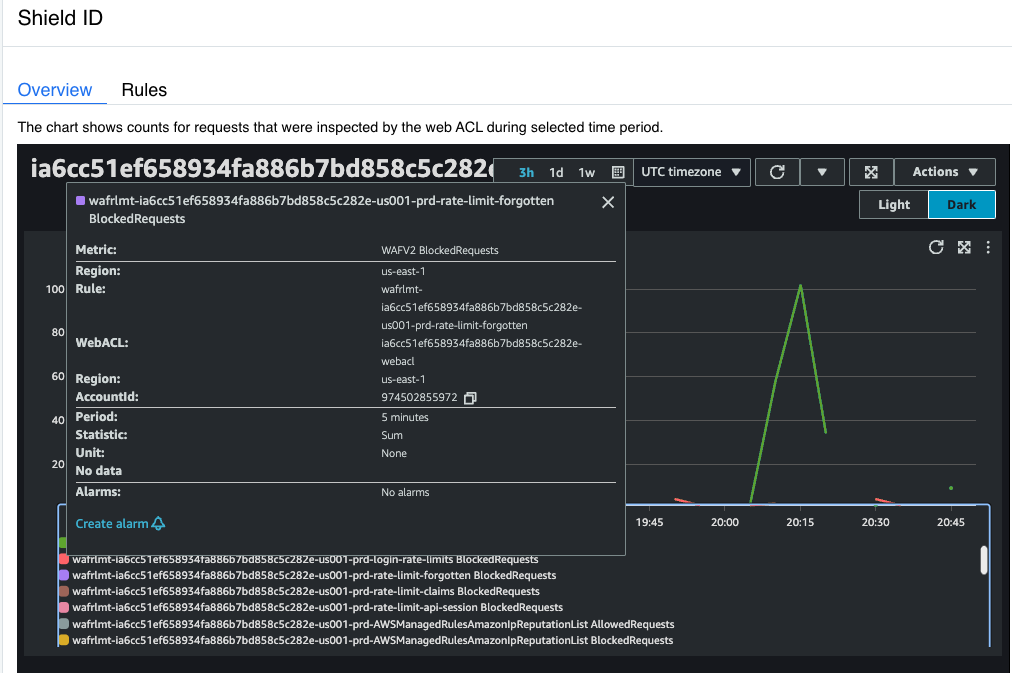
ShieldID Rules Configuration
ShieldID is accessible for Tenant Administrators by navigating to Configuration > Security > ShieldID.
ShieldID comes with Out-of-the-Box, pre-configured rule sets and configurable policies to protect RapidIdentity users from foreign threats, anonymous traffic and malicious bots.
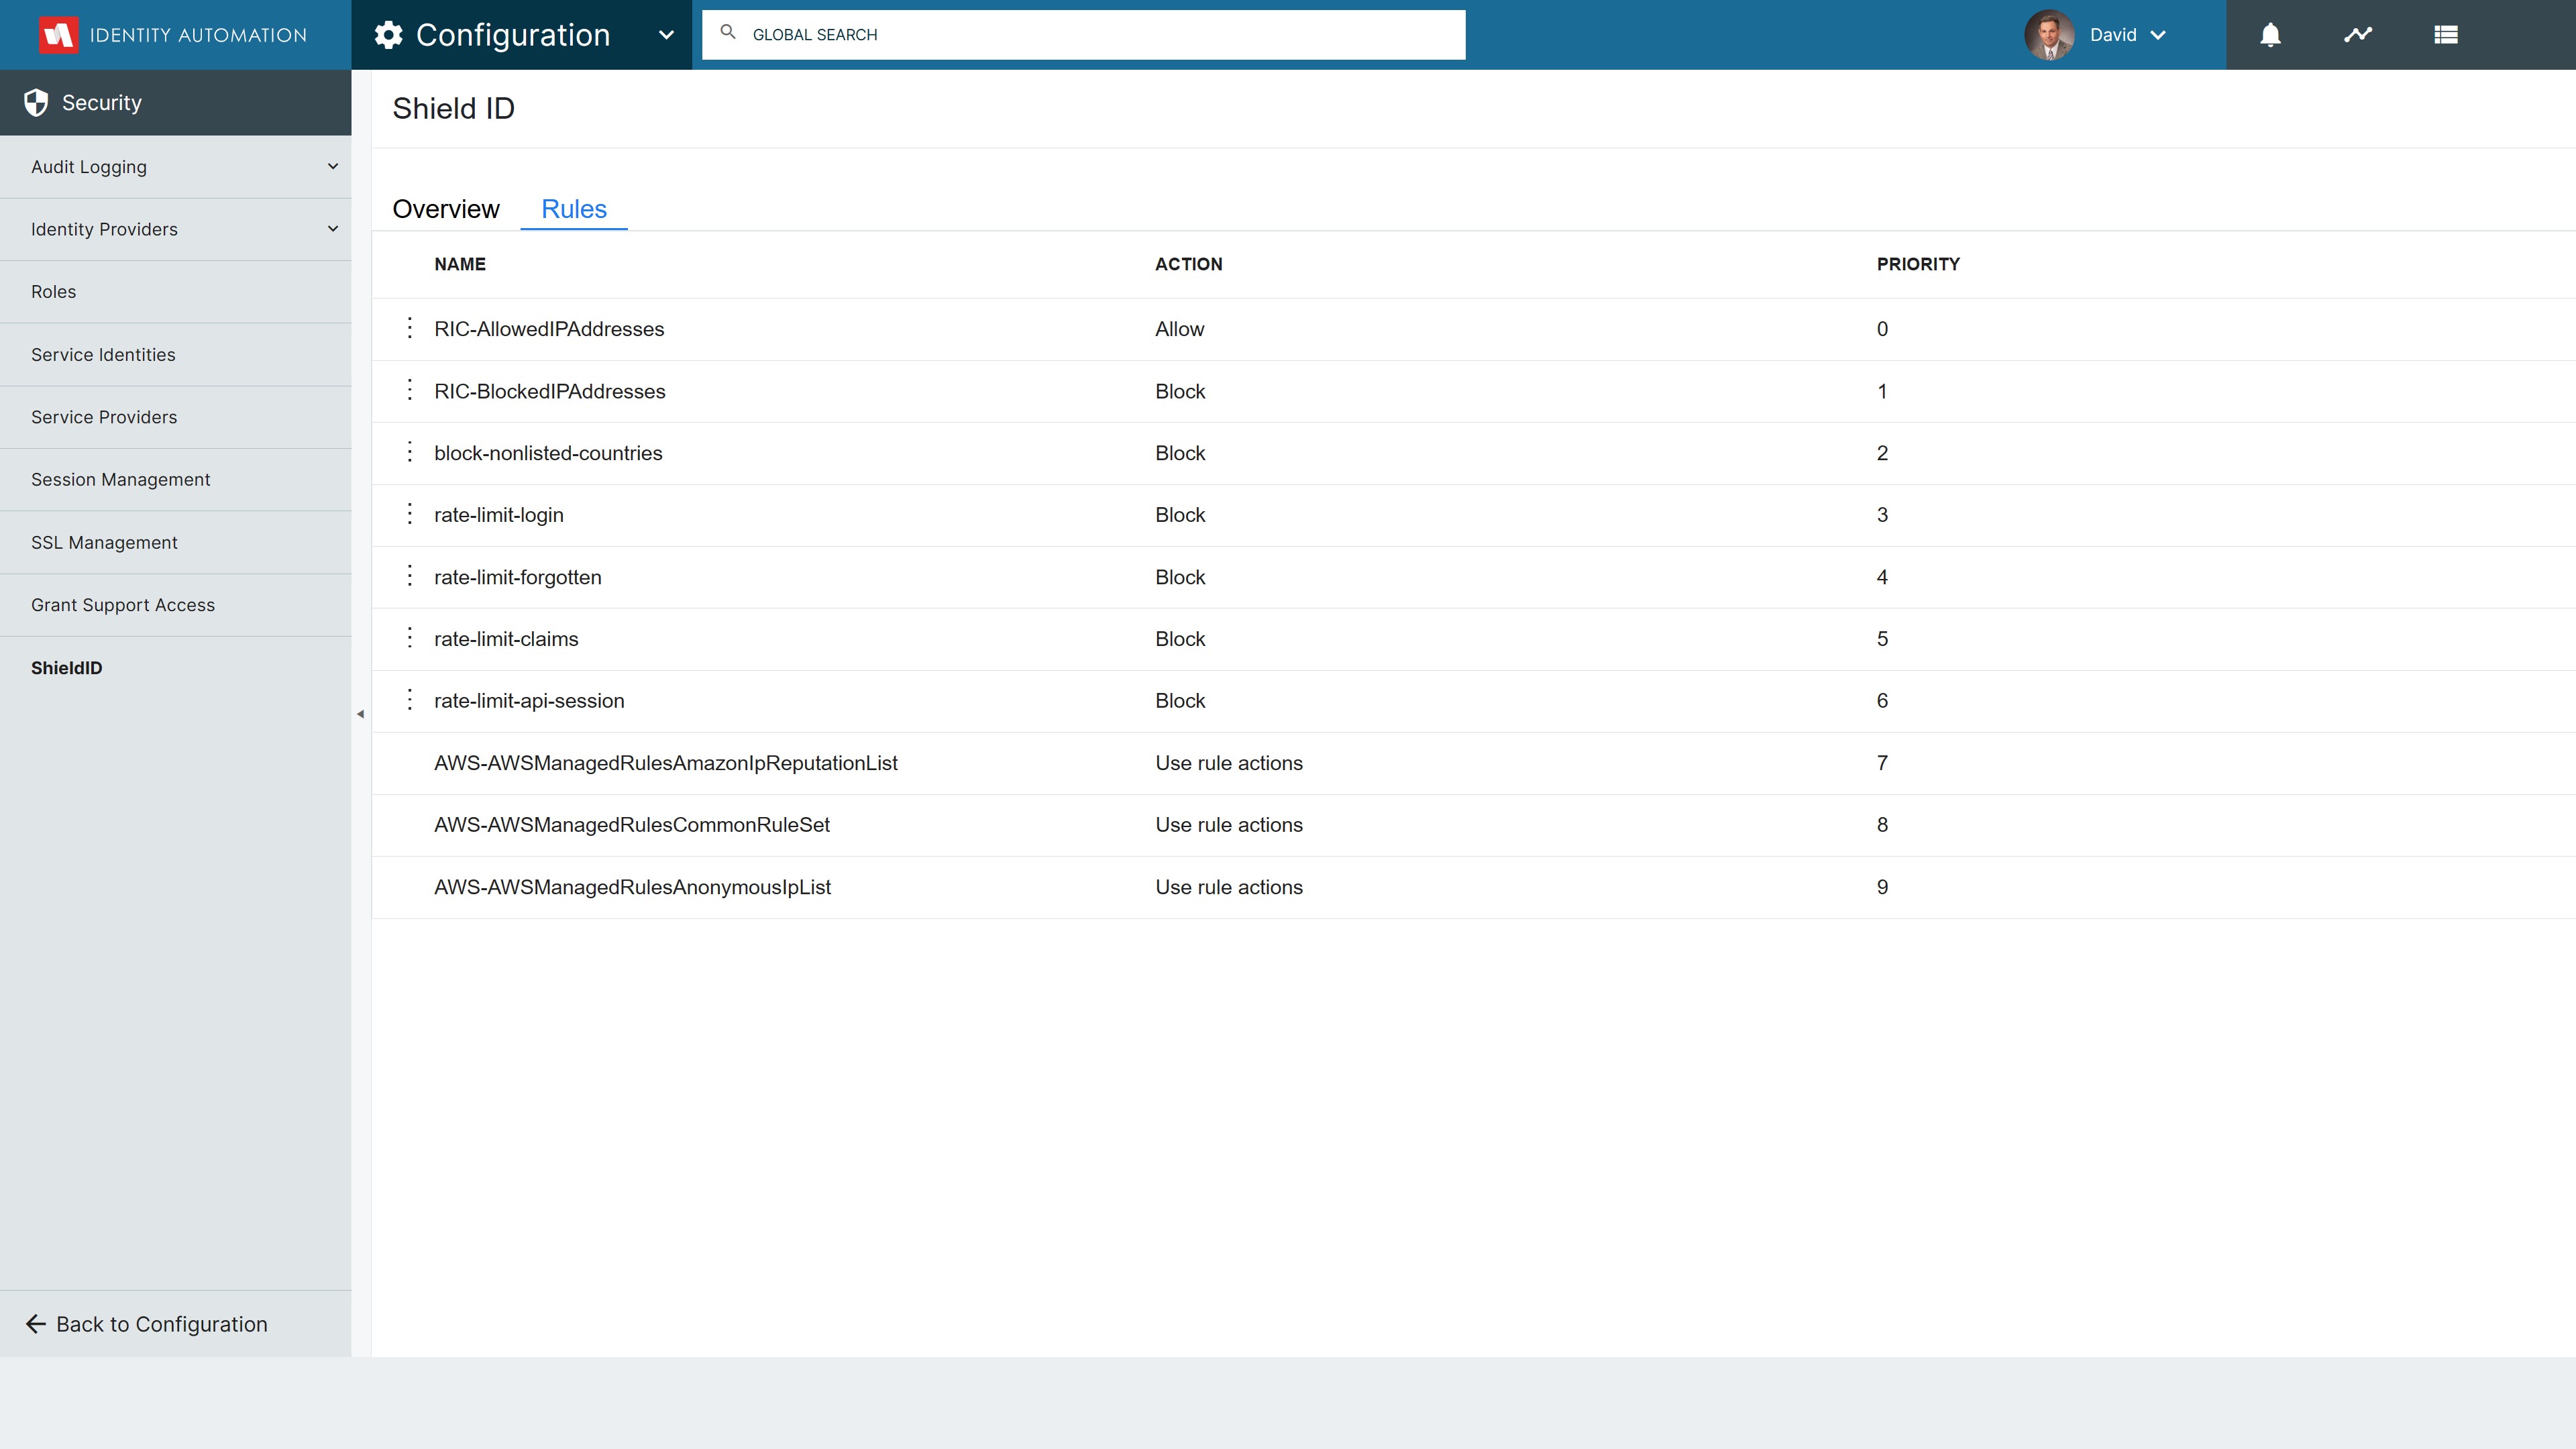
Rules determine how every web request is handled when matching the criteria defined in the rule and are evaluated and acted upon in priority order.
Rules are evaluated with every web request and, once a rule is matched, no further rule evaluations are performed for that web request.
Rule Priority 0 - Allowed IP Addresses
Use this rule to explicitly allow specific IP Addresses or a Range of IP Addresses into RapidIdentity.
Click the 3 ellipses ( ⋮ ) next the rule name and select Edit to begin.
In the IP addresses text box, enter one IP address or IP address range per line, in CIDR notation and click Add.
ShieldID supports all IPv4 and IPv6 CIDR ranges except for /0
To remove an IP Address or Range from the rule click the 3 ellipses ( ⋮ ) next to the IP Address or Range and select Delete.
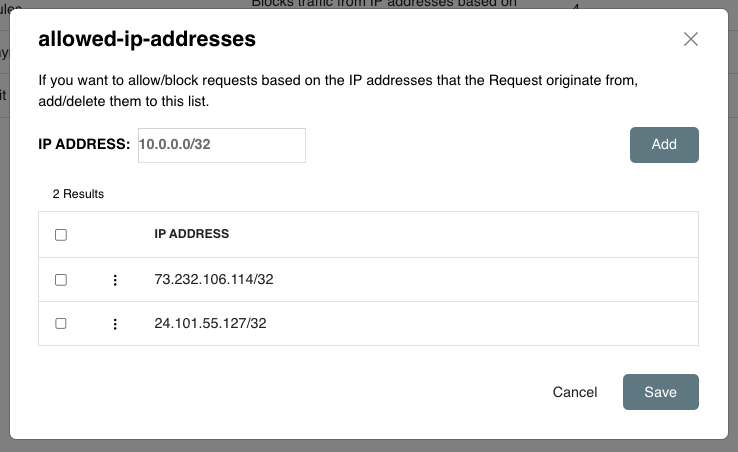
Click Save when done.
Rule Priority 1 - Blocked IP Addresses
Use this rule to explicitly block specific IP Addresses or Range of IP Addresses from accessing RapidIdentity.
Click the 3 ellipses ( ⋮ ) next the rule name and select Edit to begin.
In the IP addresses text box, enter one IP address or IP address range per line, in CIDR notation and click Add.
ShieldID supports all IPv4 and IPv6 CIDR ranges except for /0
To remove an IP Address or Range from the rule click the 3 ellipses ( ⋮ ) next to the IP Address or Range and select Delete.
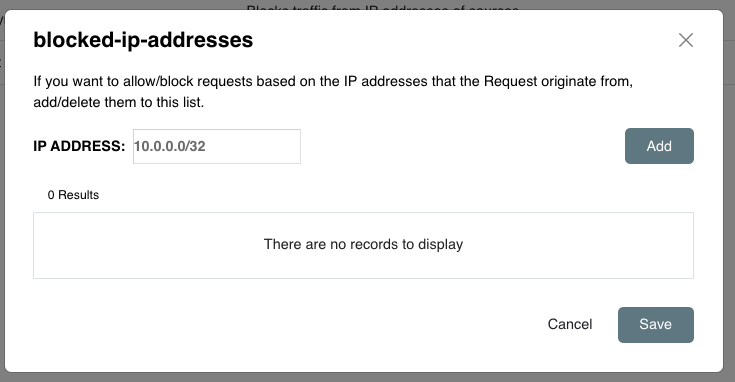
Click Save when done.
Rule Priority 2 - Country Rule
Use this rule to explicitly block or explicitly allow specific Countries from accessing RapidIdentity.
ShieldID uses the alpha-2 country codes from the International Organization for Standardization (ISO) 3166 standard. For a list of available country codes supported by ShieldID click here
Click the 3 ellipses ( ⋮ ) next the rule name and select Edit to begin.
Set the Rule Condition to be Block Countries in the List to Explicitly block or Allow Countries in the List to explicitly Allow.
Use the Country Code dropdown to select the country code you want to Block or Allow
To remove a Country from the rule click the 3 ellipses ( ⋮ ) next to the Country Code and select Delete.
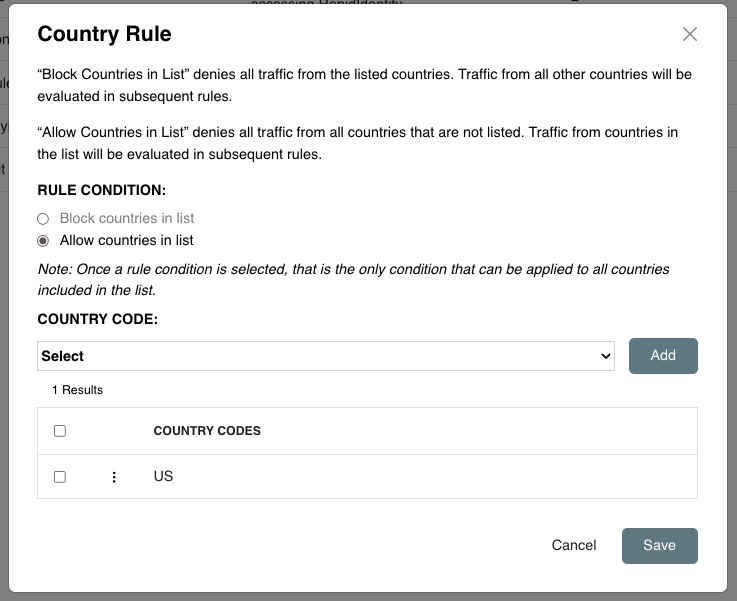
Click Save when done.
Rule Priority 3 - IP-Reputation
This is a pre-configured ruleset for all ShieldID Customers
Inspects and blocks traffic from IP addresses that have been identified as bots
Rule Priority 4 - Common-Rules
This is a pre-configured ruleset for all ShieldID Customers
Inspects and blocks traffic from IP addresses based on common best practices
Rule Priority 5 - Block-Anonymous-IP
This is a pre-configured ruleset for all ShieldID Customers
Inspects and blocks traffic from IP addresses of sources known to anonymize client information, like TOR nodes, temporary proxies, and other masking services
Rule Priority 6 - RIC-Rate-Limit
The Rate Limit Login rule tracks the rate of requests for each originating IP address for Logins, Forgotten Passwords, Claim Accounts and API Sessions, and triggers the rule action on IPs with rates that go over the limit set.
This rule is used to put a temporary block on Login requests from an IP address that's sending excessive requests.
The Rate Limit Login rule is preconfigured to temporarily block requests from a single IP Address that exceed 100 within a 5 minute period of time.
Use the Overview display to highlight the number of Login Requests that are or have been Rate Limited by each type of Rate Limit
