Using Access Groups in Studio - a Practical Example
Studio Access Groups provides a quick and easy way to restrict the data rostered to a target applications by RapidIdentity Studio.
By default, a target application is set to send all roster information to a target application. The following describes how Access Groups can be configured on a target application to only send rostering information for, as an example, specific schools and grades.
This example assumes that Access Groups have not already been configured for the target application.
Since not all Student Information Systems provide Grades for Teachers, this example creates two Access Groups for the target application, one that restricts students in certain schools and grades while the other restricts teachers in the same schools.
As a Studio Administrator in RapidIdentity:
-
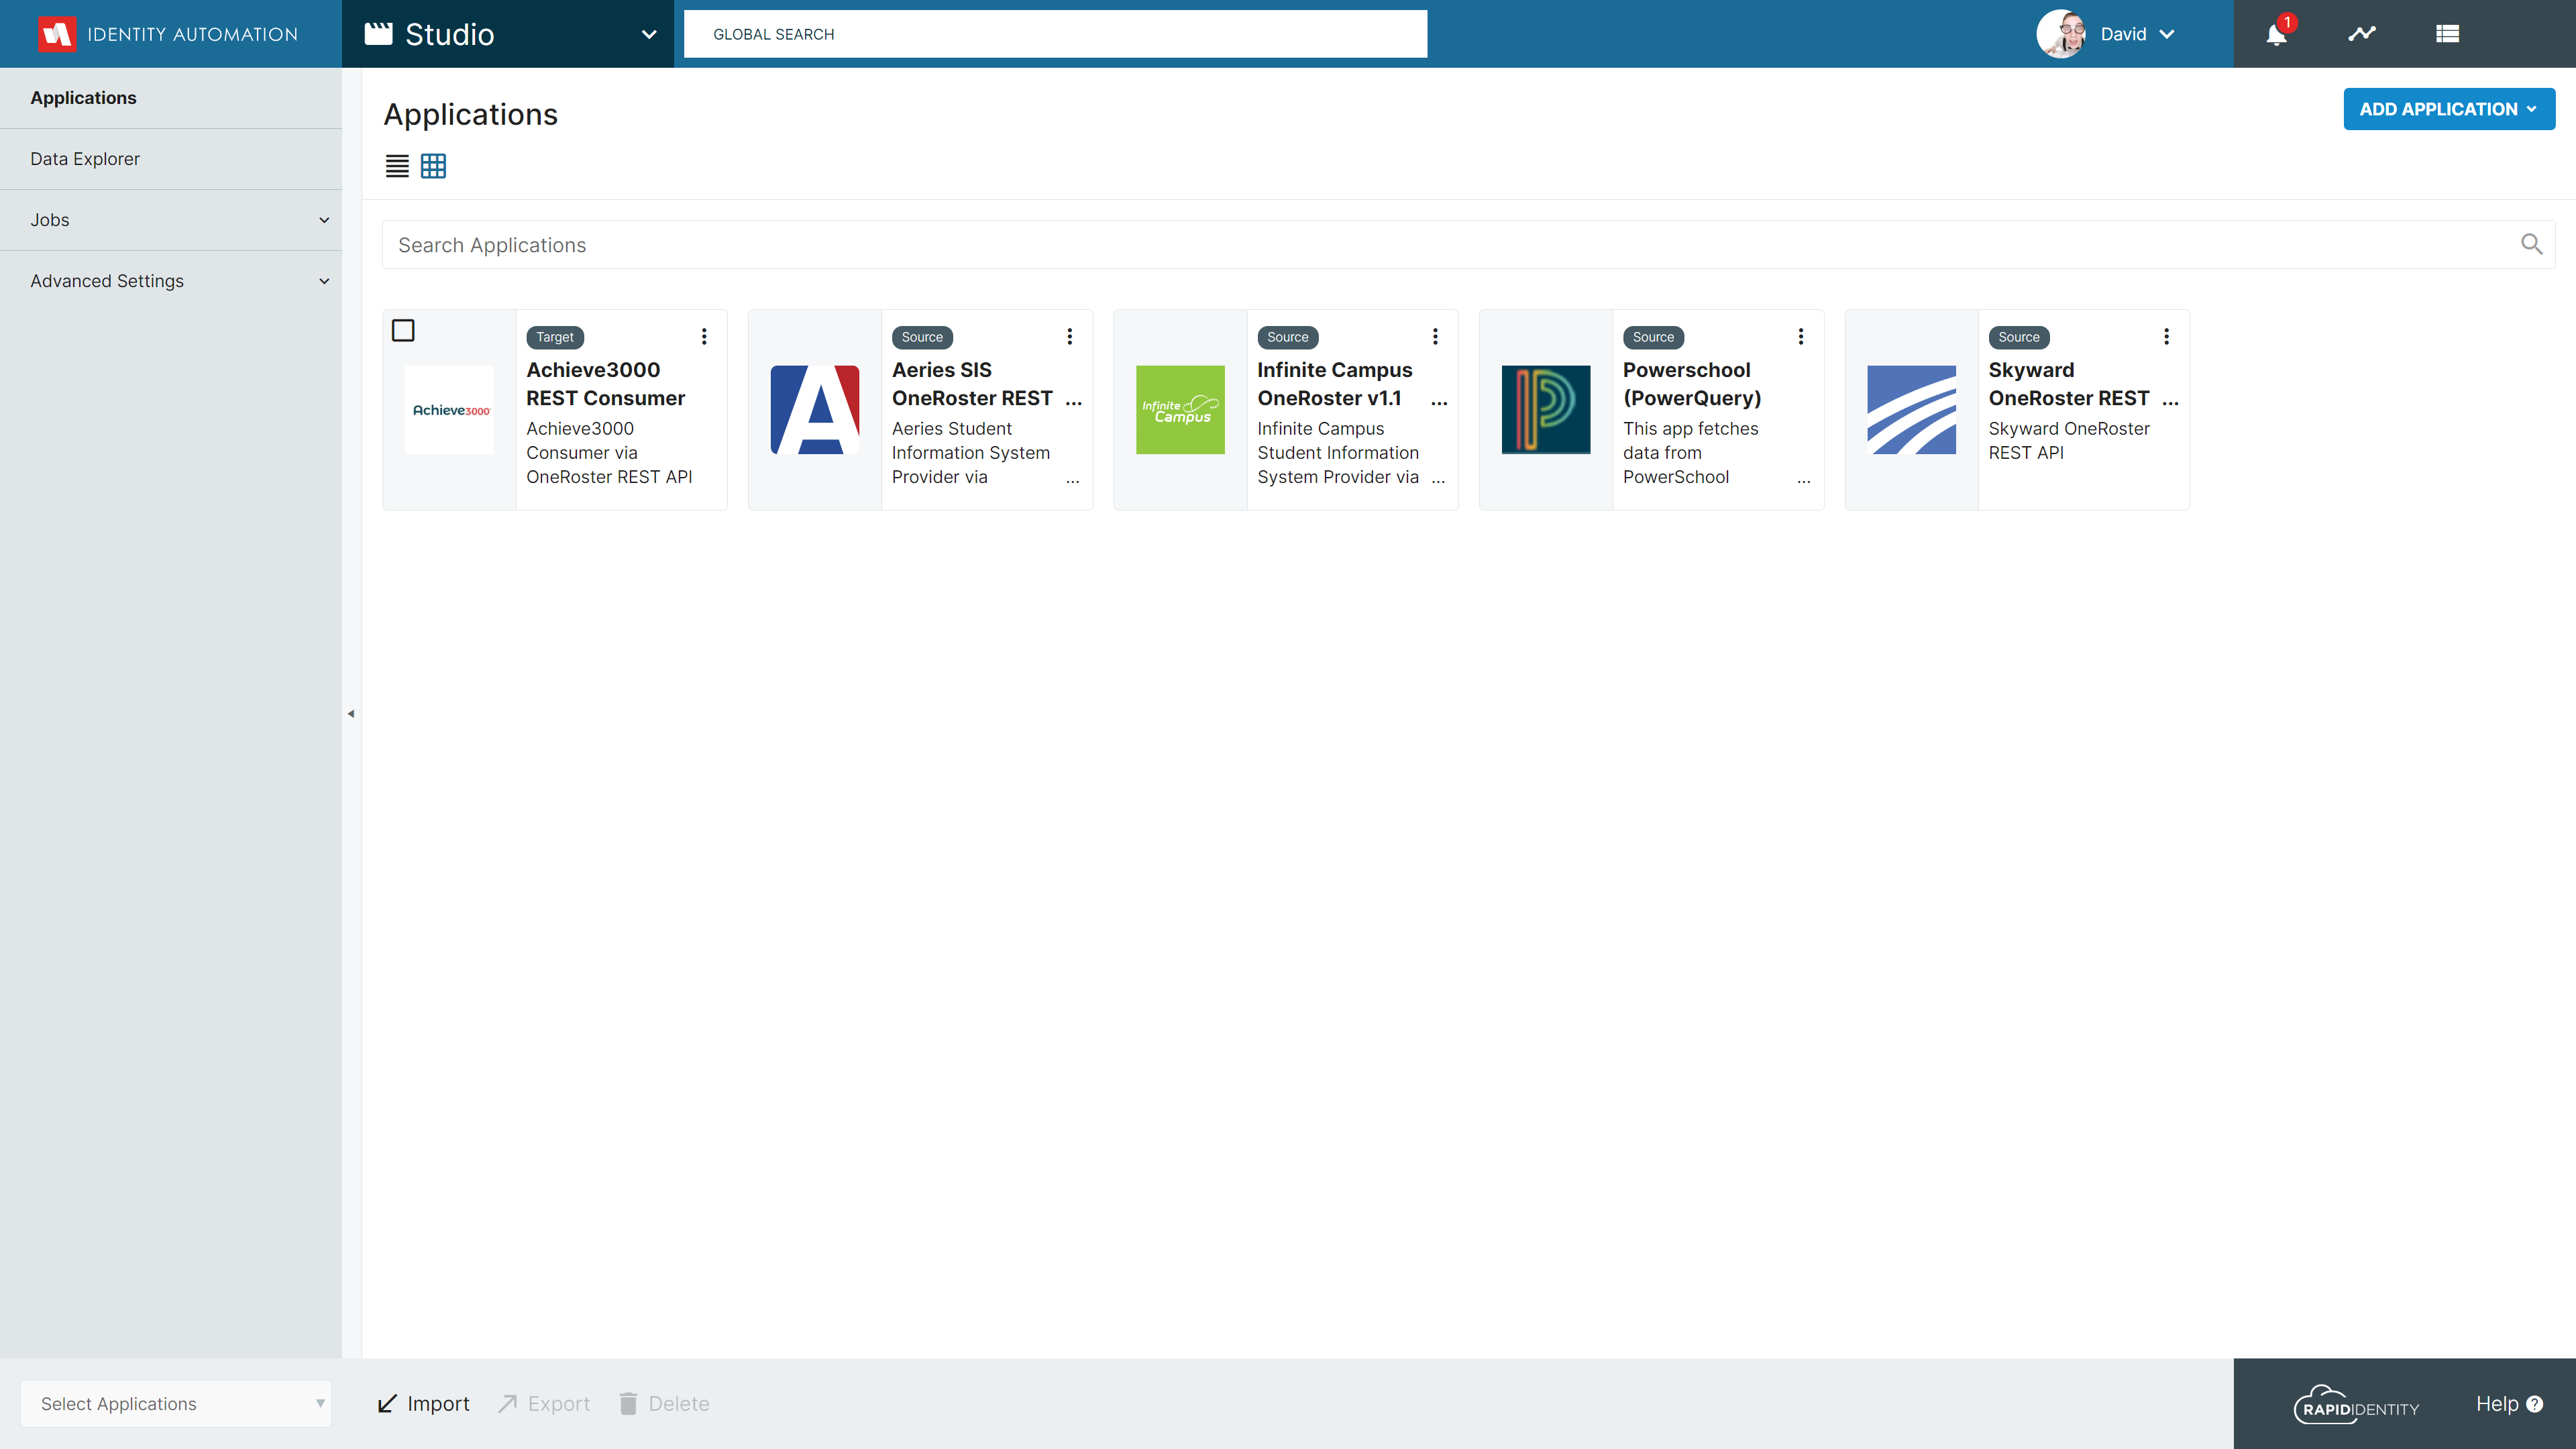
Click Studio from the module selector to navigate to Studio Applications

-
Click the Target Application for the Access Group
-
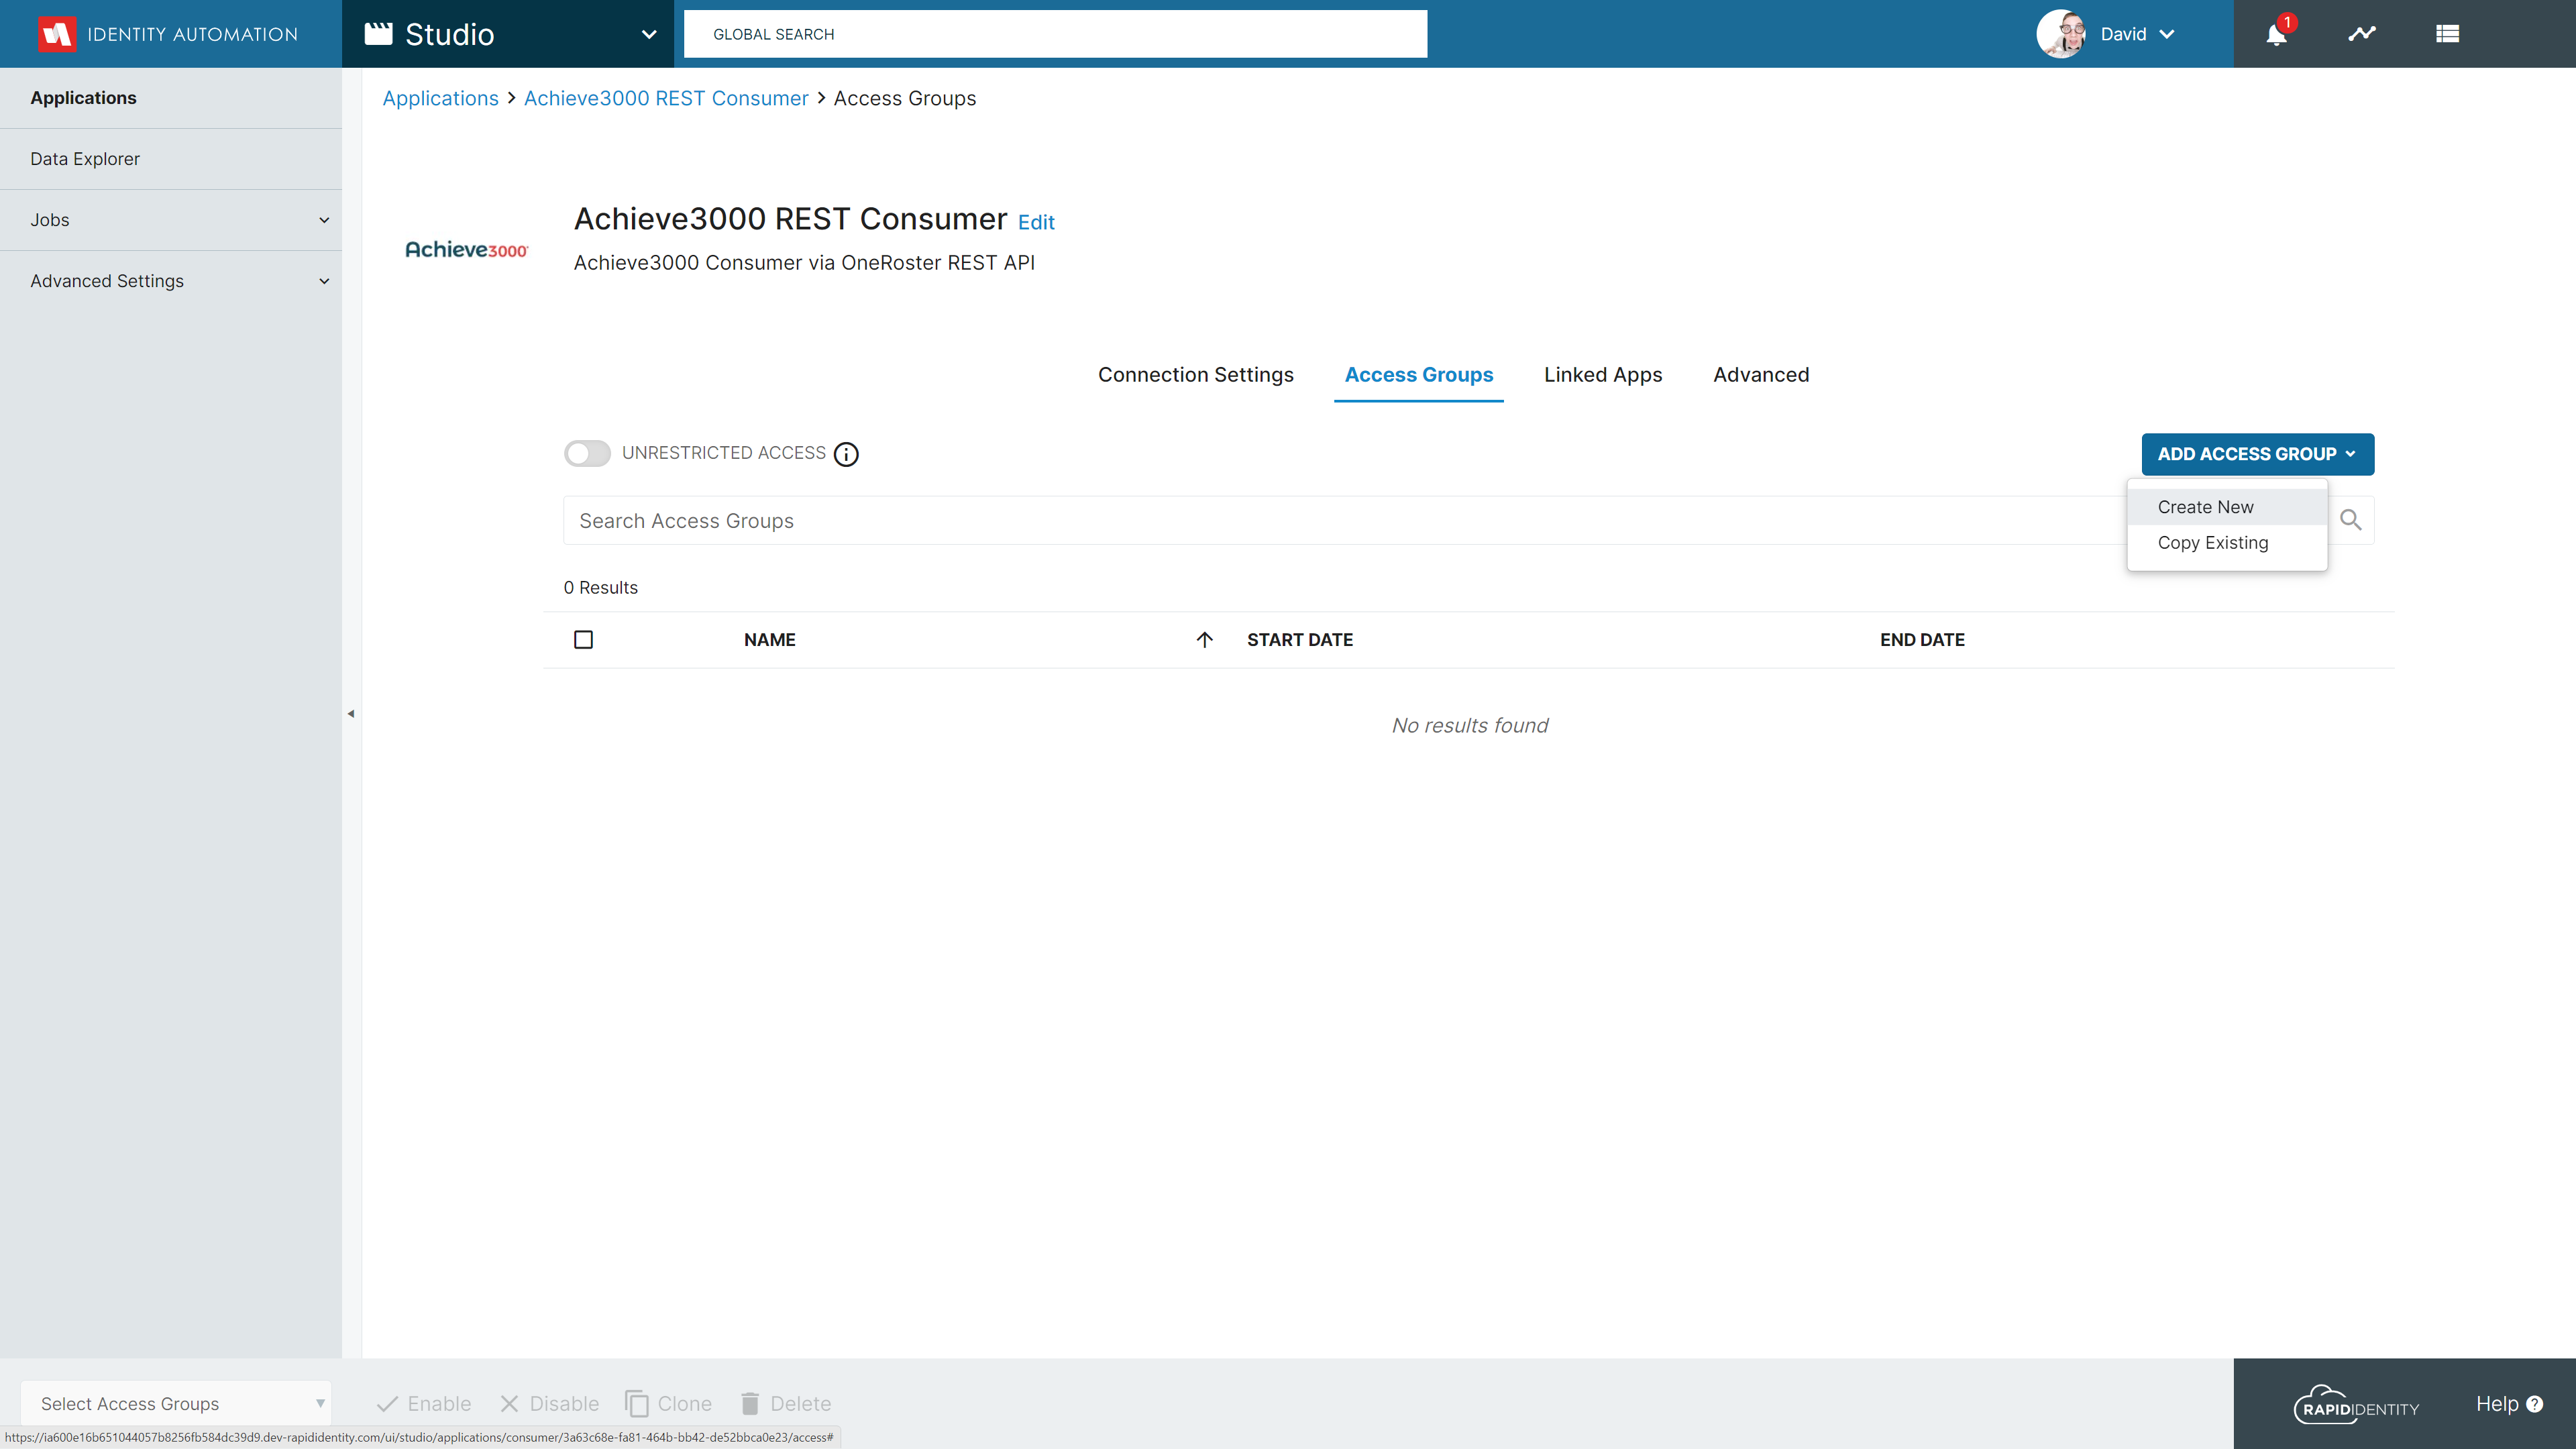
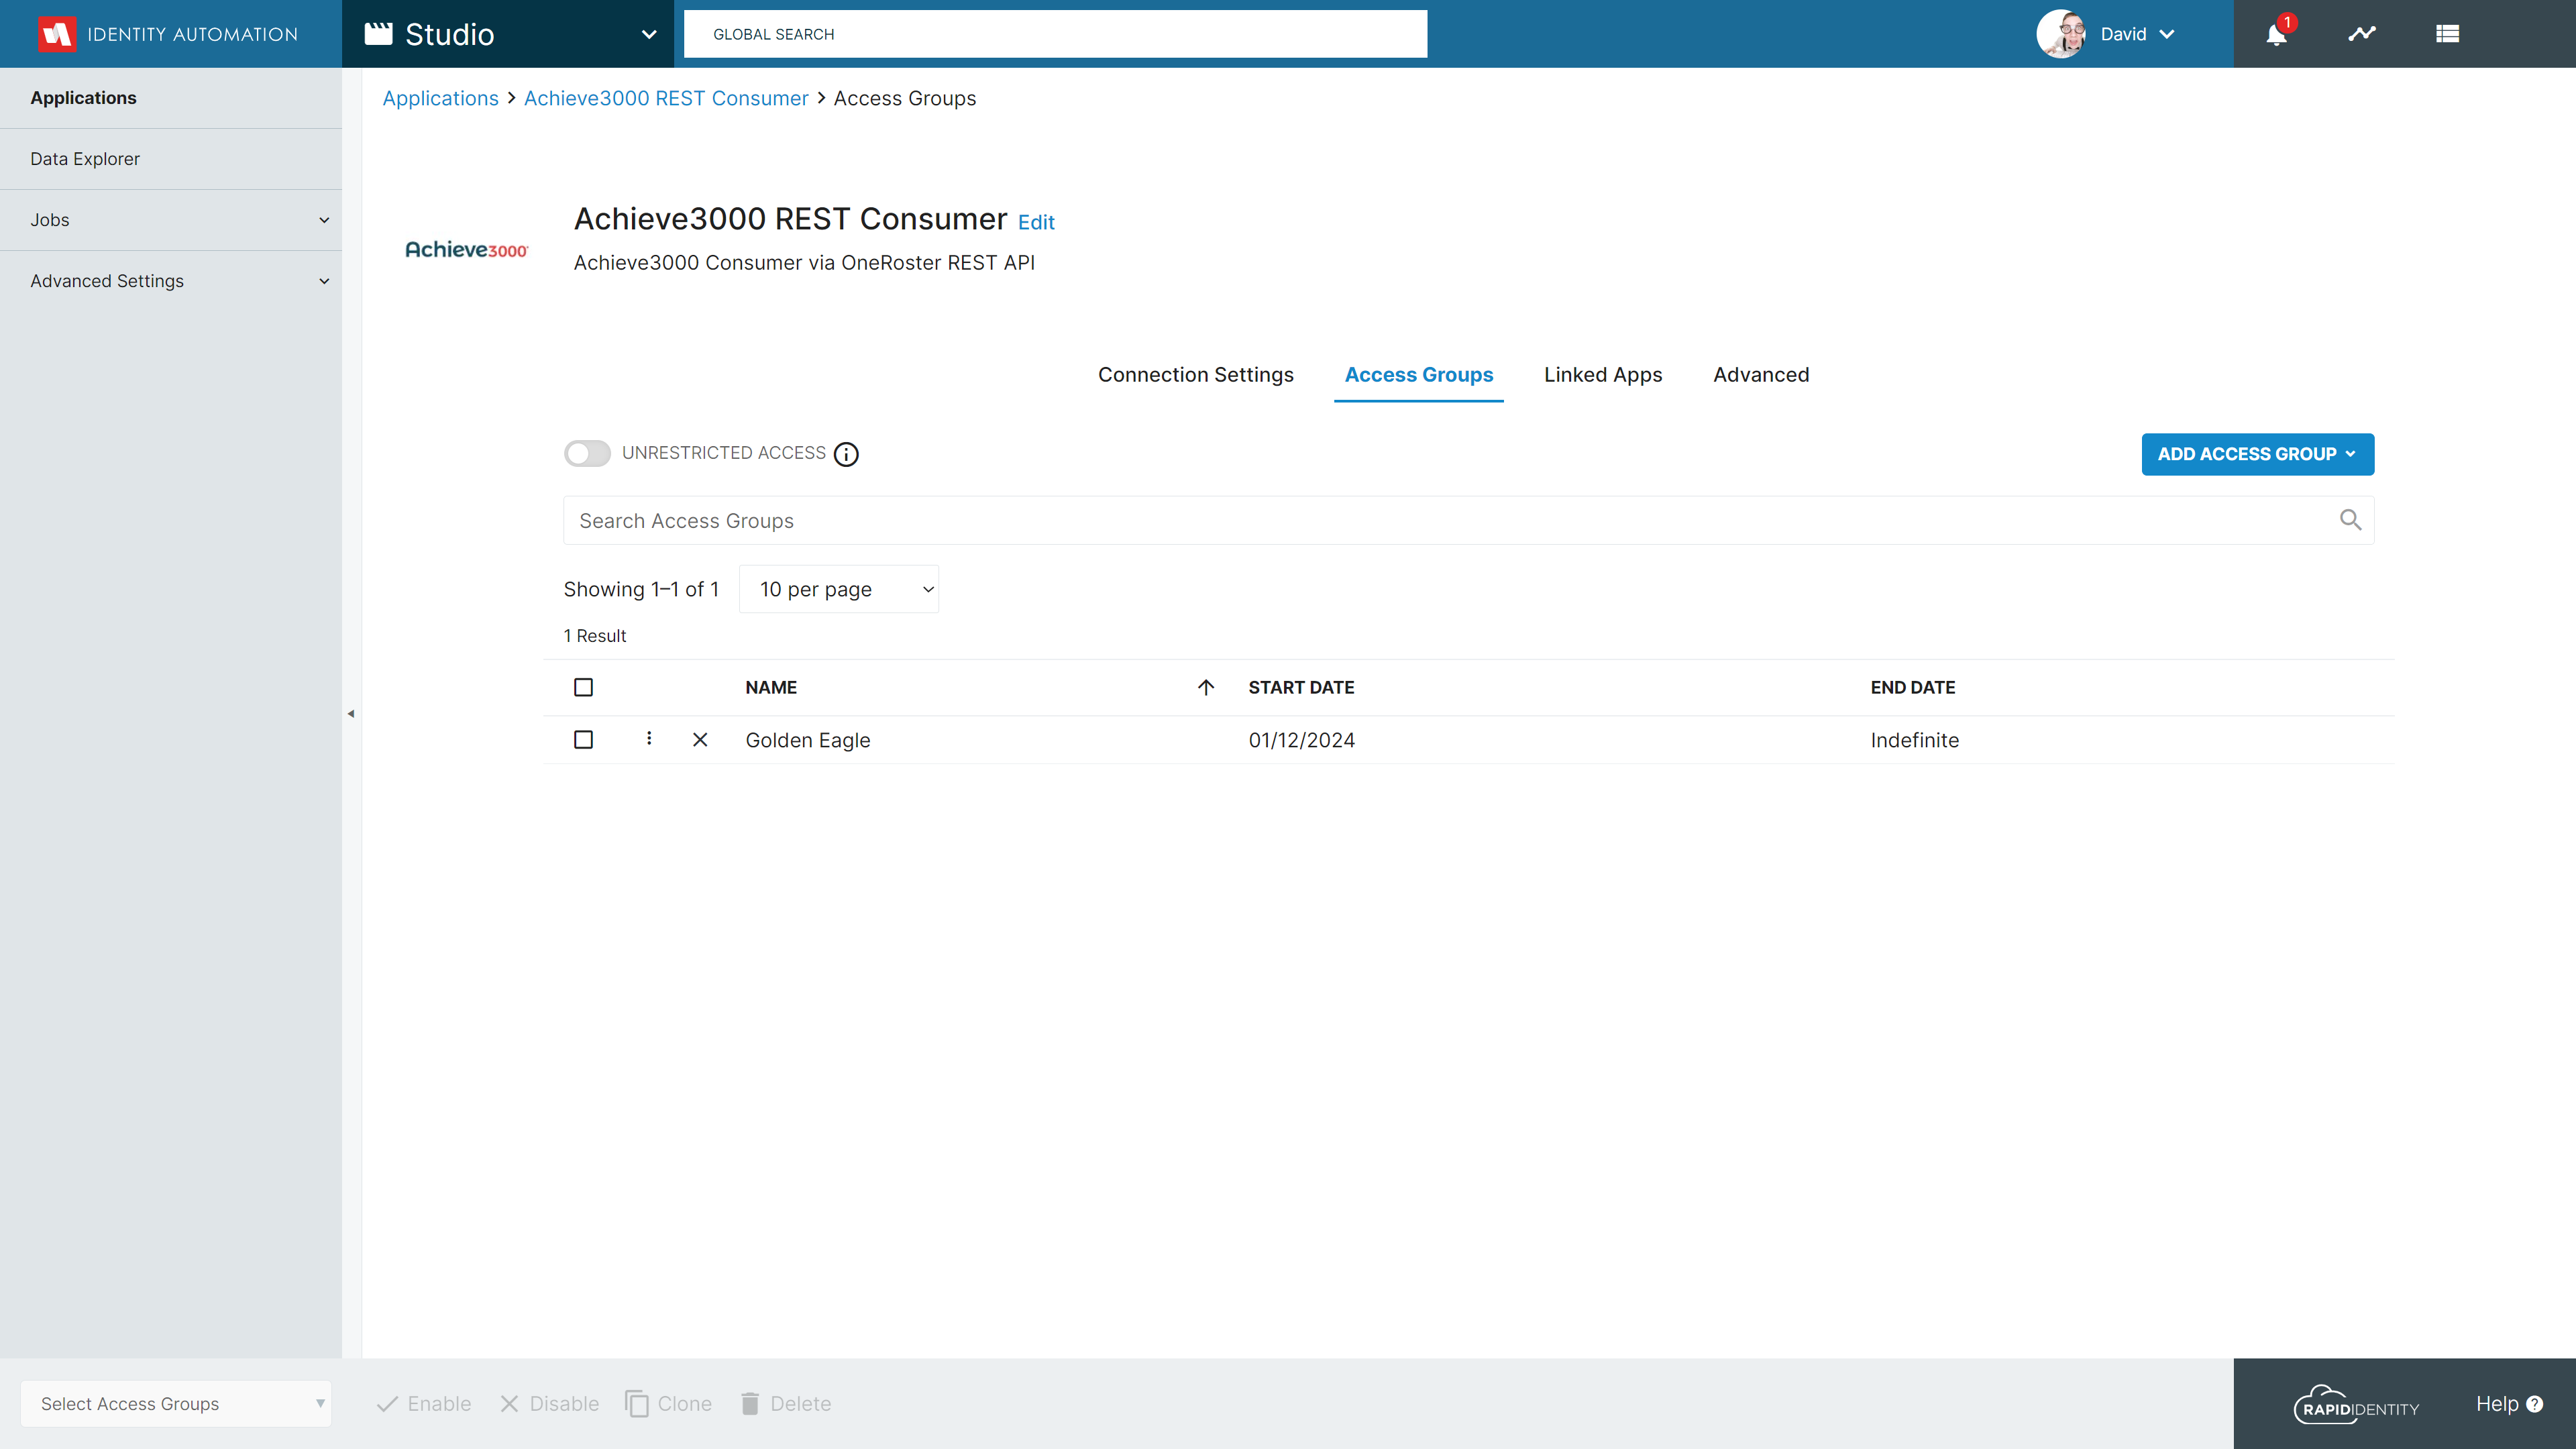
Select the Access Groups tab
-
Turn off Unrestricted Access, click Add Access Group and select Create New
-
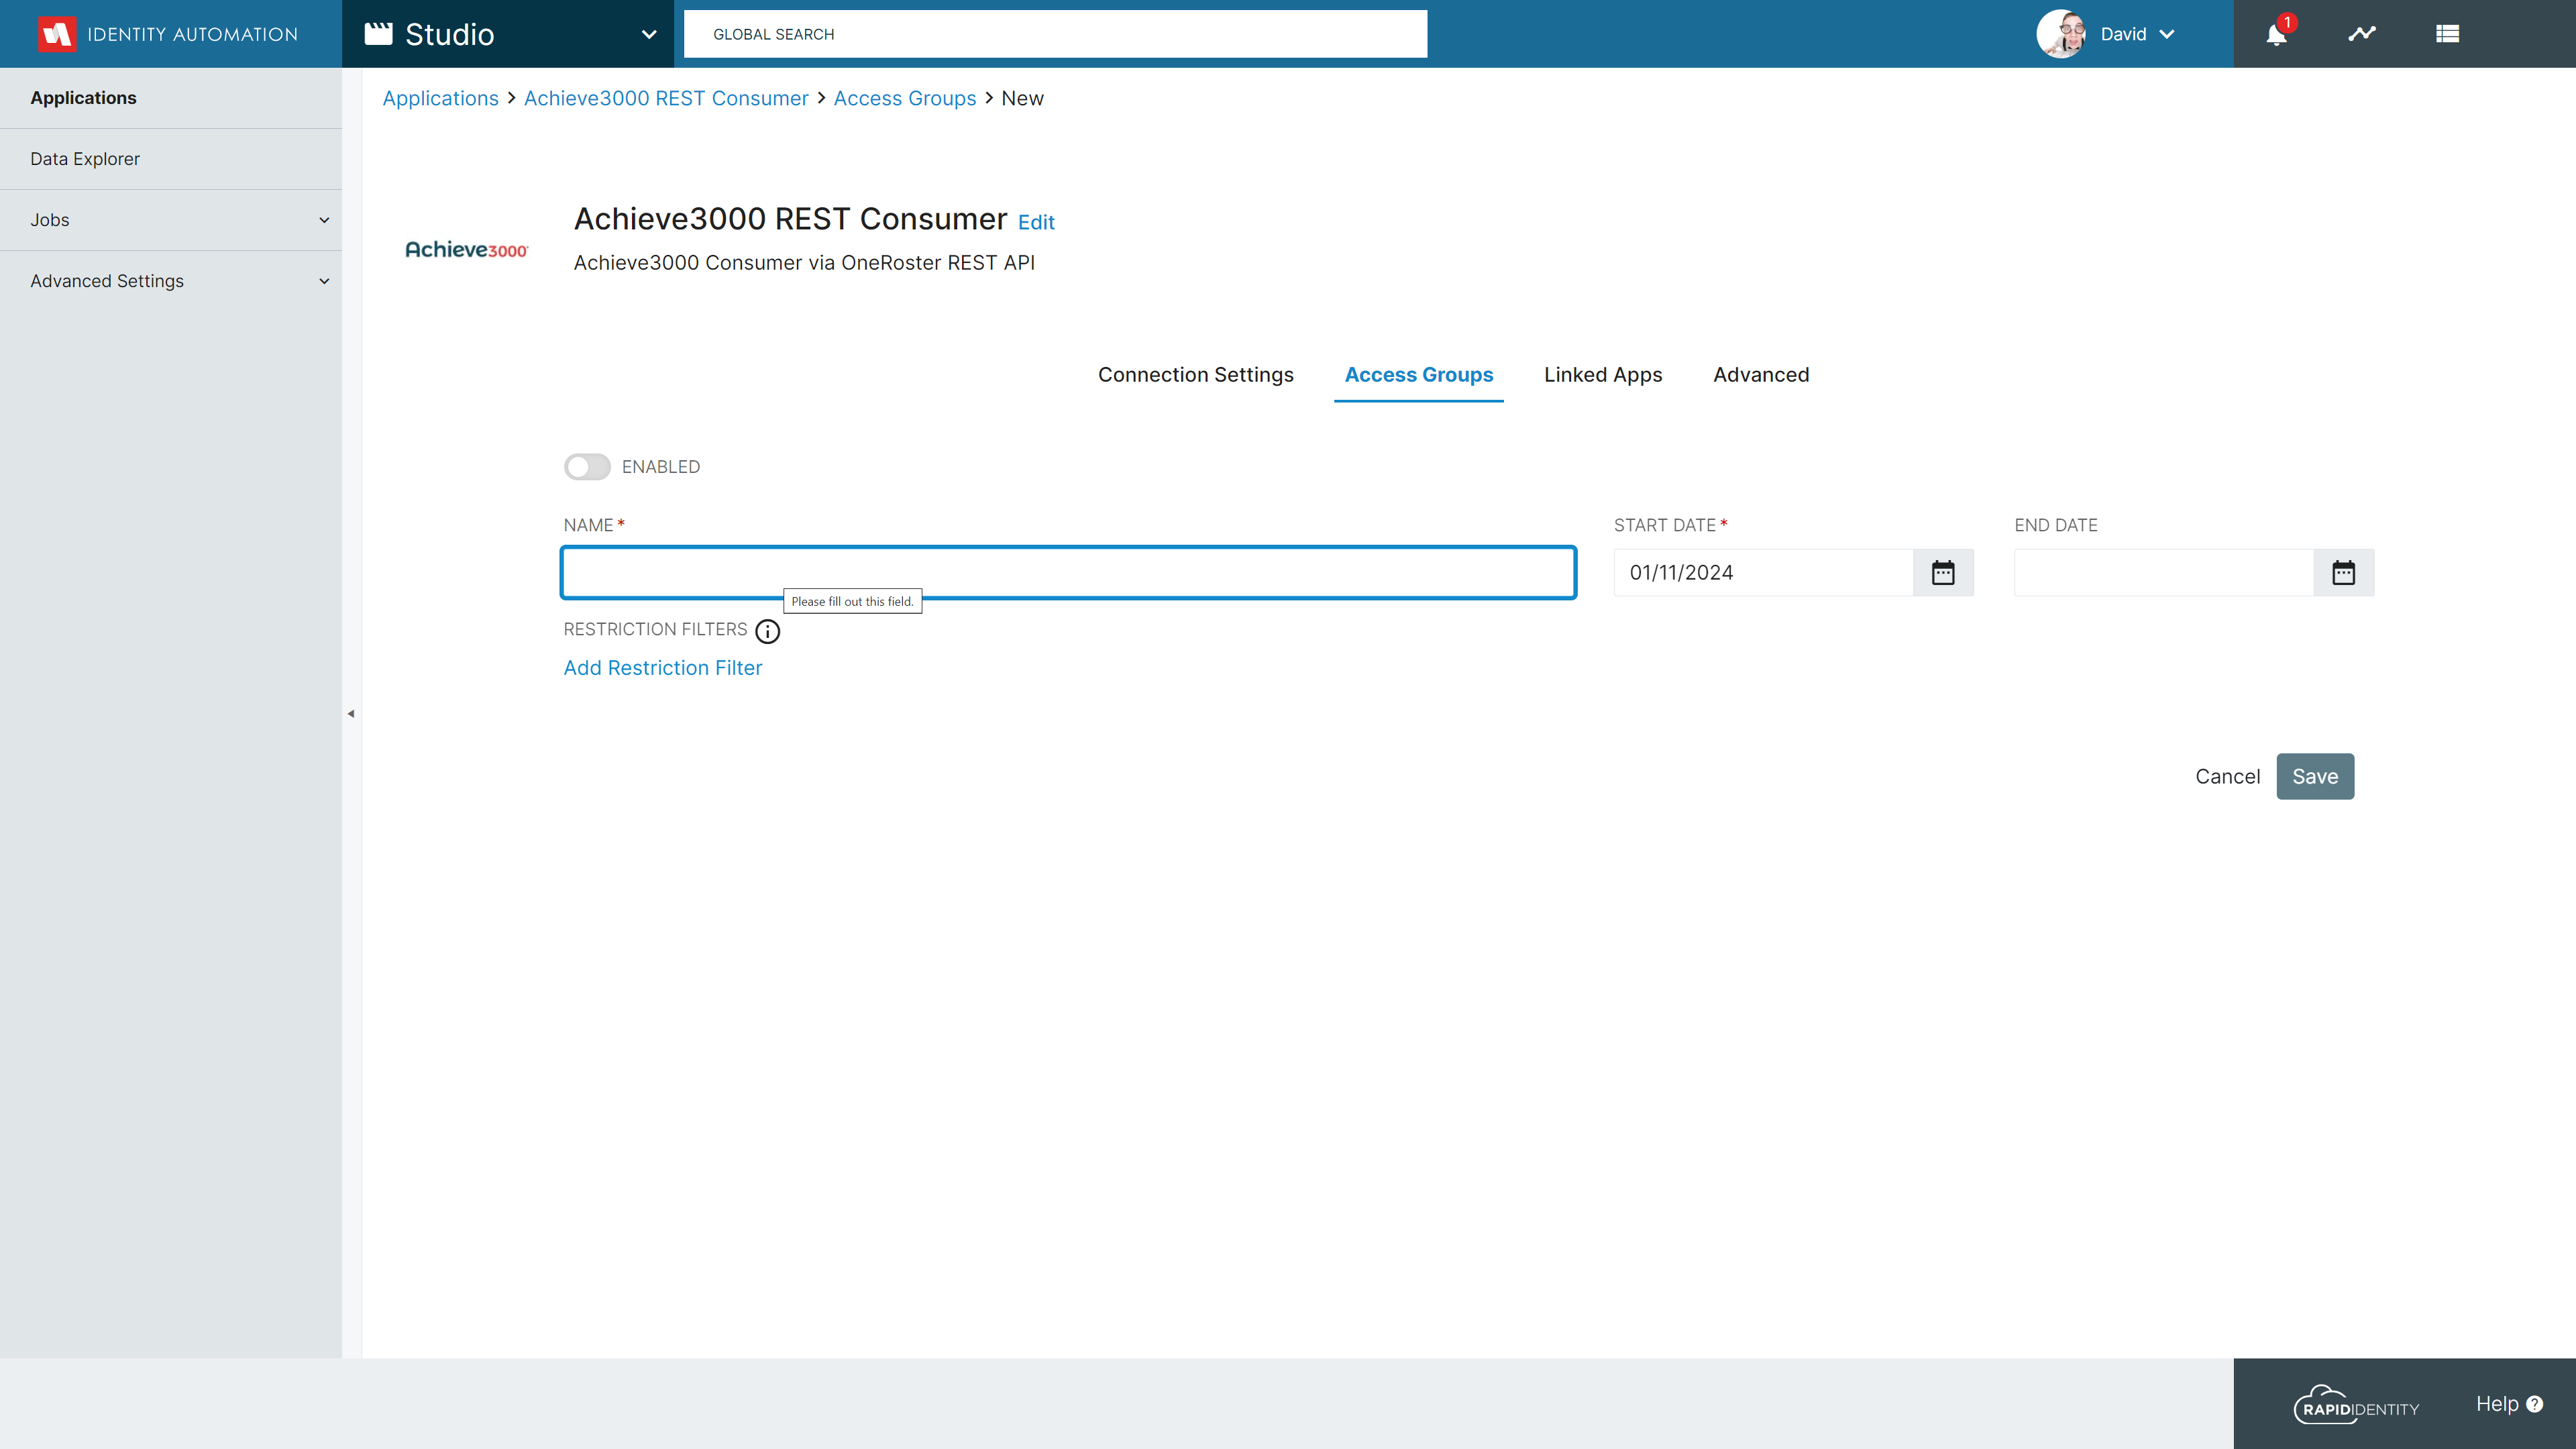
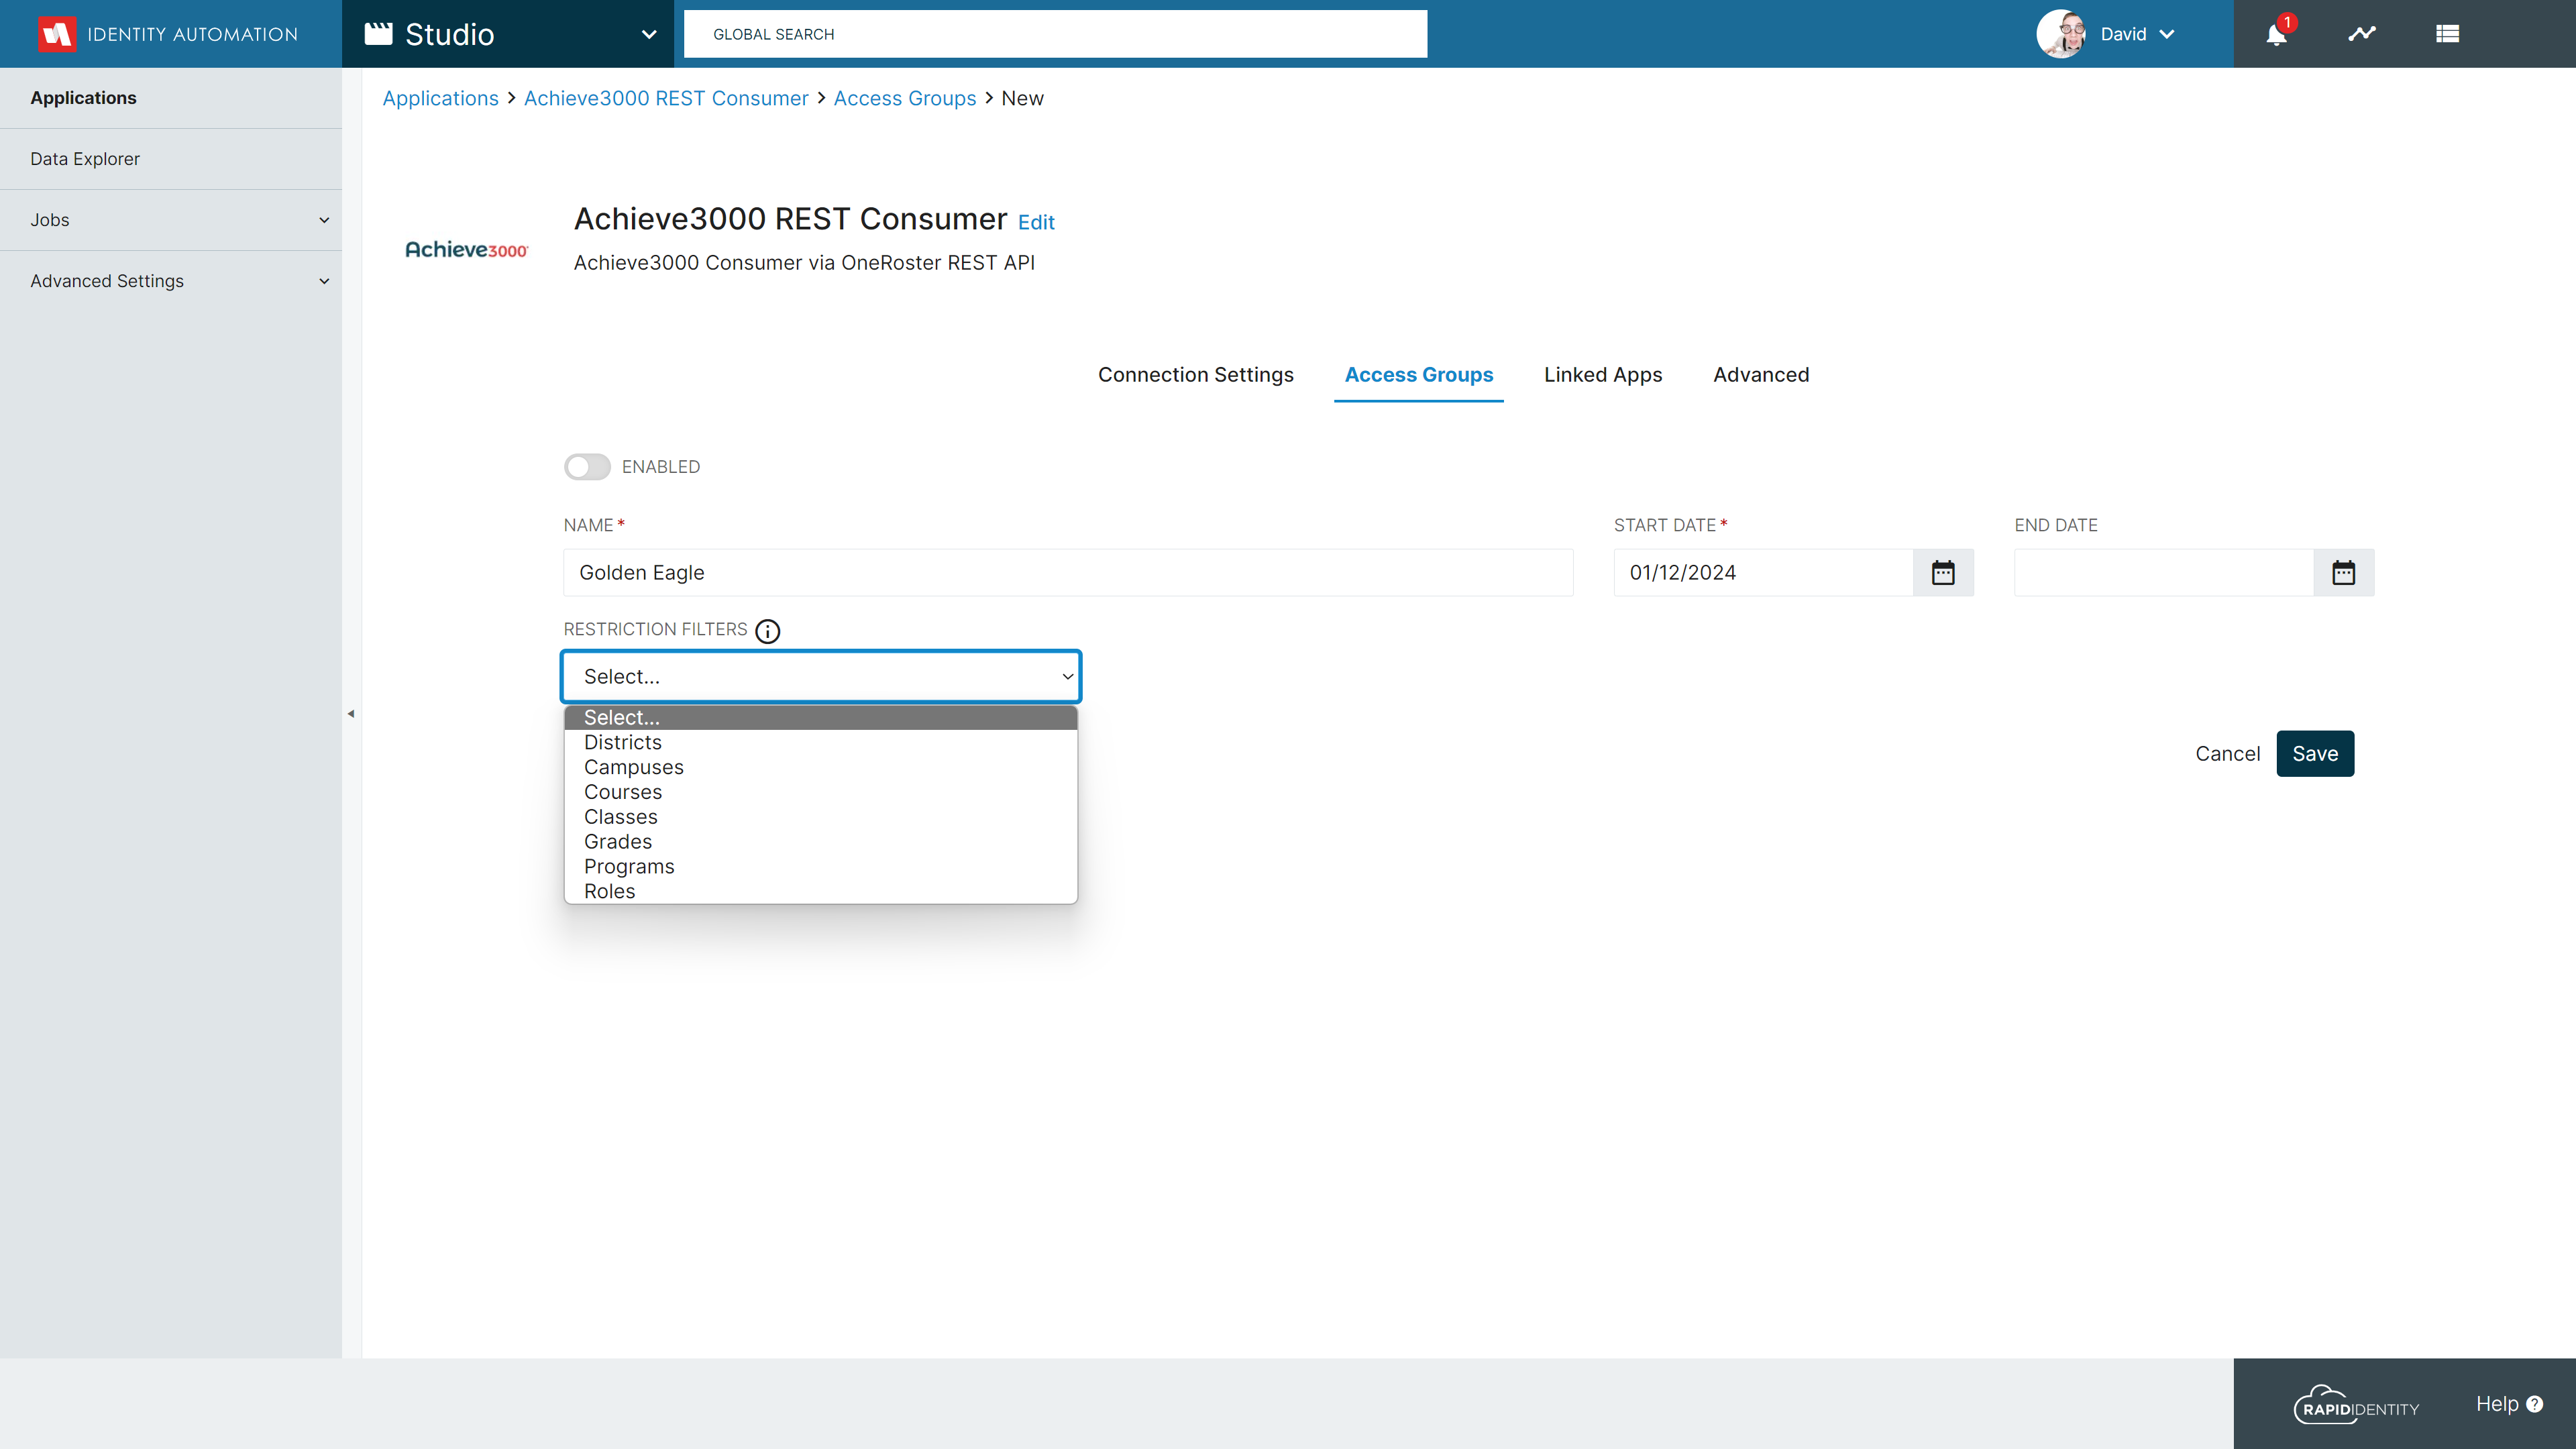
Enter a Name for the Access Group, and click the drop-down under Restriction Filters and select Campuses
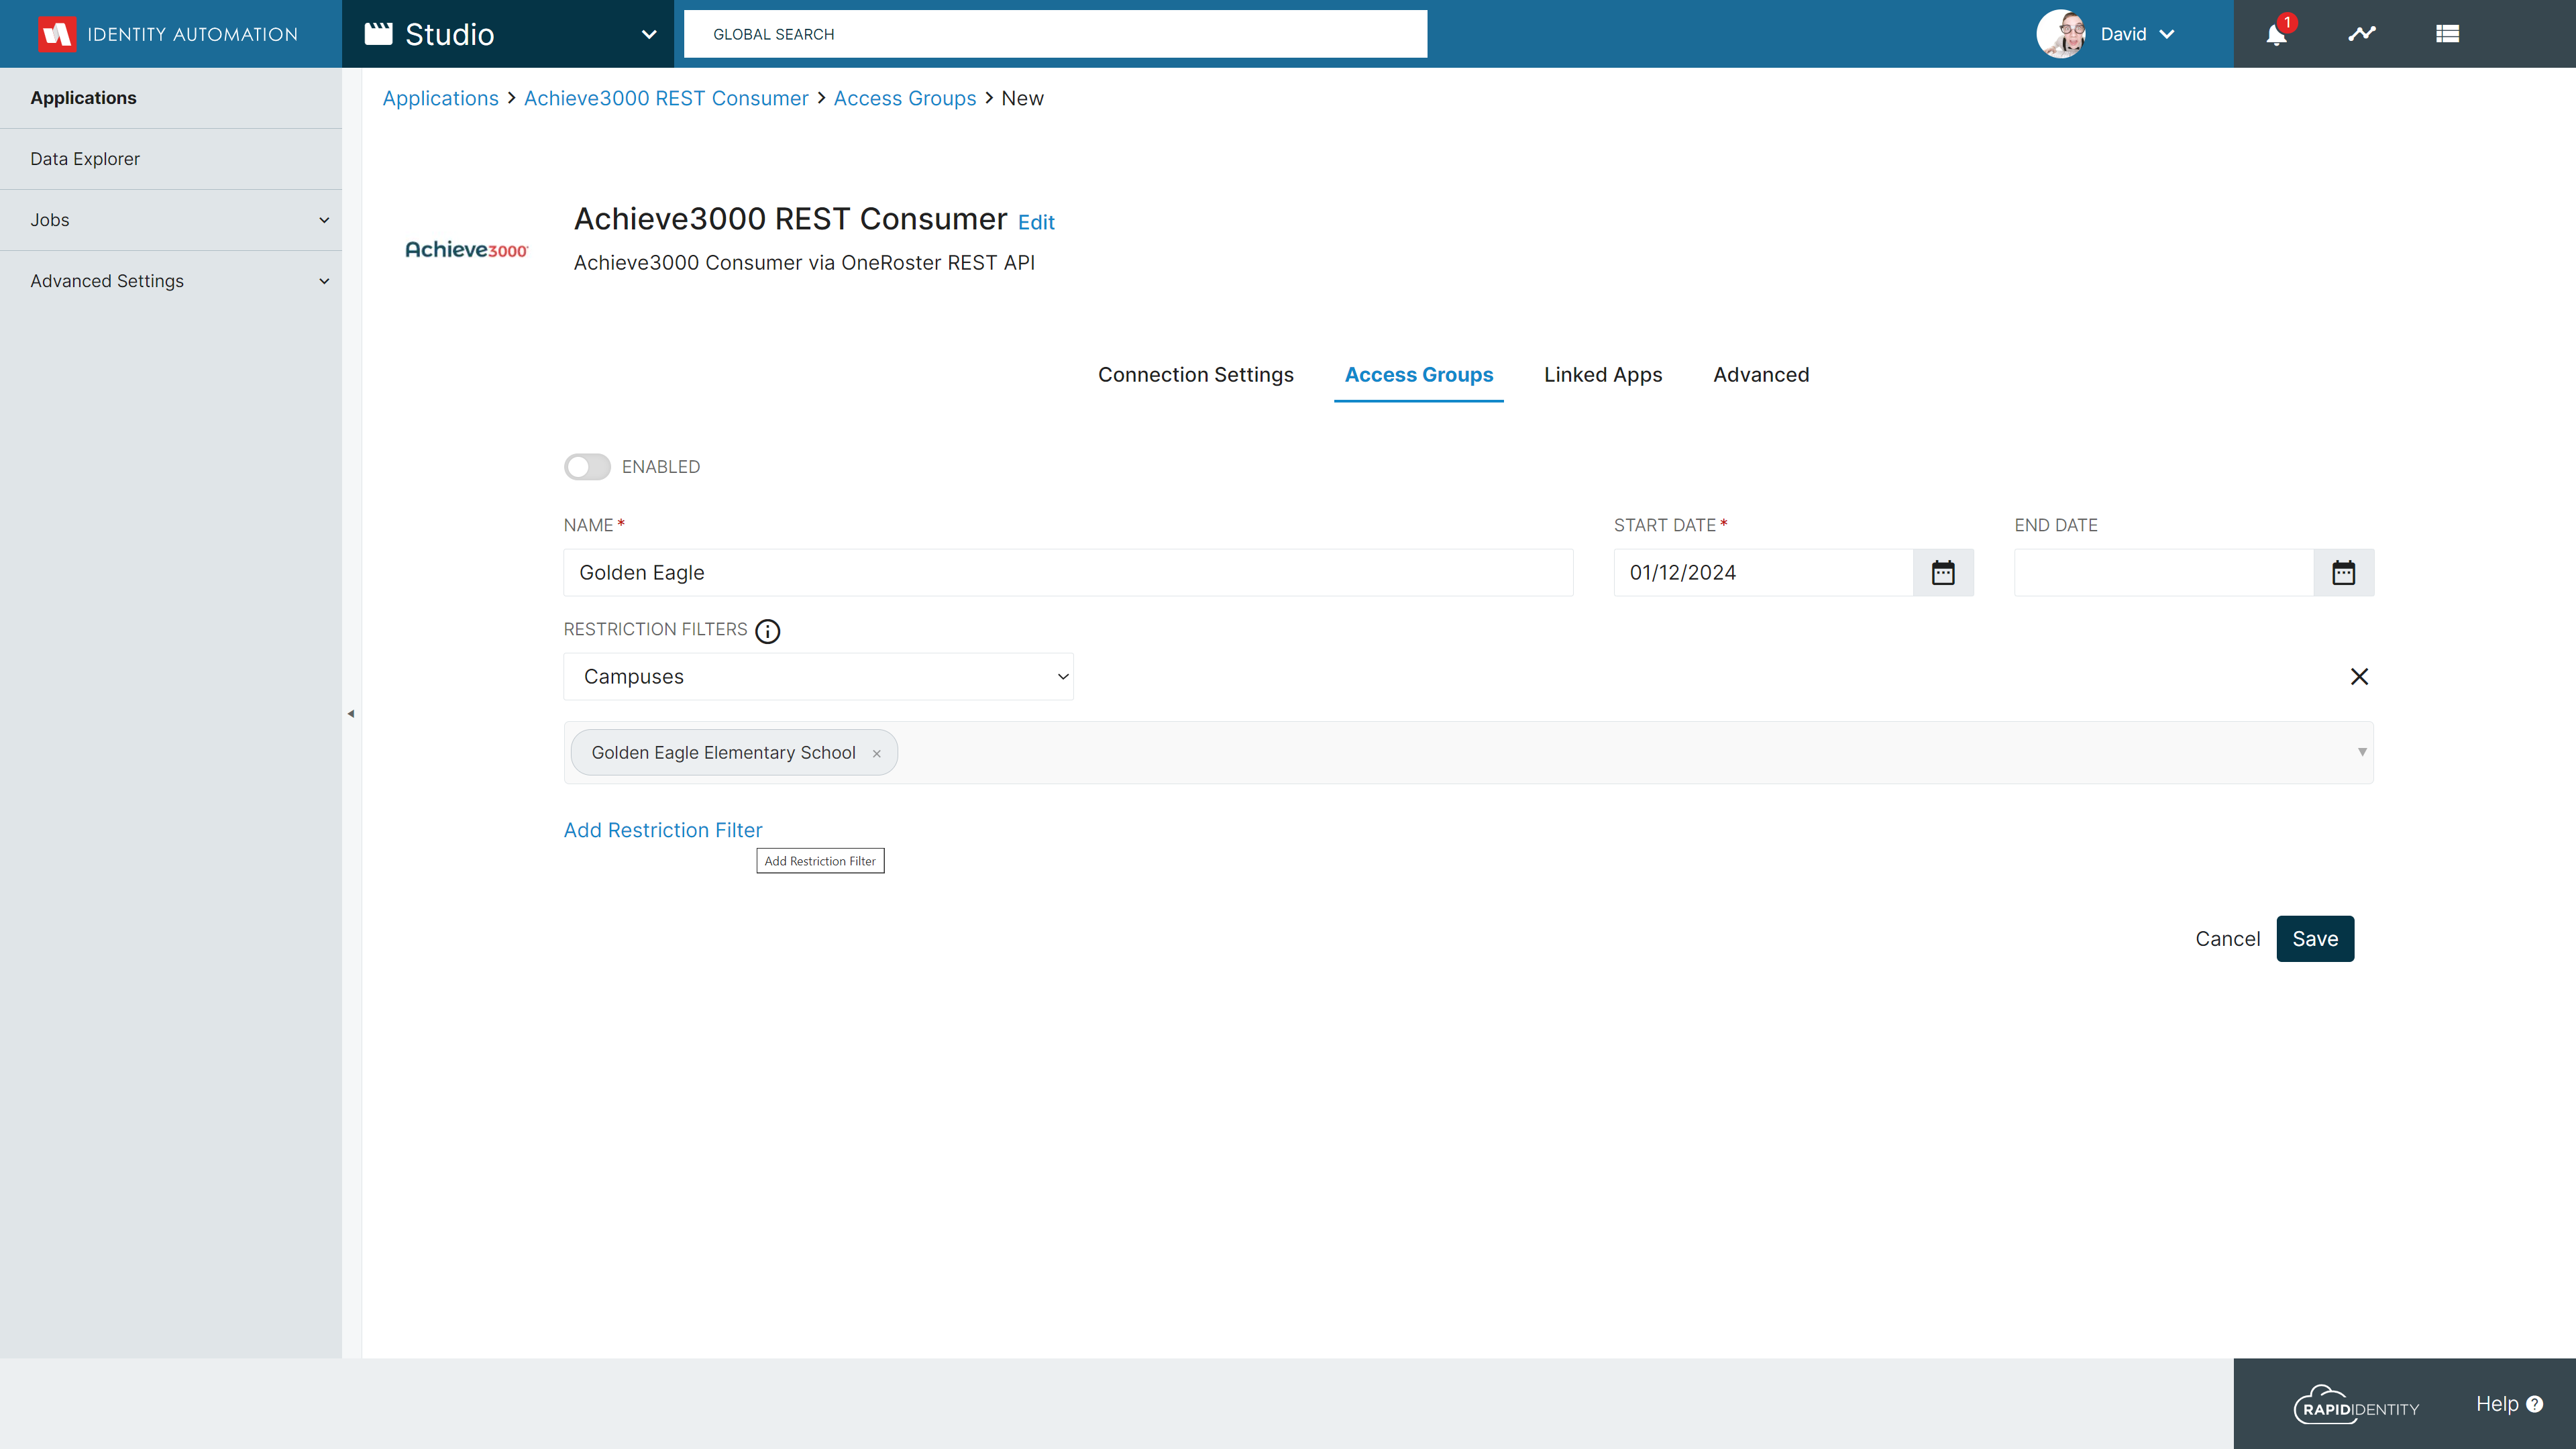
Set the Start Date and End Date settings to control the timeframe this Access Group should be active. The Start Date defaults to today and the End Date is optional, if not specified the Access Group will remain active until disabled.
-
Click the drop down for Search Campuses and select the desired School or Schools (you can begin to type the name of the schools to filter the list)
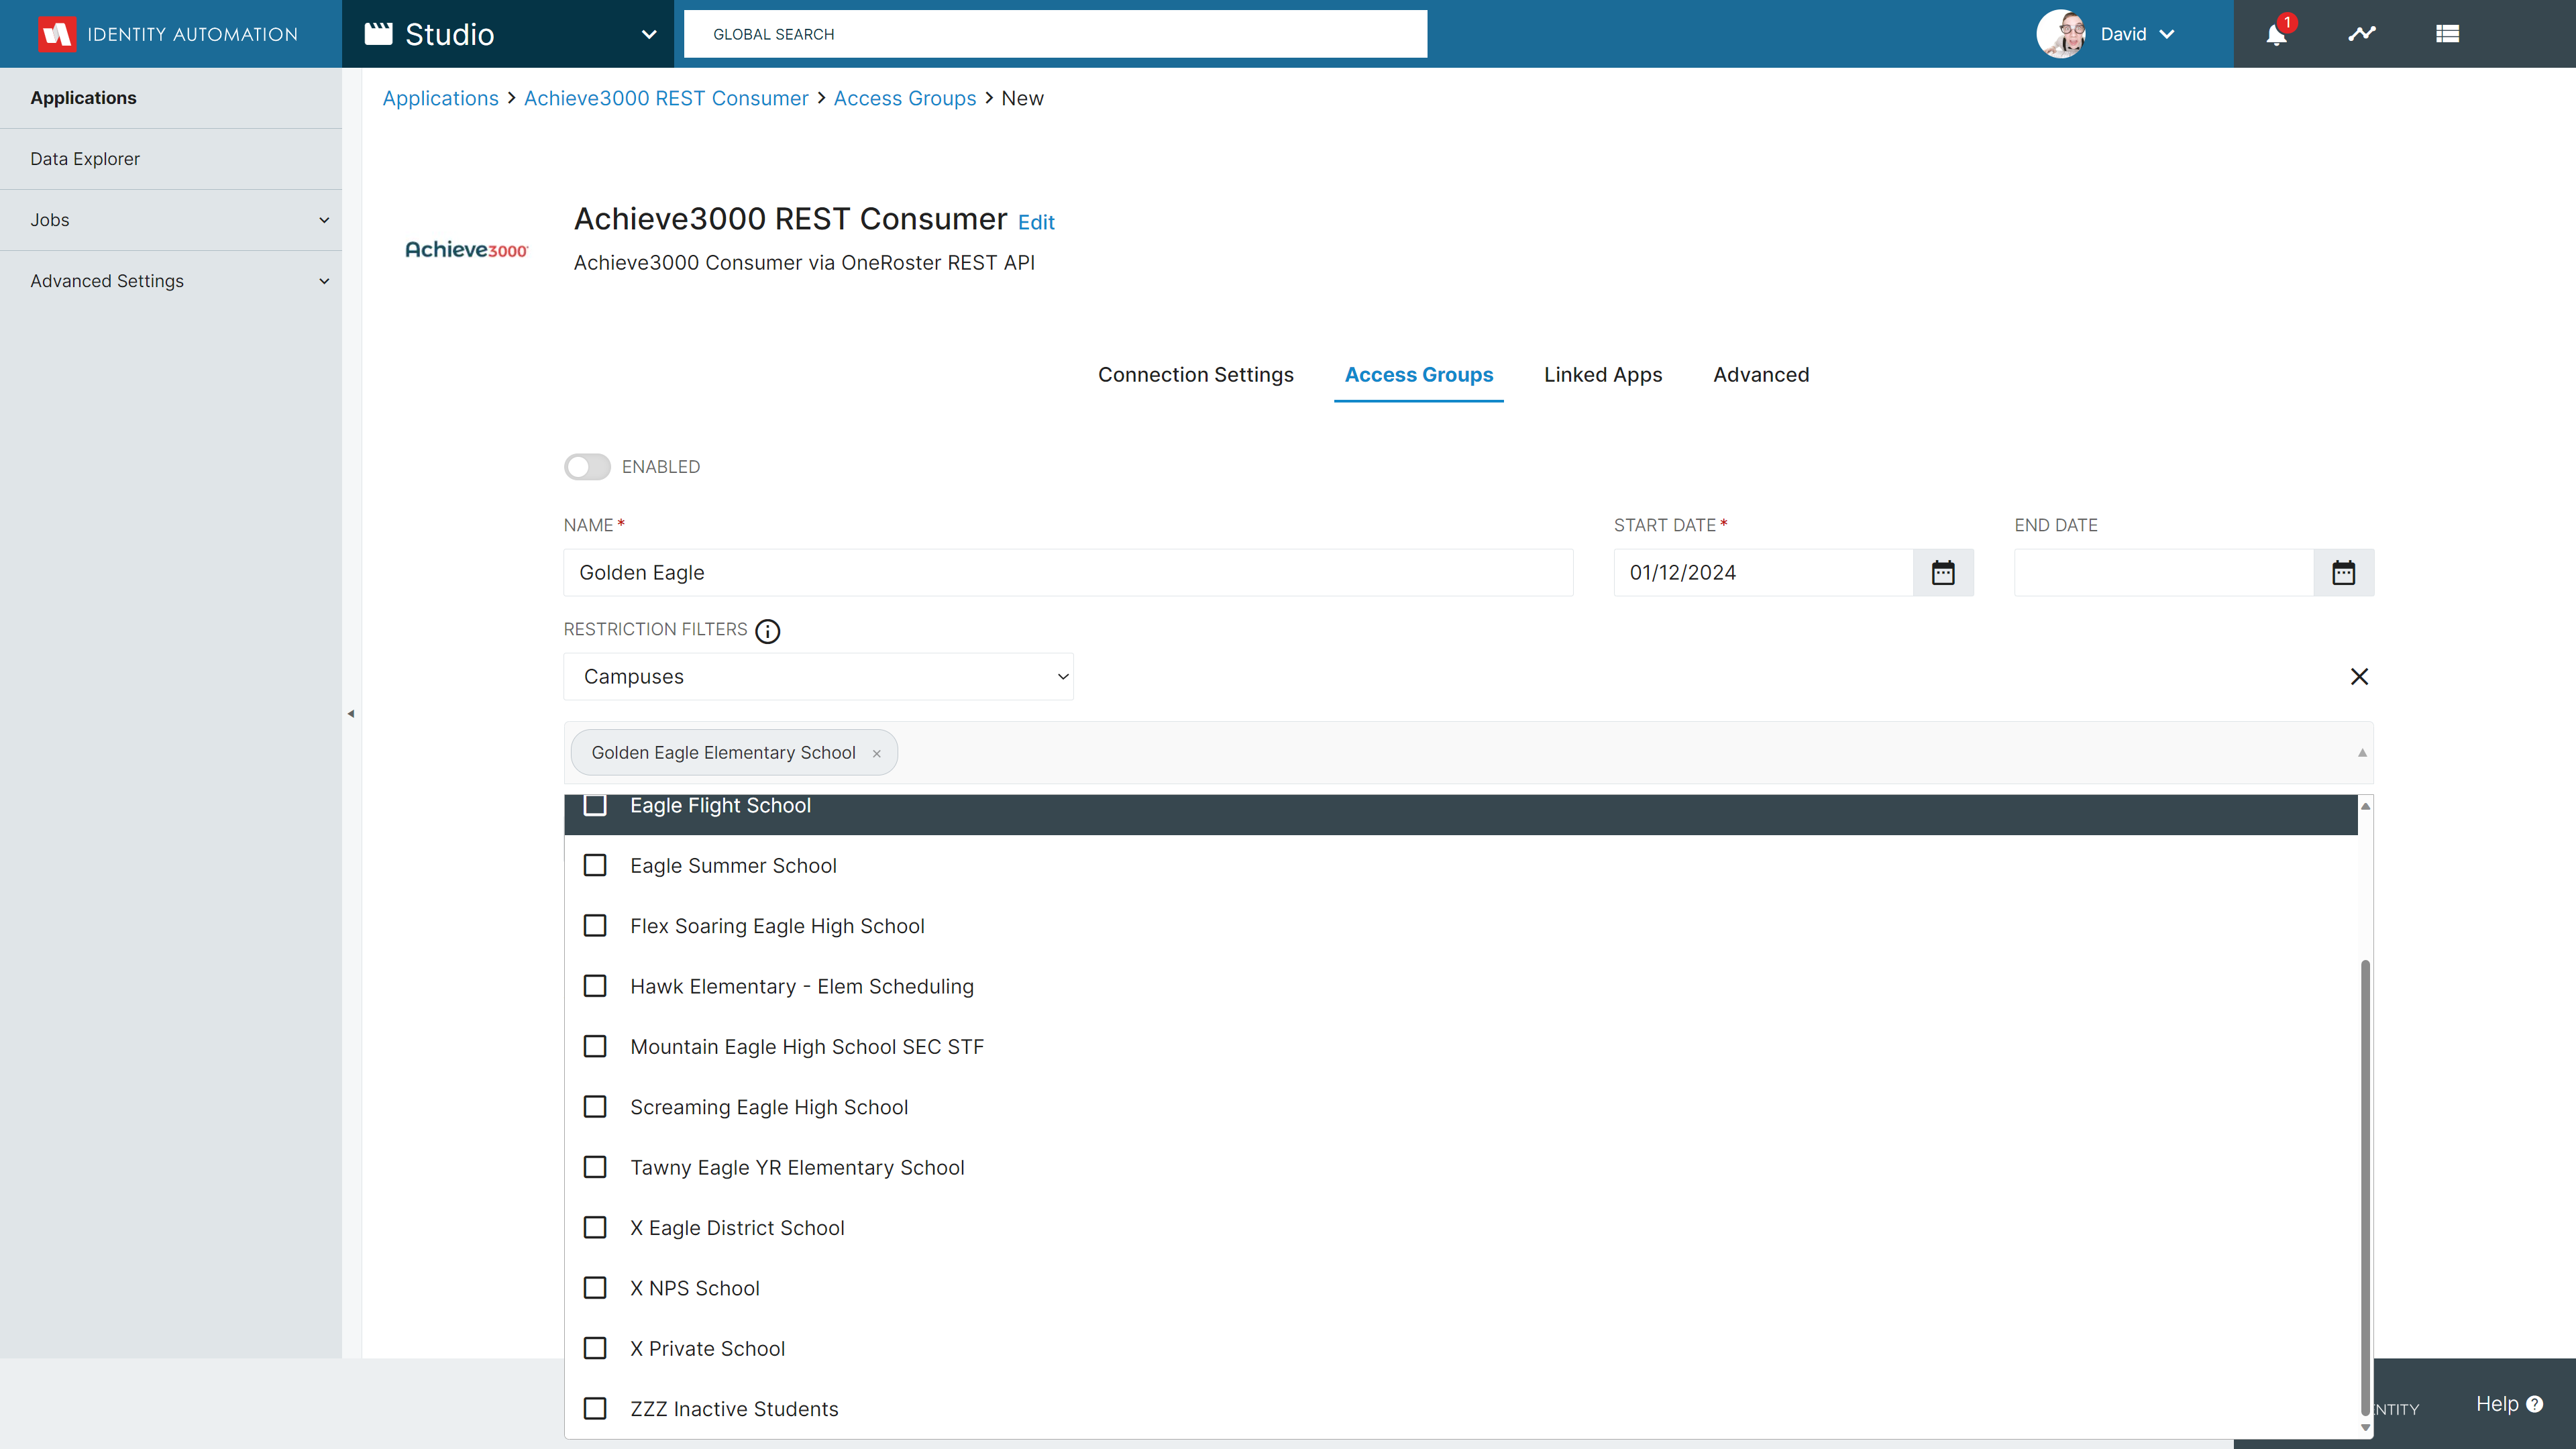
To mak a selection scroll through the list or begin typing to reduce the list until the item(s) you're looking for apear
-
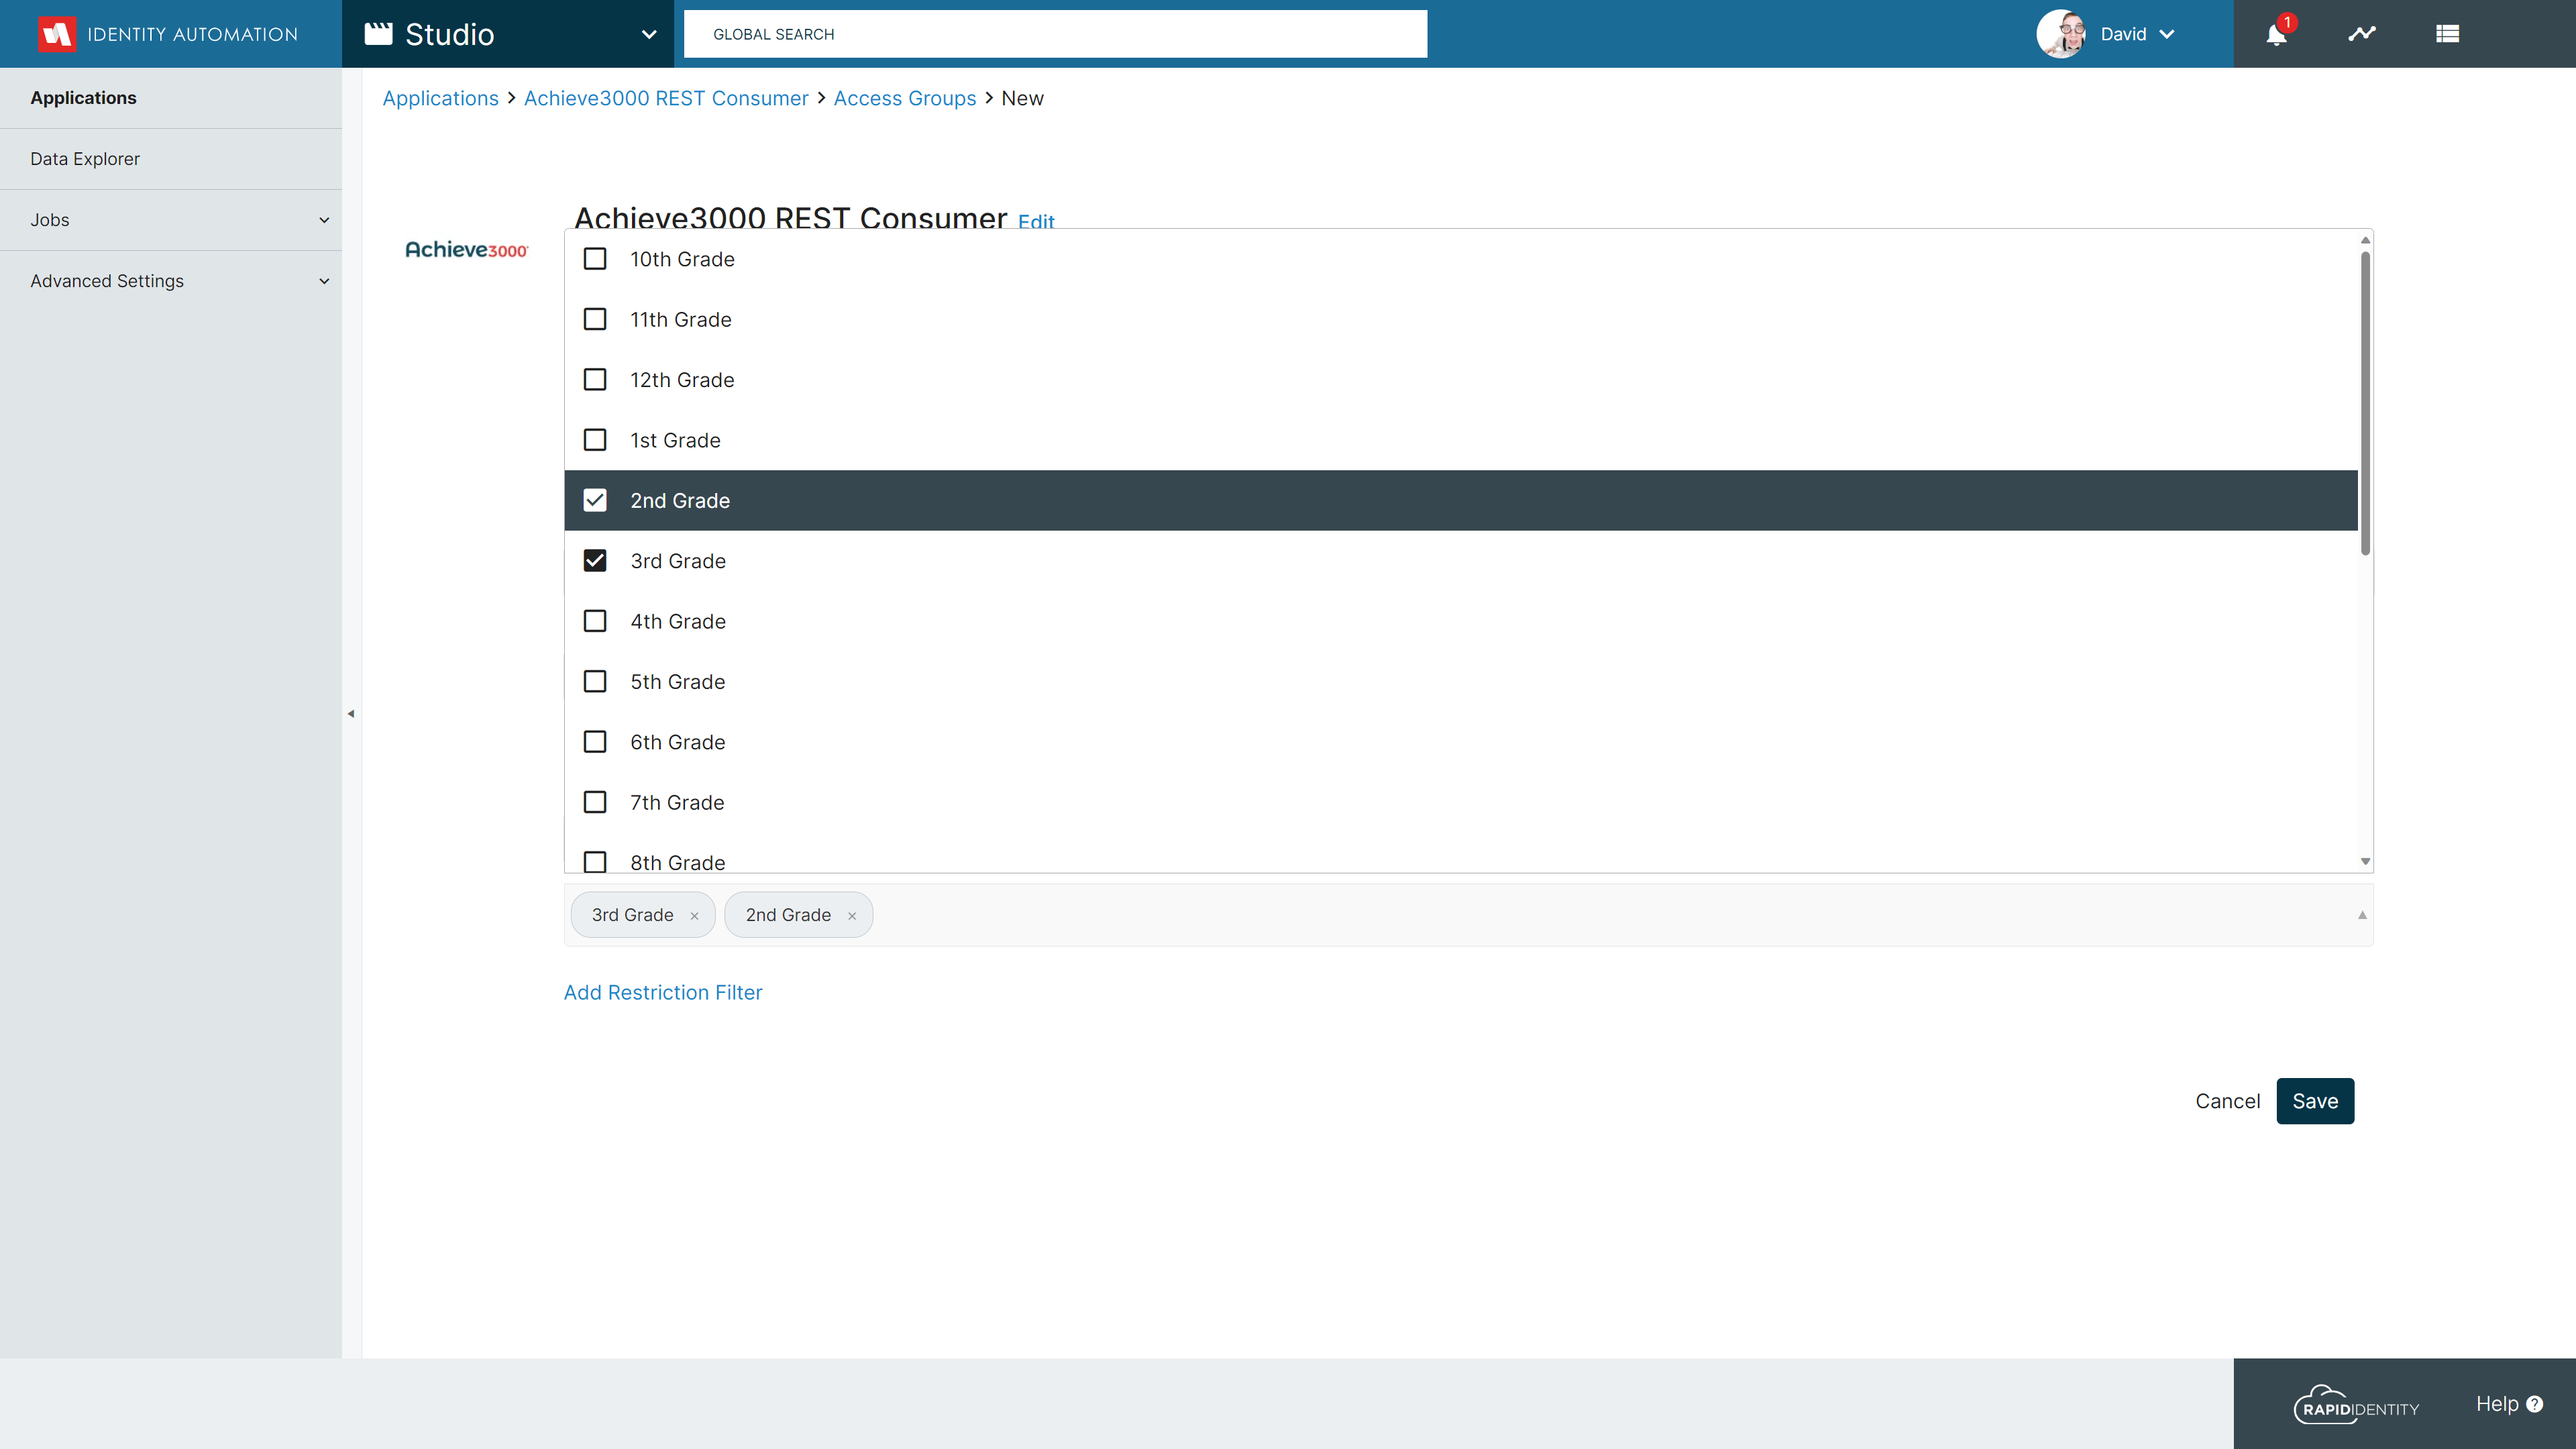
Click Add Restriction Filter and select Grades
-
Select the desired Grades from the drop-down
-
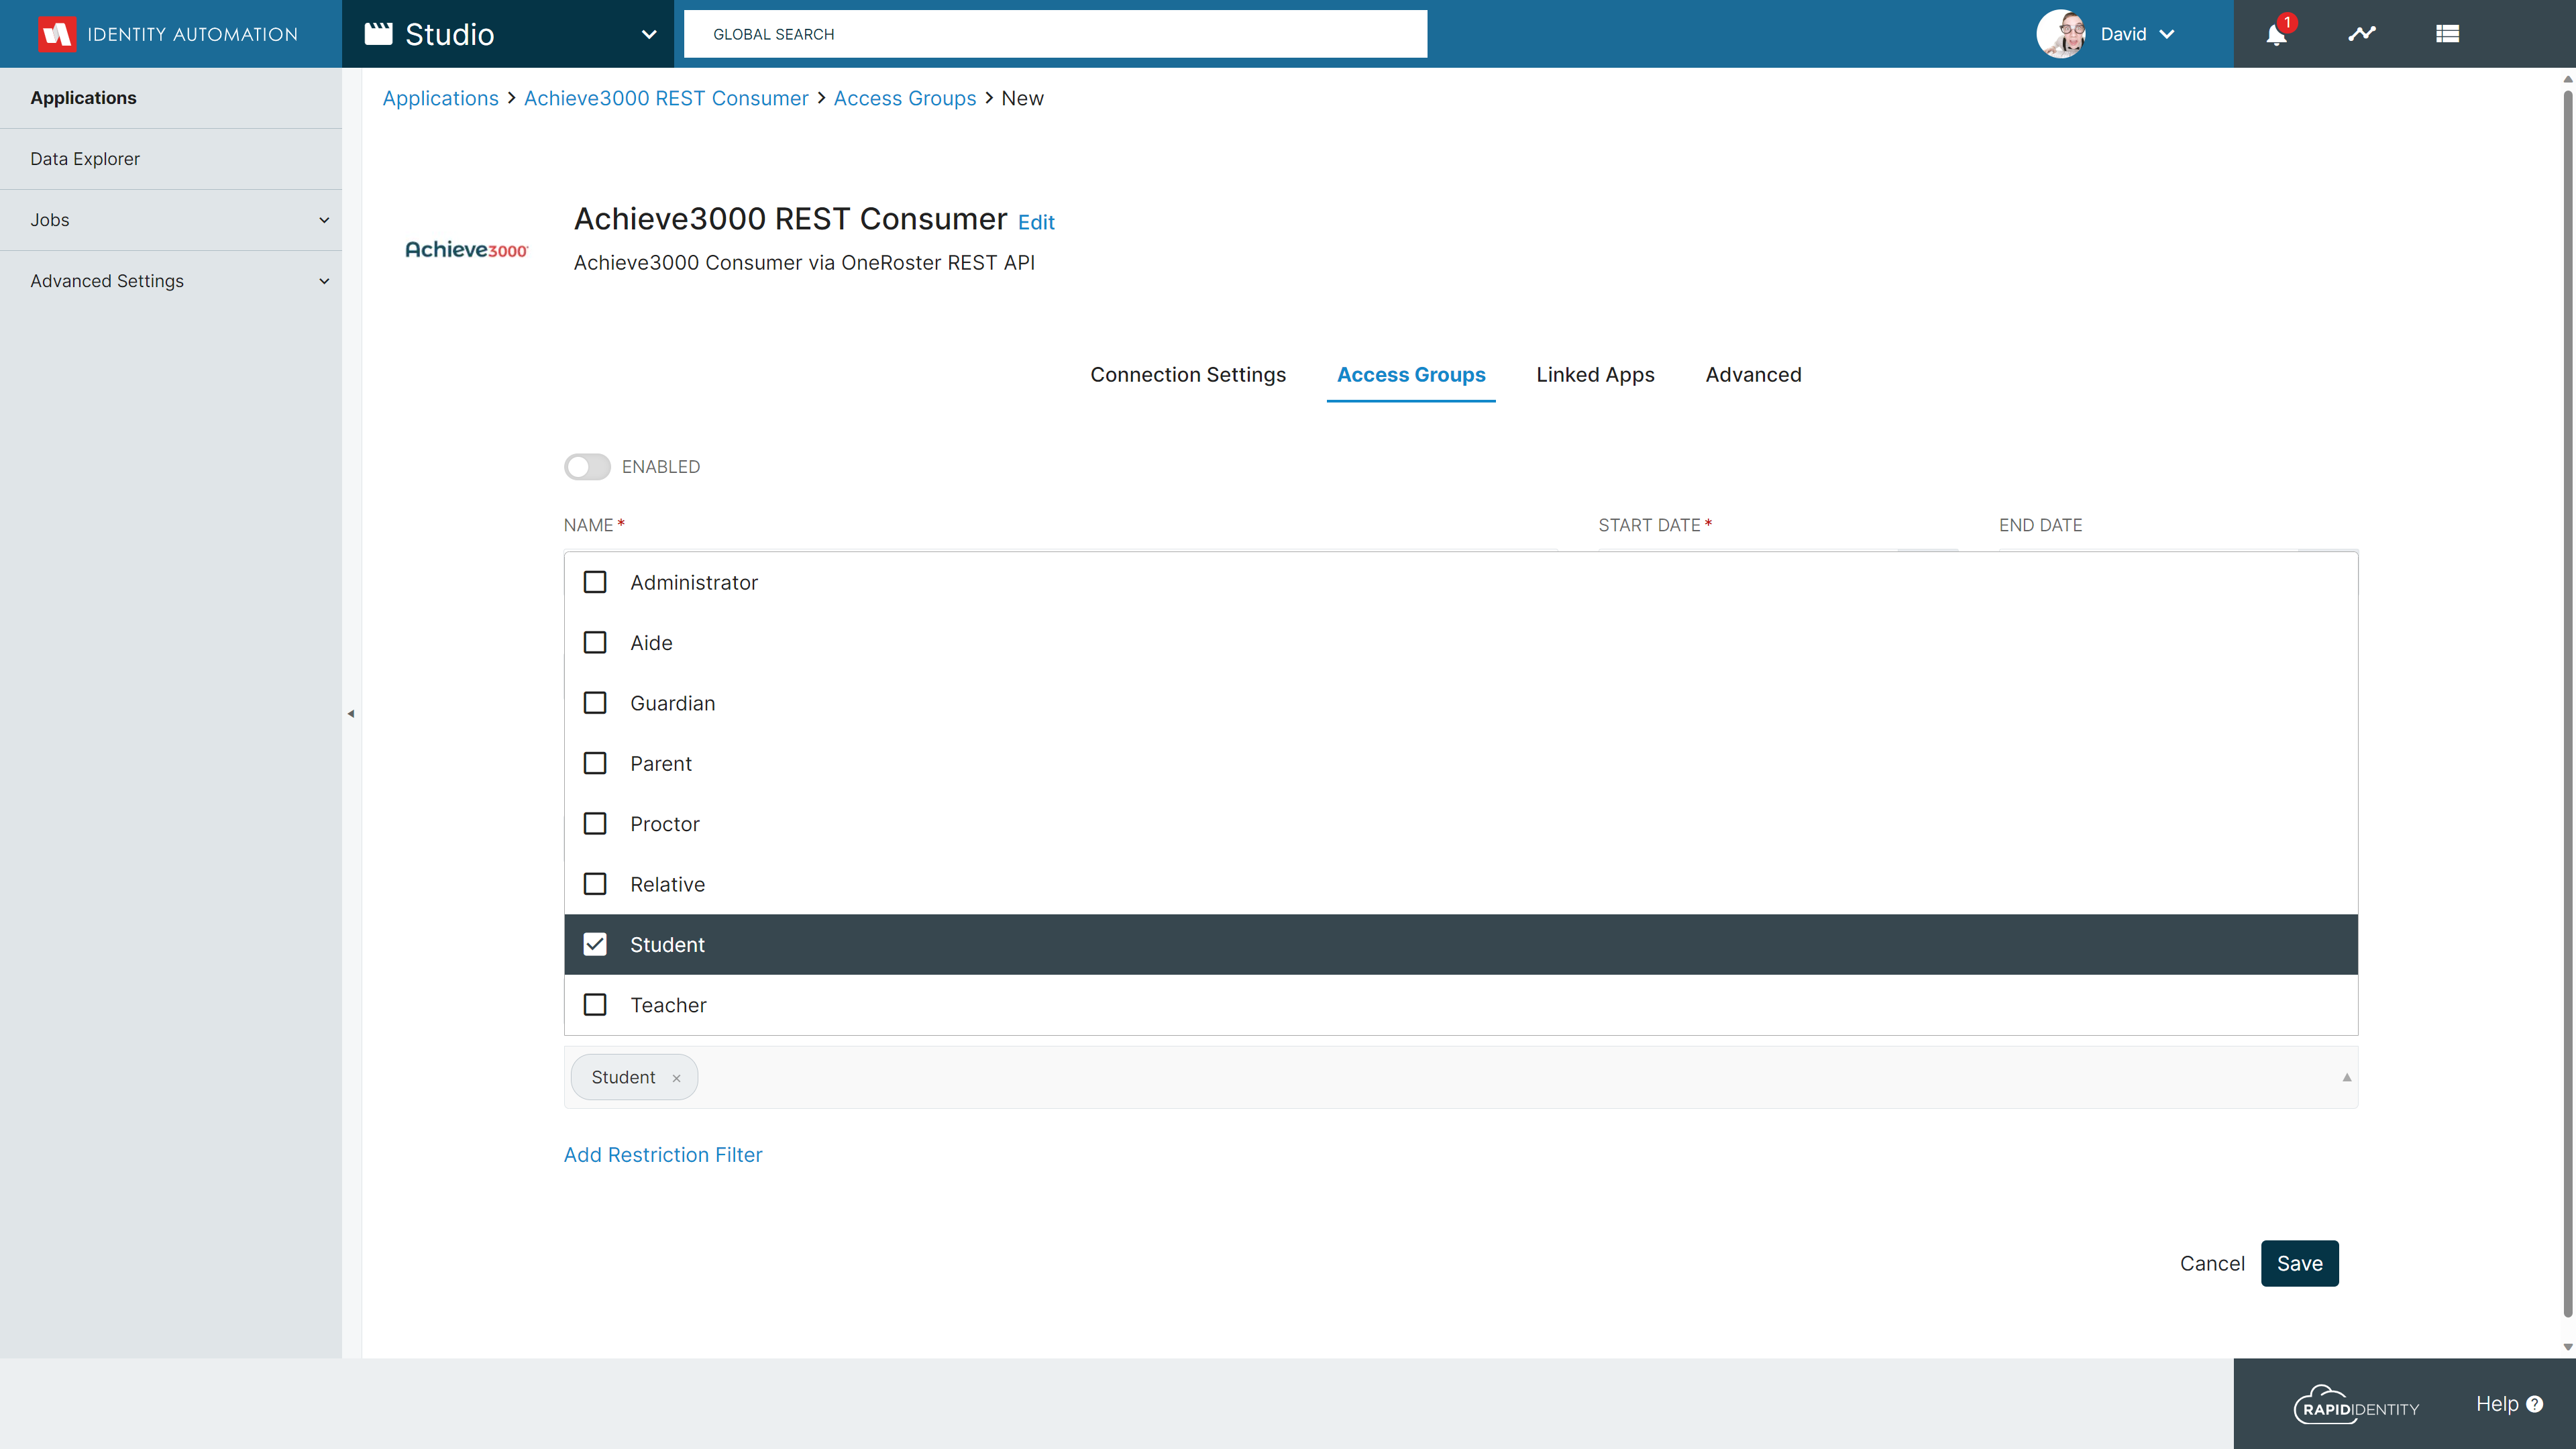
Click Add Restriction Filter, select Roles and choose Student
-
Click Save followed by Access Groups to return to the Access Groups
-
Click Add Access Group and select Create New to create another access group for teachers by repeating steps 5, 6 and 9 but, select Teacher in step 9 instead of Student

-
Click Save followed by Access Groups to return to the Access Groups

-
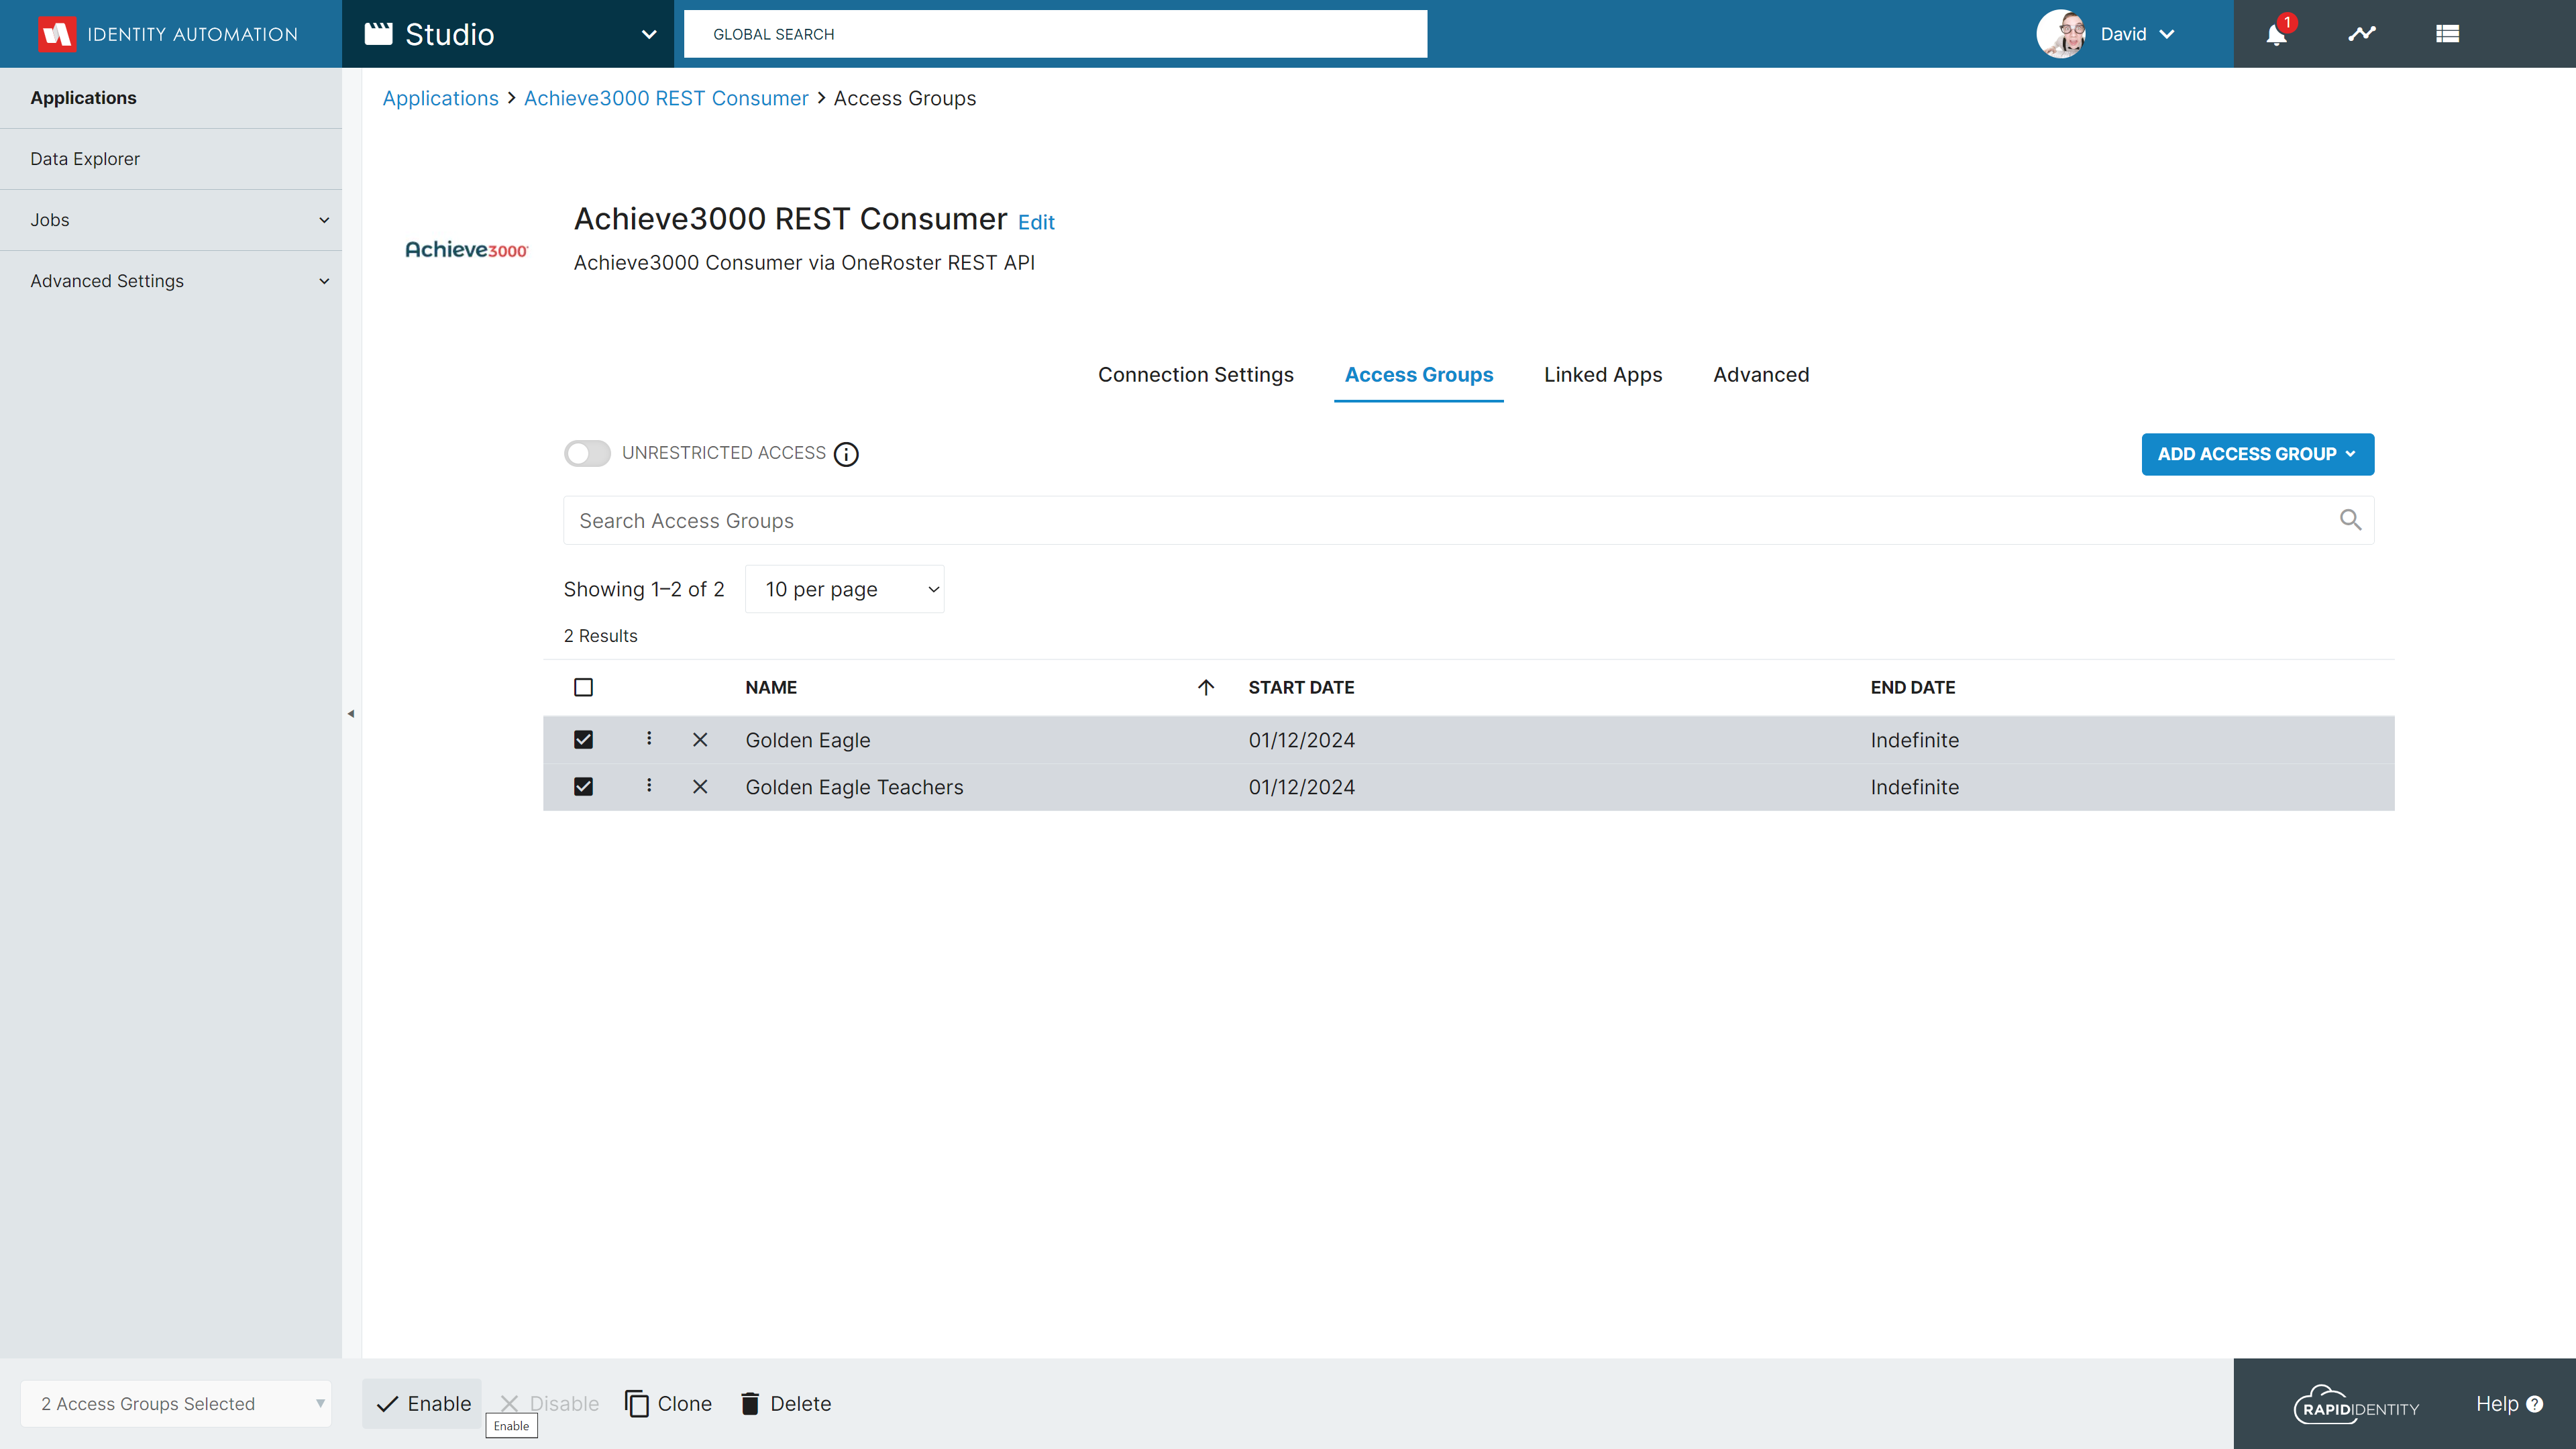
Select both Access Groups and click Enable from the bottom action menu
-
Run the target application jobs and studio filter the roster data for students in the chosen schools and grades along with teachers in the chosen schools
