Applications Module - Applications Catalog
The Catalog is an Administrator view in which all of the installed applications can be modified and new applications can be added.
Before a new application can be added, first ensure the correct Category to be assigned to the application is available. Editing and creating categories is done through the My Applications submenu and is explained in Create or Edit a Category.
Create an Application
The RapidIdentity UI provides a streamlined approach to creating an application for Administrators.
Follow these steps to create an Application in RapidIdentity.
- Choose the Applications module from the main drop-down menu and click the Catalog menu.
- Click the Add Application button at the top right of the screen to create a new Application.
The Add Application window has three Tabs Details, SSO, and Access Groups
Details Tab
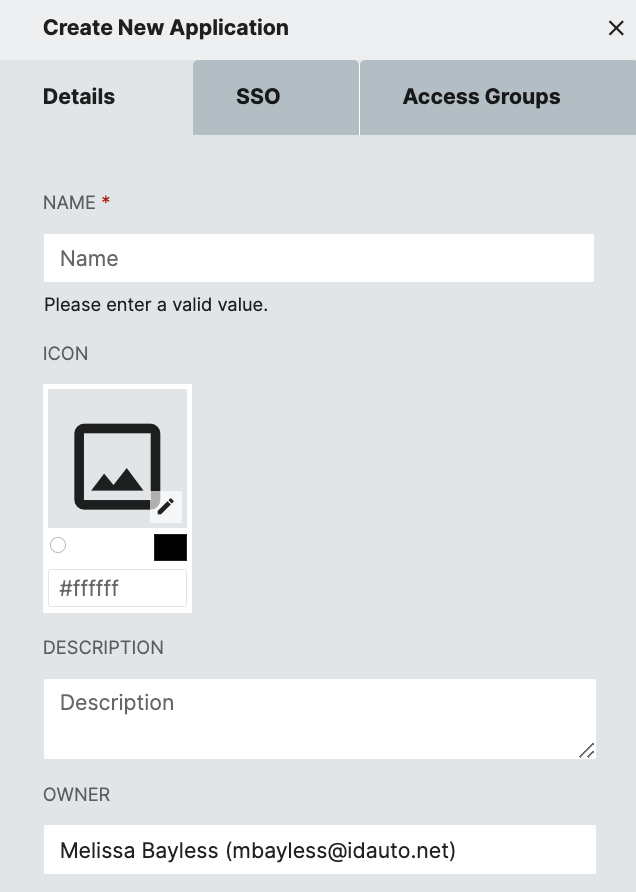
- Give the application a name that makes it easy to identify. This is a required field and the application cannot be saved until this field is populated.
- Click the pencil in the icon box to select or upload an image to represent this application. A default library of icons is available, or you can upload a custom icon by clicking Upload Icon and following the upload wizard.
For the best results, use a square icon that is 300px × 300px or fewer and uses a simple design with clear colors. Text, intricate designs, or specialty shapes may distort upon use.
- Add an optional, brief description of the application.
- The Owner field will automatically populate with the identity of the current user. If altered, this field will not retain new settings and will default to the current user.
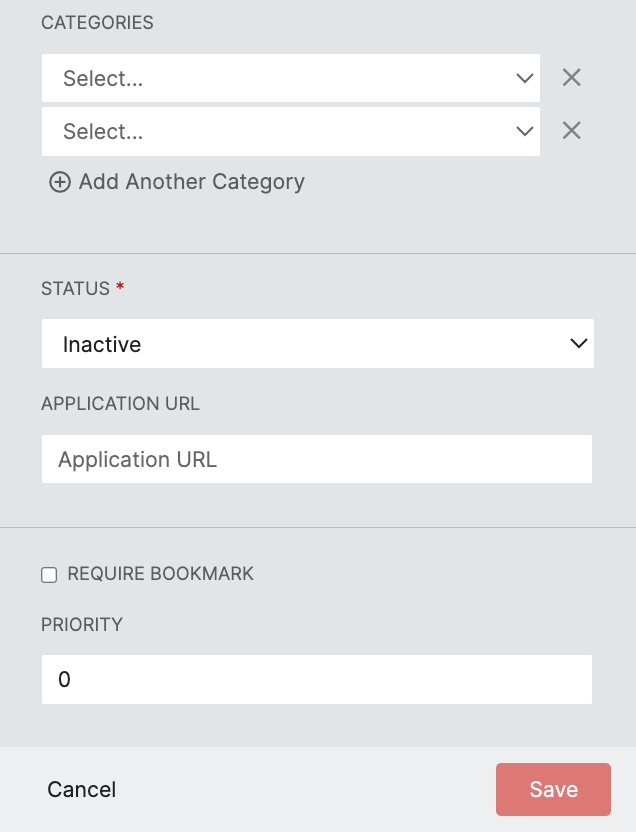
- Choose the Category for this application. Multiple categories can be assigned by clicking Add Another Category and populating the resulting field.
- Set the Status to Active to show the application icon in RapidIdentity Portal or Inactive to hide the applicaiton icon.
- Enter the URL used to launch the applicaiton in the application URL. Tokens may be used in the Application URL. All LDAP attributes are valid.
Percent signs in app URLs must be escaped to %% since % is used for tokens.
- When selected the Require Bookmark, this application displays in all user's Bookmarks in the Dashboard module.
Require Bookmark only applies to the RapidIdentity Admin View Dashboard Module not to the Go! View Applications List
- Priority is a required field. This value allows administrators to determine the relative order of icons users see when accessing My Applications in the Admin View.
Assigning priority is very useful when users have access to large numbers of applications.
Applications can have equivalent priority (e.g. 3 applications set to priority 100). - Use Access Control to choose whether to provide the application as Role-based or Attribute-based. Leaving Access Control to None will show the Application to All Users.
SSO Tab
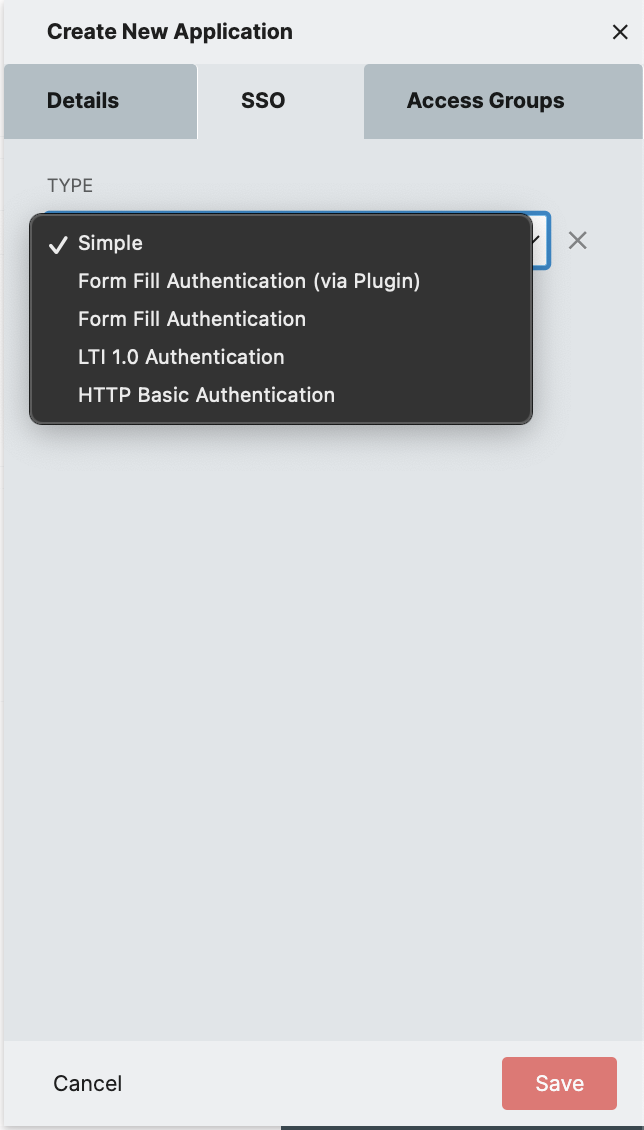
Select the appropriate Type of SSO Authentication
| Type | Description |
|---|---|
| Simple | This is typically used with federation/SSO provided the Service Provider is configured properly. This can also just be a simple link to any website without Authentication. |
| Form Fill Authentication (via Plugin) | Pass attributes to authenticate a user using the RapidIdentity Plugin. |
| Form Fill Authentication | Pass attributes to authenticate a user. |
| LTI 1.0 Authentication | Pass LTI 1.0 connectivity attributes to authenticate a user. |
| HTTP Basic Authentication | Send username and password in the URL field. |
Access Groups

The access groups tab provide configurable filters to govern access to roster data for each target application. This tab is only applicable when you are also using the RapidIdentity Studio module for rostering.