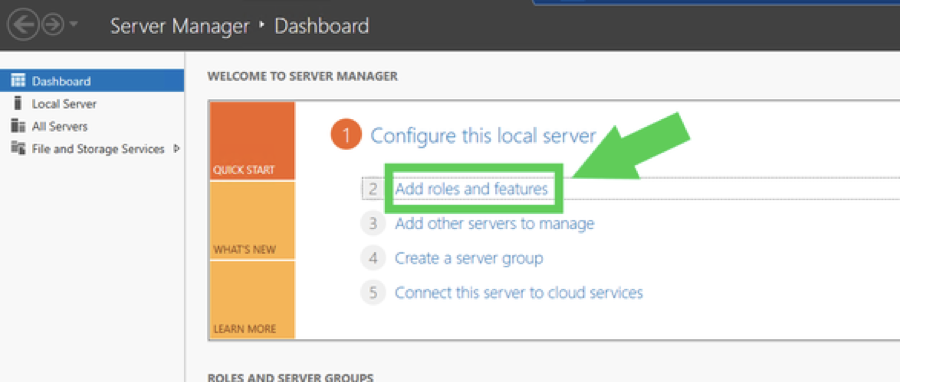
Prior to installing the RapidIdentity Exchange Agent on a new server, you will need to install and configure IIS
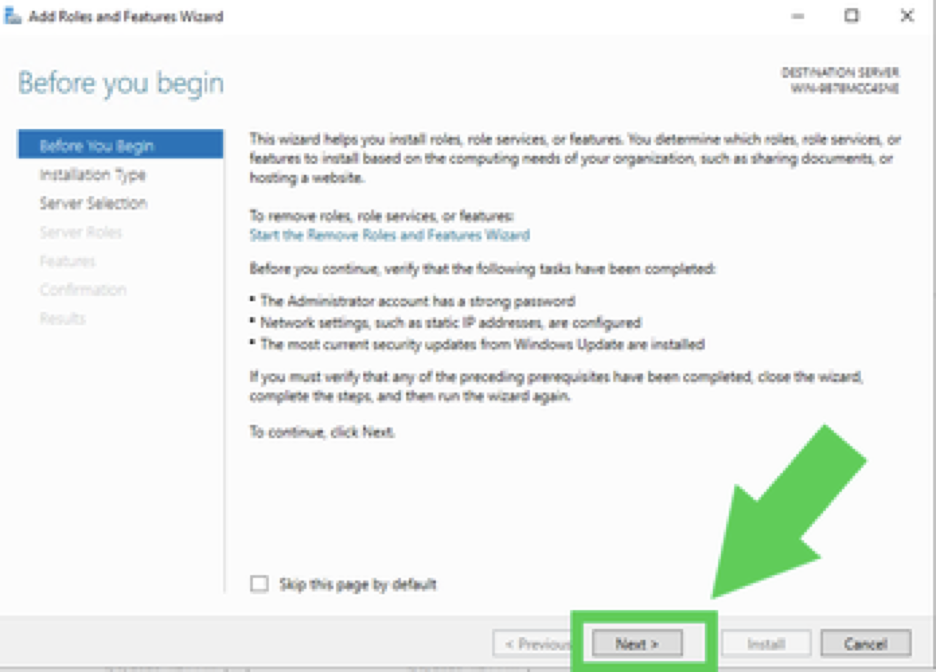
At the "Before You Begin" screen just click Next.
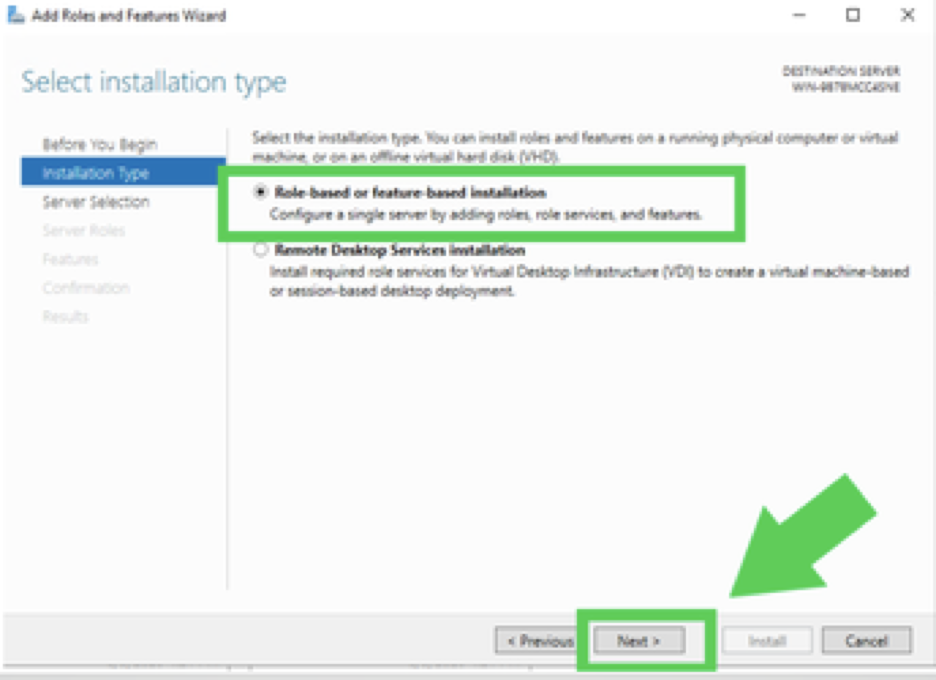
At the "Select Installation Type" screen choose Role-based or feature-based installation and then click Next.
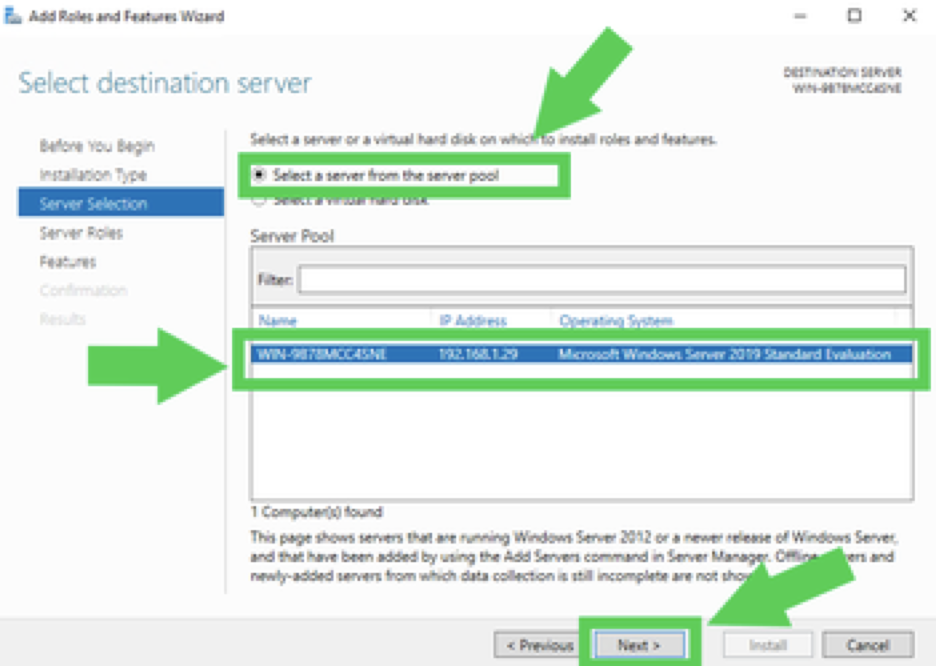
In the "Select destination server" pick Select a server from the server and select your server.
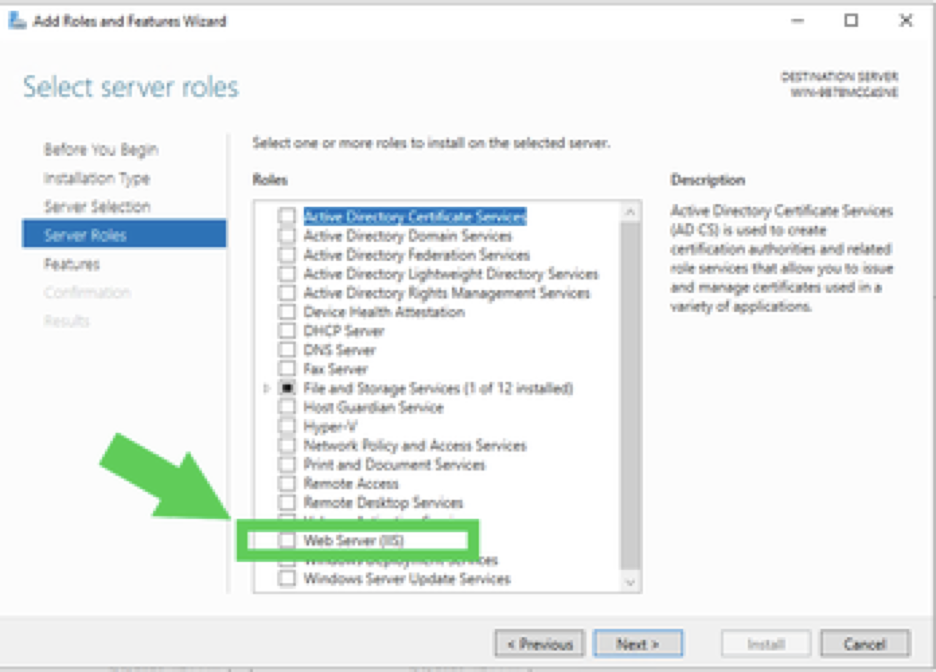
In the "Select server roles" screen scroll down and click on Web Server (IIS)
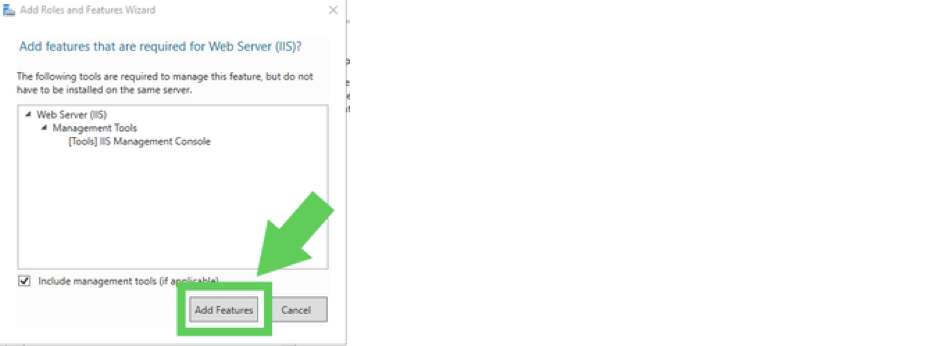
A window will appear asking you to add the features. Click the Add Features button.
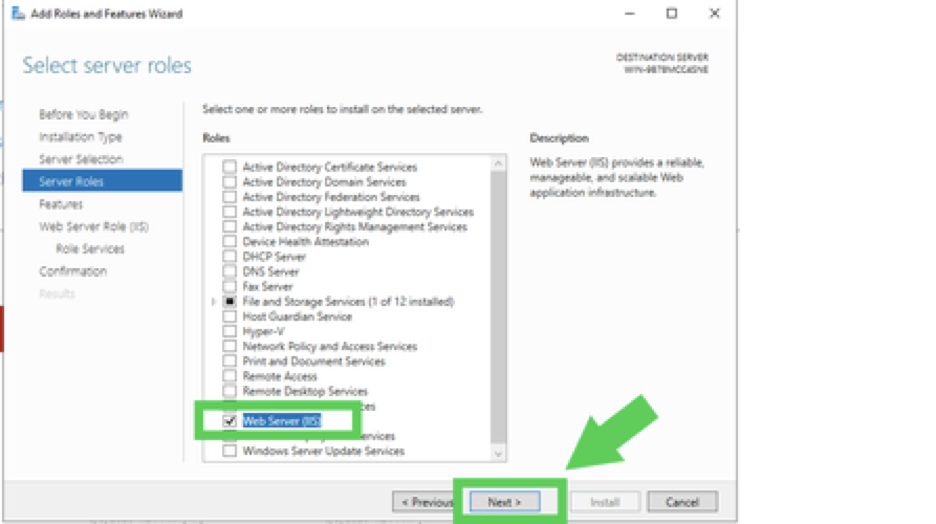
Check Web Server (IIS) and click Next.
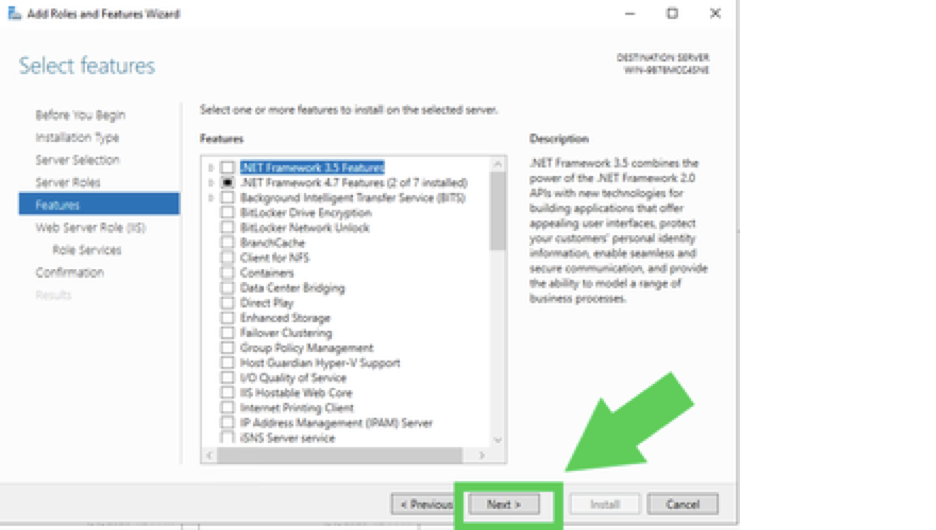
On the "Select features" screen you do not need to select anything so just click Next.
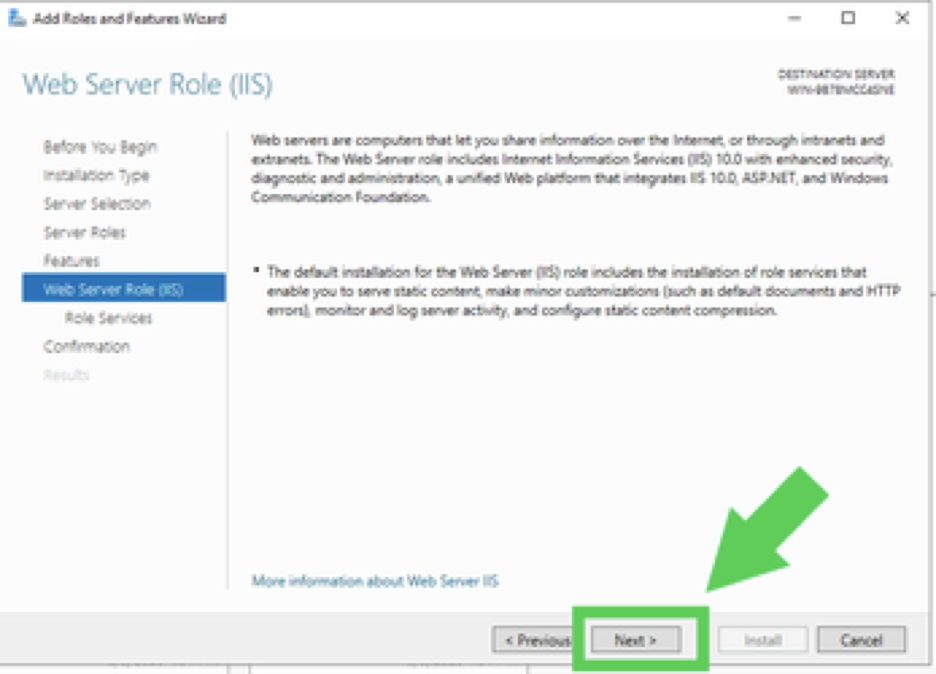
On the "Web Server Role (IIS) screen just click Next.
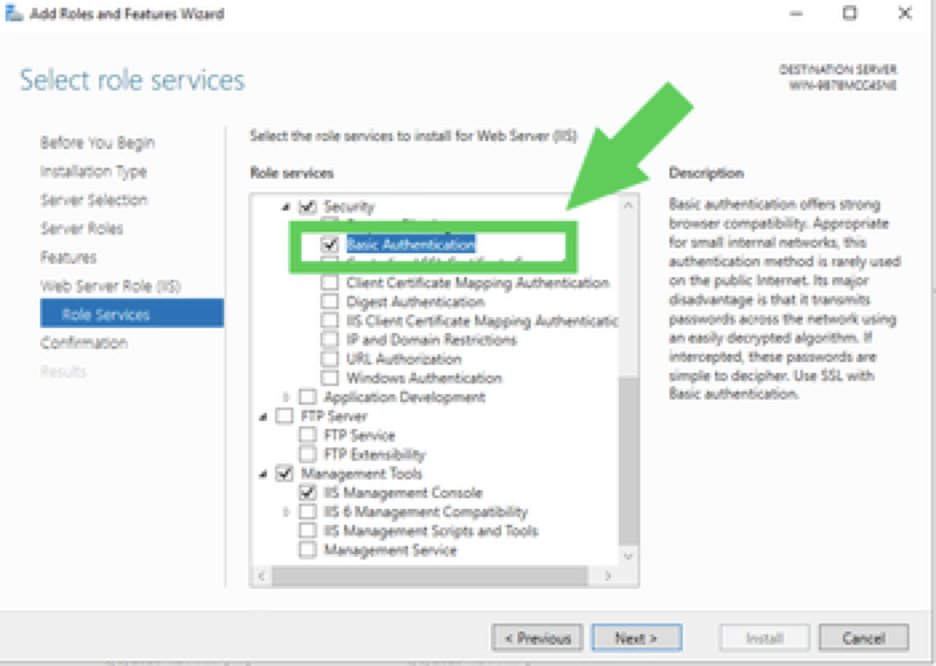
In the "Select role services" screen expand Security and make sure that the box for Basic Authentication is checked off.
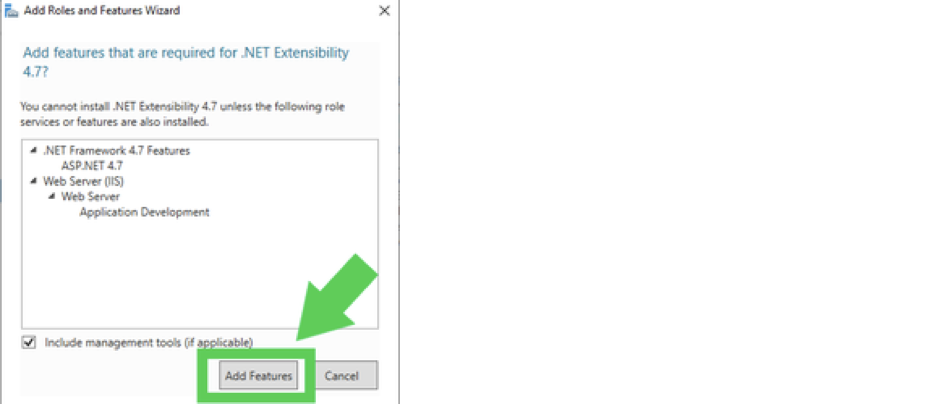
Scroll towards the middle of the screen and expand Application Development. Select .NET Extensibility 4.7
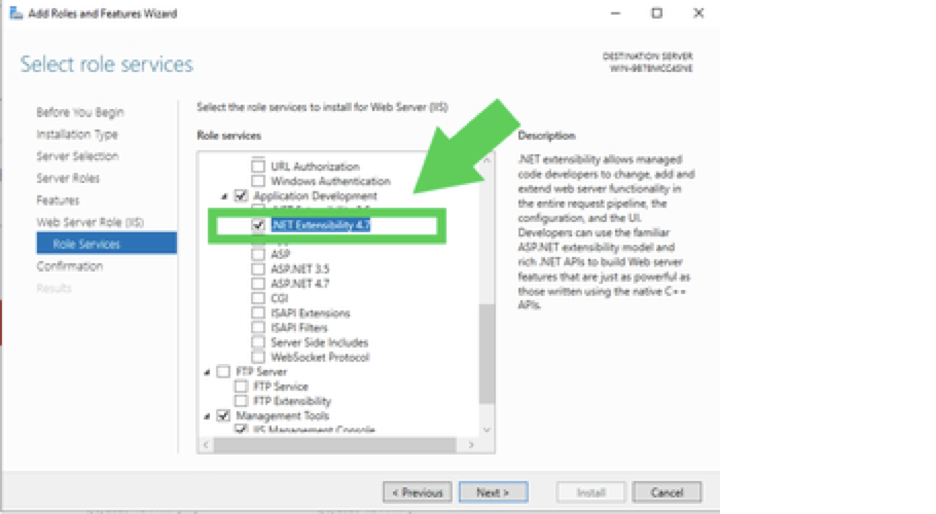
A window will appear asking you to add the features. Click the Add Features button.
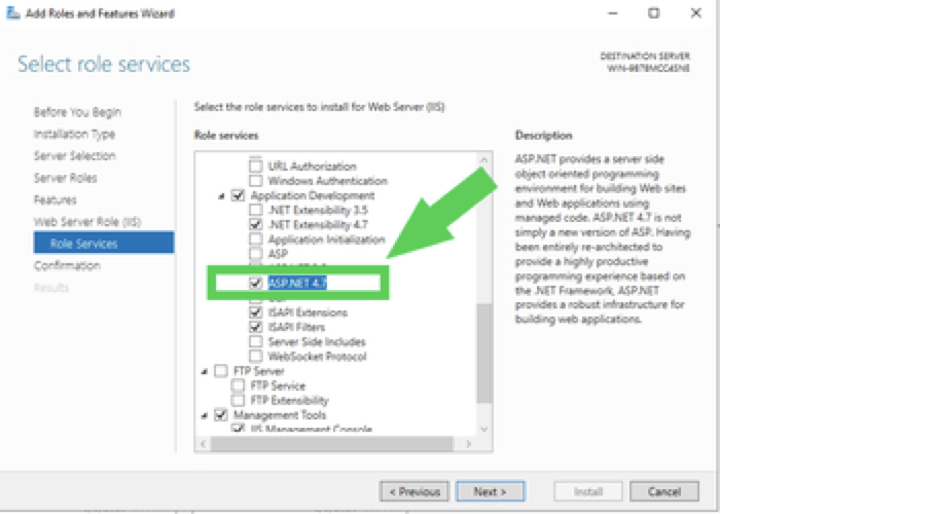
Still under Application Development select ASP.NET 4.7
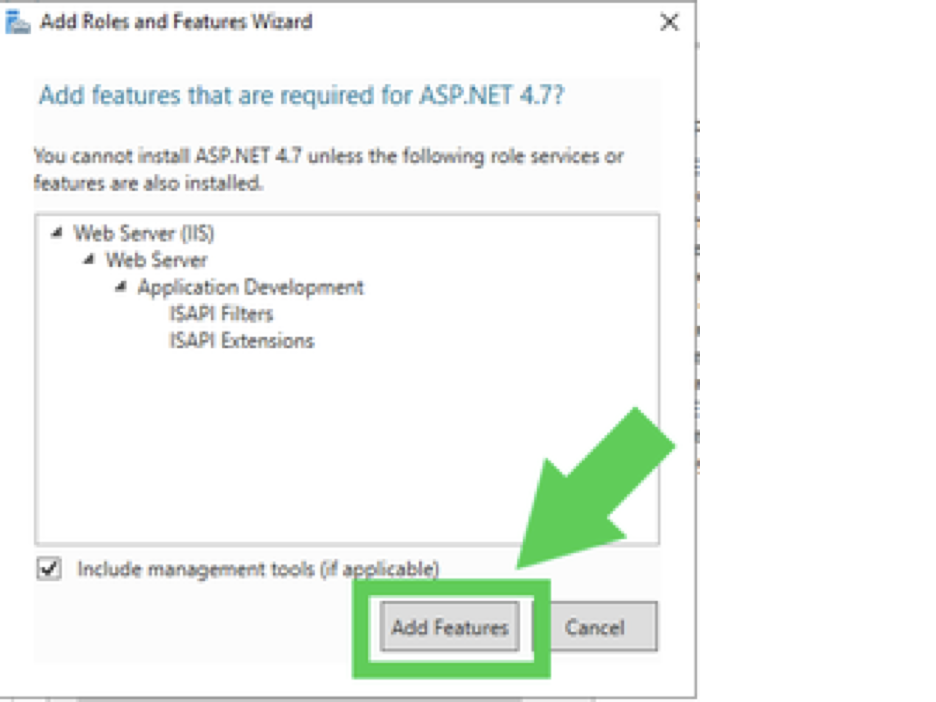
A window will appear asking you to add the features. Click the Add Features button.
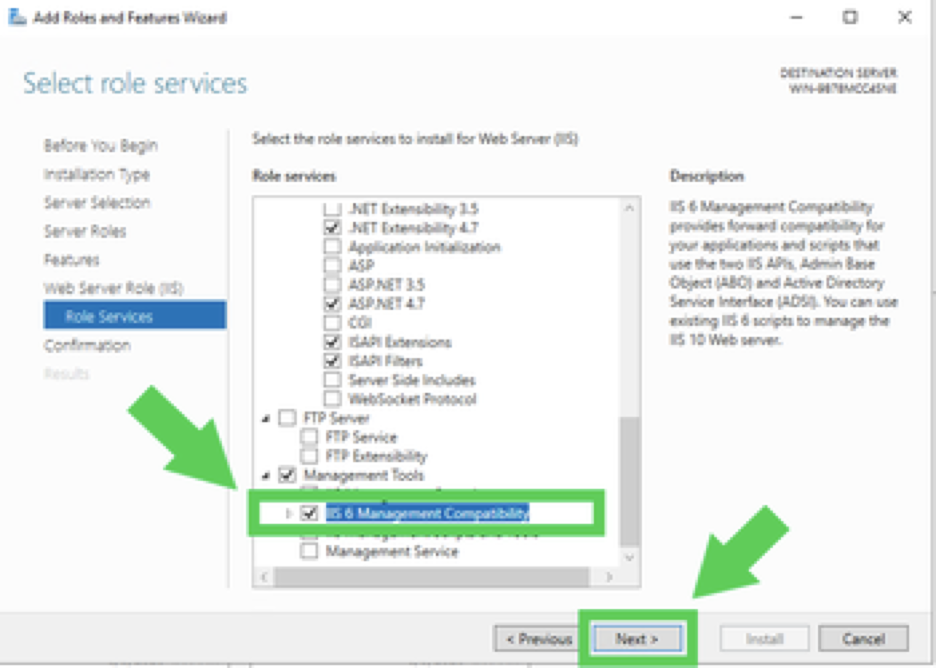
Scroll down to the very bottom of your screen and select IIS 6 Management Compatibility. Then click Next.
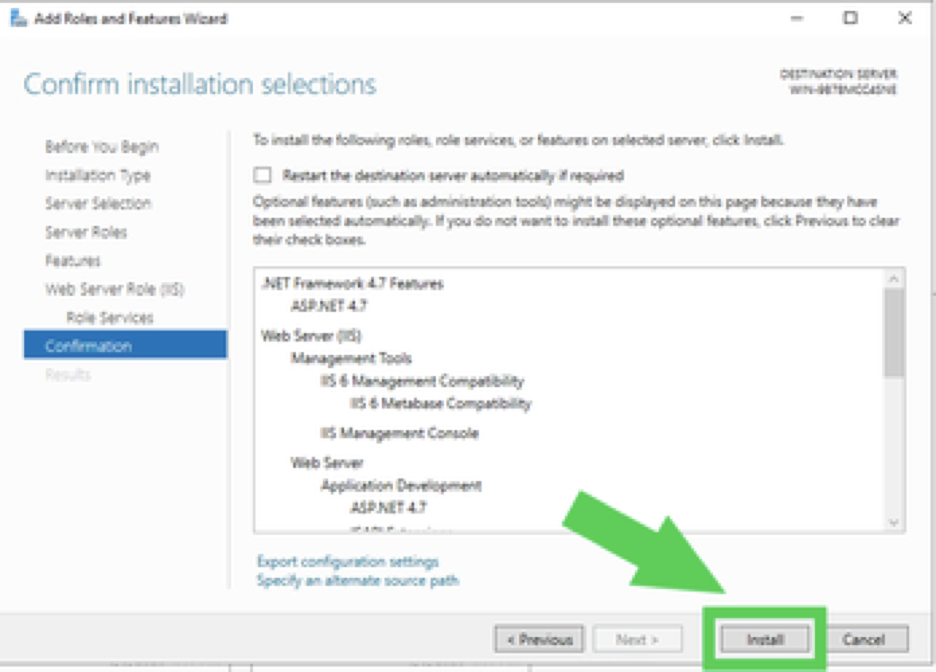
At the "Confirm installation selections" screen click Install.
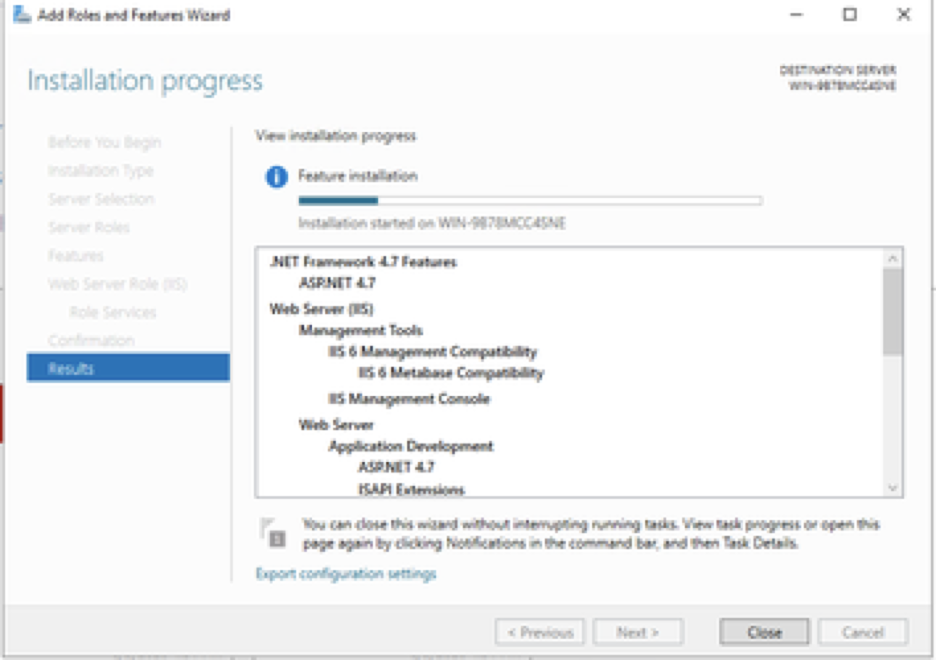
The installation should then kick off. This usually takes about 2-3 minutes.
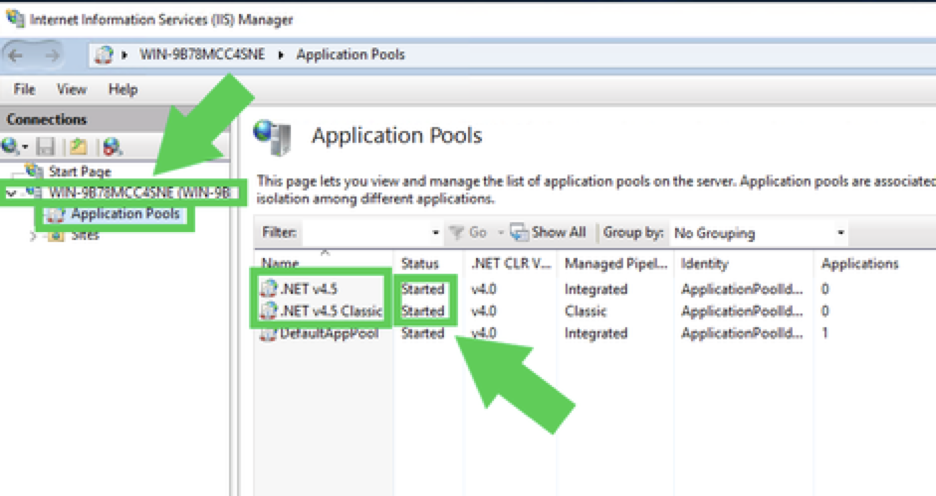
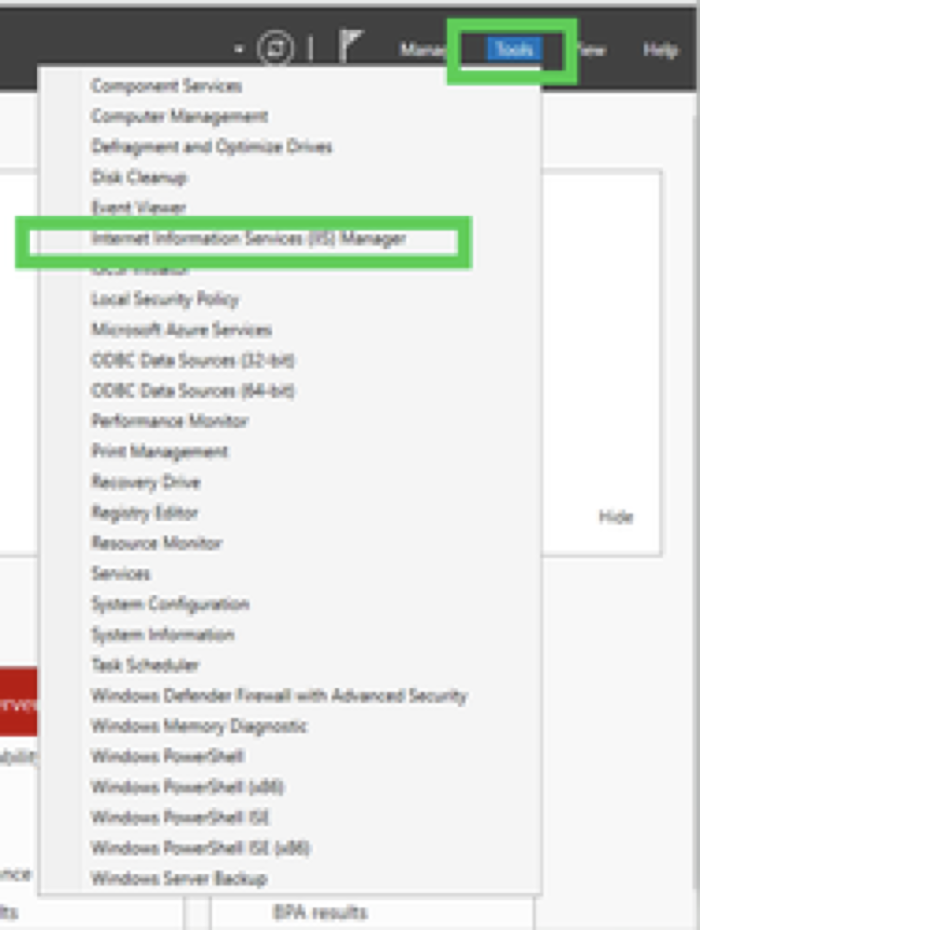
Once the installation is done still stay in the Server Manager and go to Tools and select Internet Information Services (IIS) Manager.
In Internet Information Services (IIS) Manager find your server under Connections and expand it. Click on Application Pools. In the center of the screen under "Application Pools" make sure that the two ".NET" pools have a Status of Started.