Configuring RapidIdentity GO! View
To configure the Portal, navigate to Configuration > GO! View. There are three menu options:
- Themes - This is where the school's logo and portal name is defined
- Personas - This is where the content of the portal is defined by groups of users (i.e. all students at ABC Elementary, all 3rd grade students in the district, or all staff members)
- Announcements - Post announcements by persona to target specific groups of users
There can be one global SSO portal that applies to all users, or there can be multiple portals, one for each school, each grade level, or staff vs. students, or any combination of these. SSO portal design is guided by your district's specific needs. When determining how many portals are needed, keep in mind the audience and which apps they will need access to view.
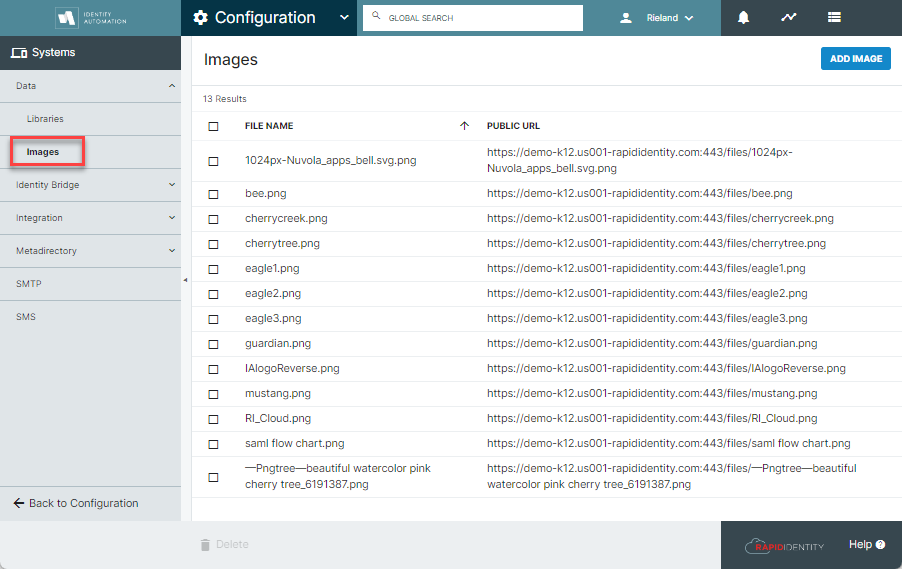
Images
When creating a theme, a URL for a logo is required, and a favicon URL is optional. Those images can be uploaded to RapidIdentity under Configuration > Systems > Data > Images. Click Add Image at the top right. A Public URL will be auto-generated, and this is the URL that can be copied and pasted when creating a new Theme.
Here are some guidelines for the Logo images to be used for compatibility with most browsers.
Themes
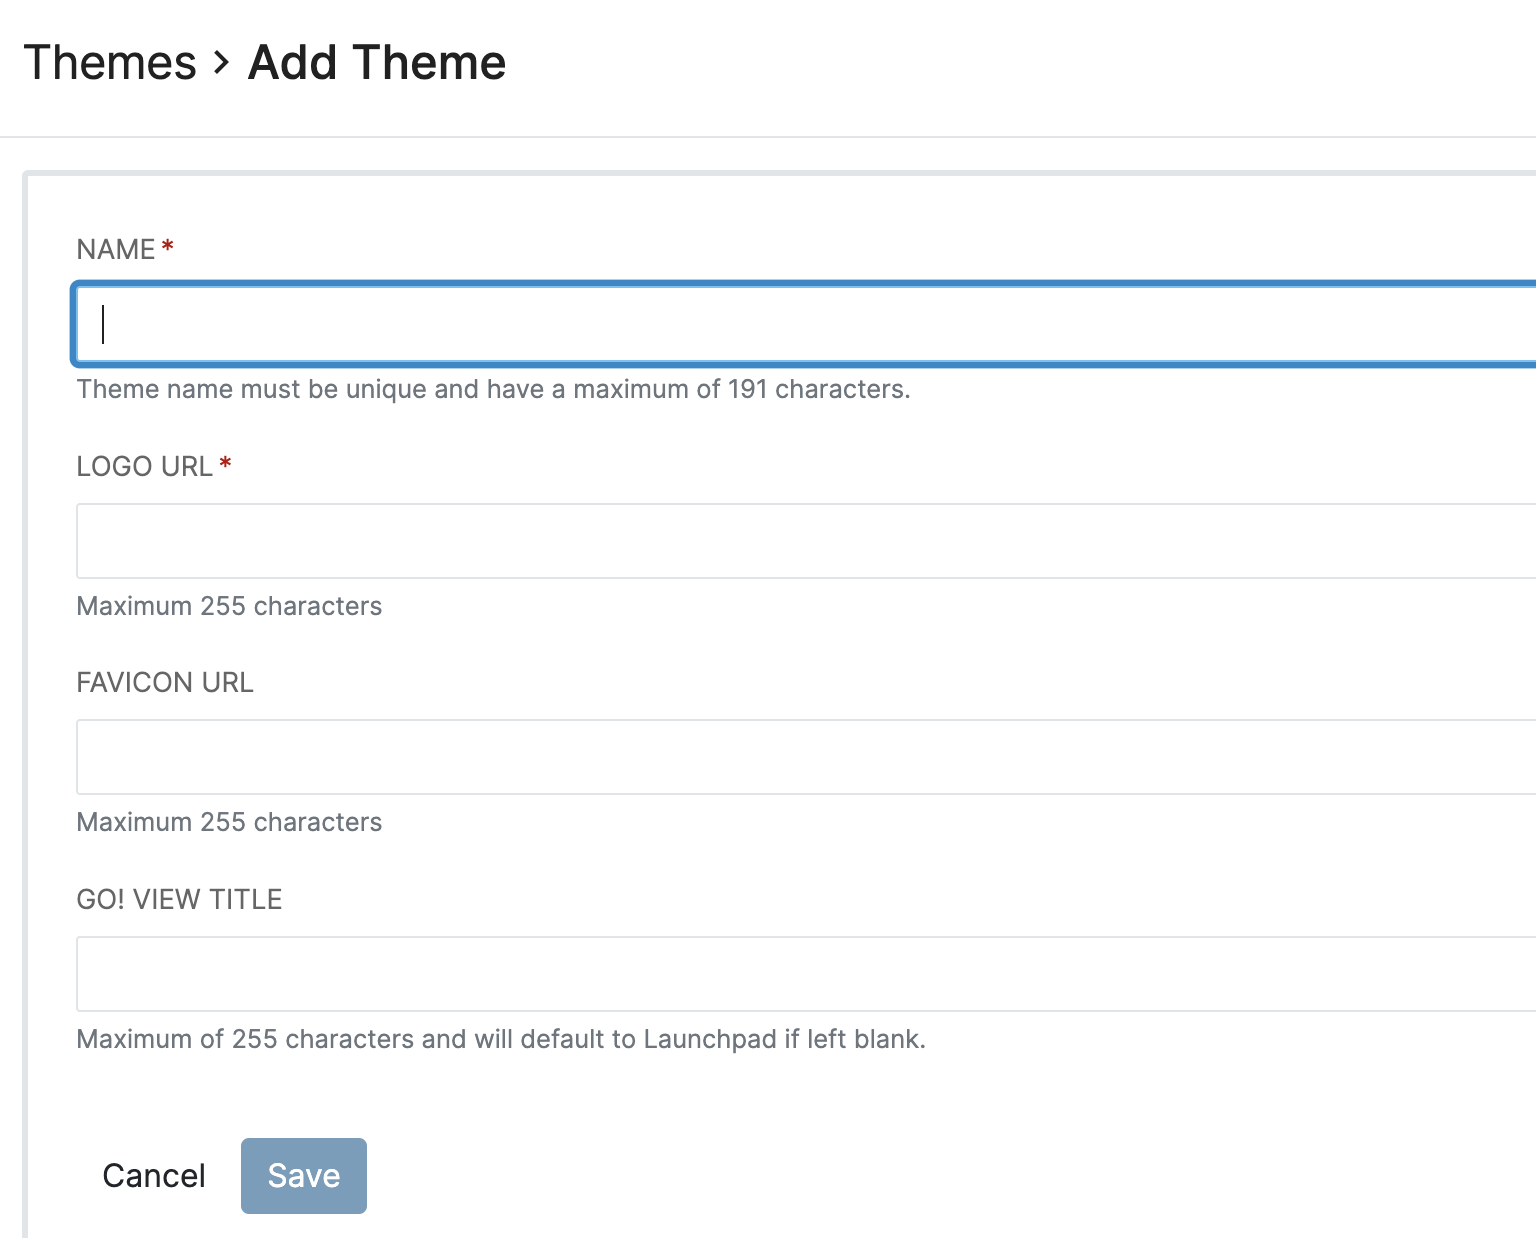
The Themes menu allows administrators to set up branding for each Persona to include the portal name, a logo and favicon, and the portal name which displays at the top center. When defining a new Persona, at least one theme must exist, as this is a required value.
- NAME: Enter a unique name for this theme. (This is not the name that will show at the top center of the portal; this is the name that identifies the contents of this theme.)
- LOGO URL: Copy and paste the Public URL generated when uploading the image. (This URL is required.)
- FAVICON URL: A favicon is the image that shows on the browser tab to more quickly identify the contents of that web page. Copy and paste the Public URL generated when uploading the image. (This URL is optional.)
- GO! VIEW TITLE: This is the name that will display on the top center of the portal. This name does not need to be unique.
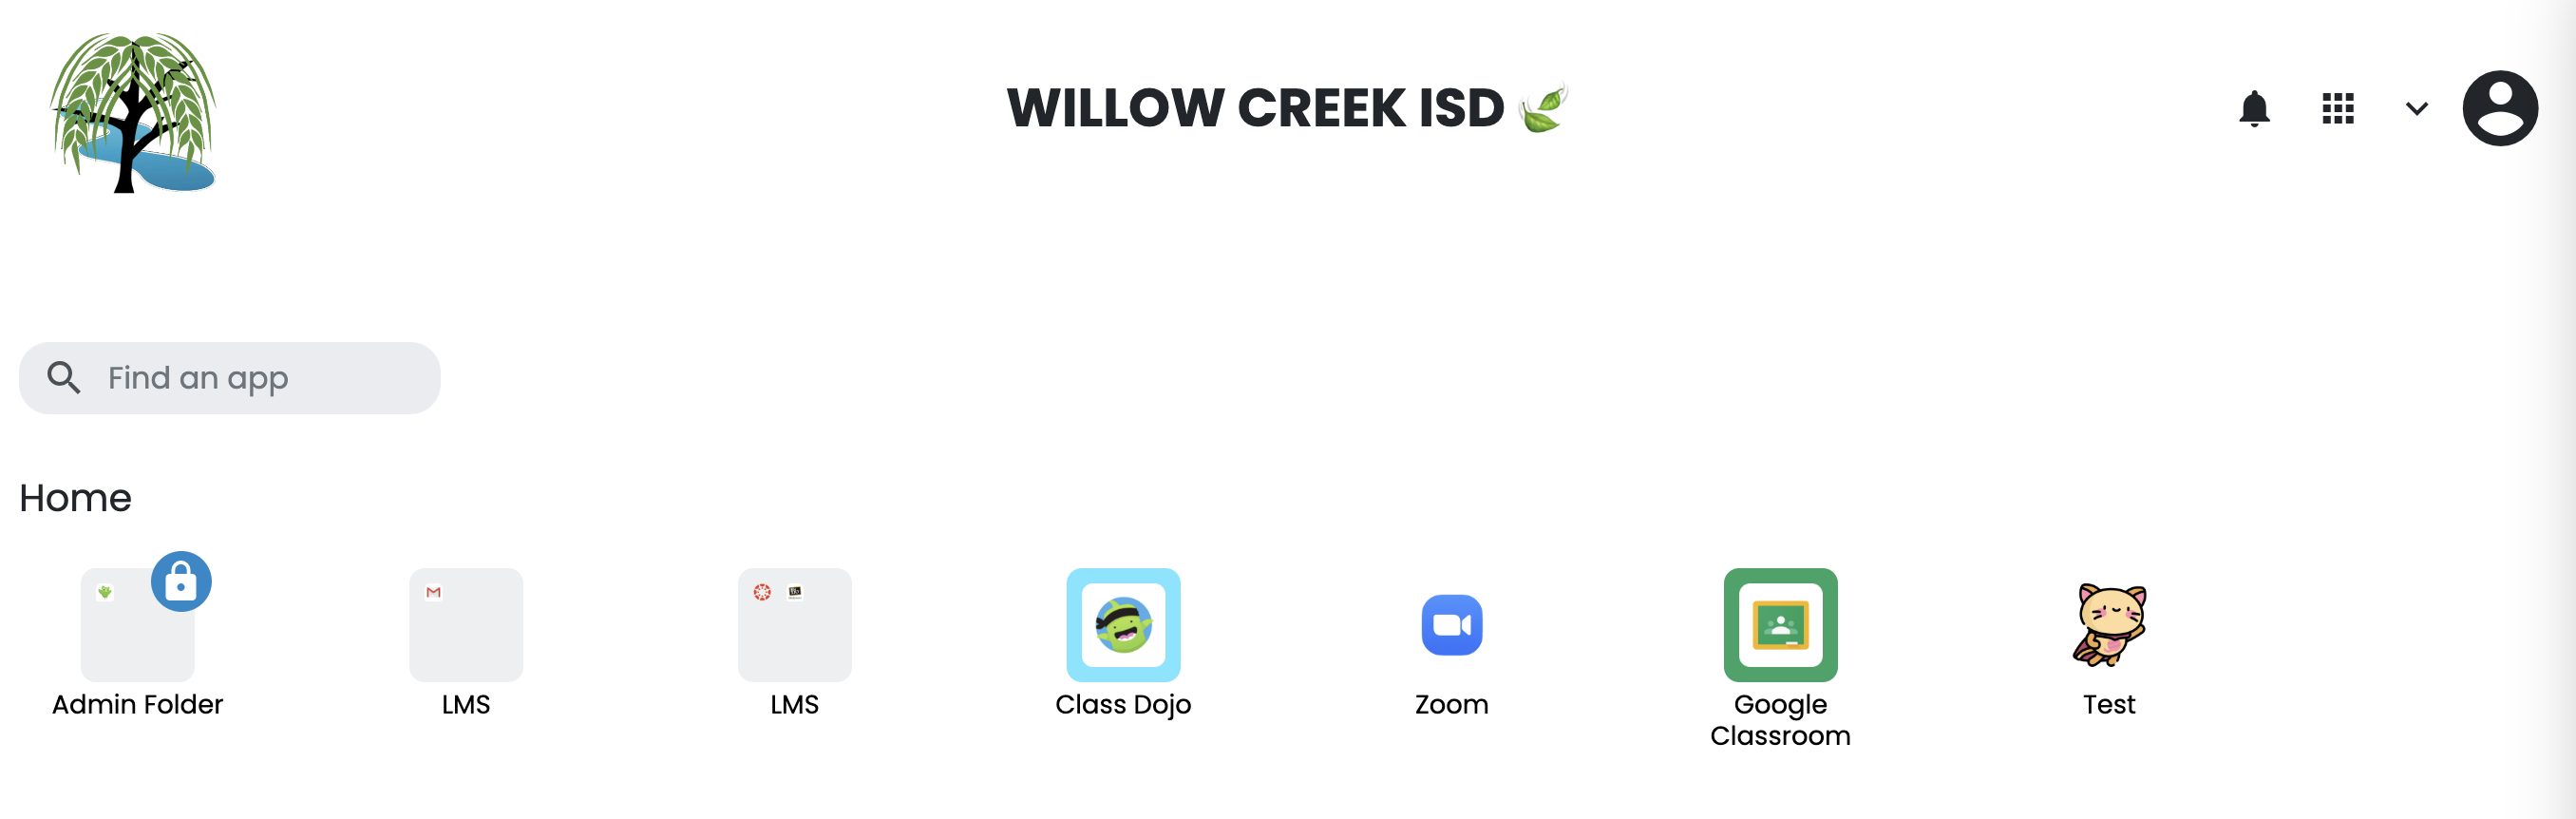
These two sections together provide the overall user experience for the Portal, depending on the user's role and application needs. A finished portal could look something like this:
Personas
A Persona is a group of users that share something in common: all staff, all students, students at a specific school or in a specific grade level, guardians, or other groups. Before designing a customized portal, think about who the target audience is, what rights they should have to customize their portal experience, and what app icons should they see on their dashboard.
At least one persona must exist and must be applied to the correct access groups before the RapidIdentity GO! iOS app will function.
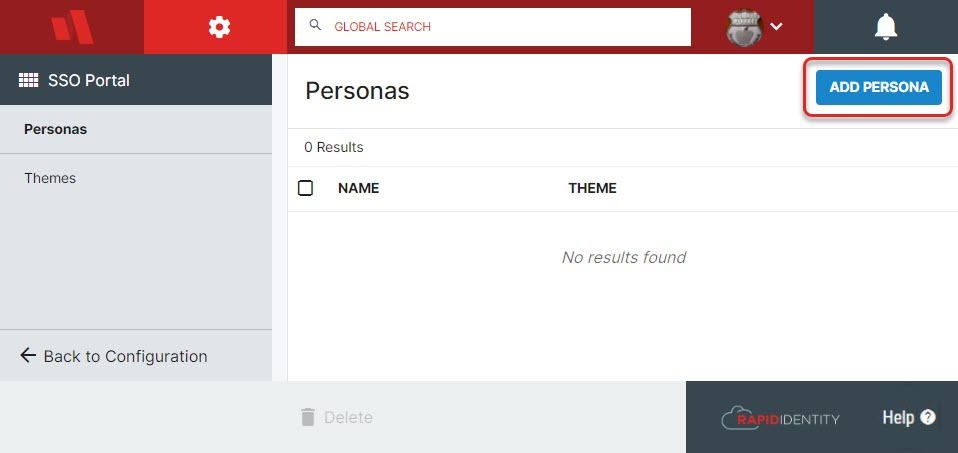
Click Add Persona at the top right:
On the resulting screen, there will be three collapsible sections: General, Customization, and Applications.
General
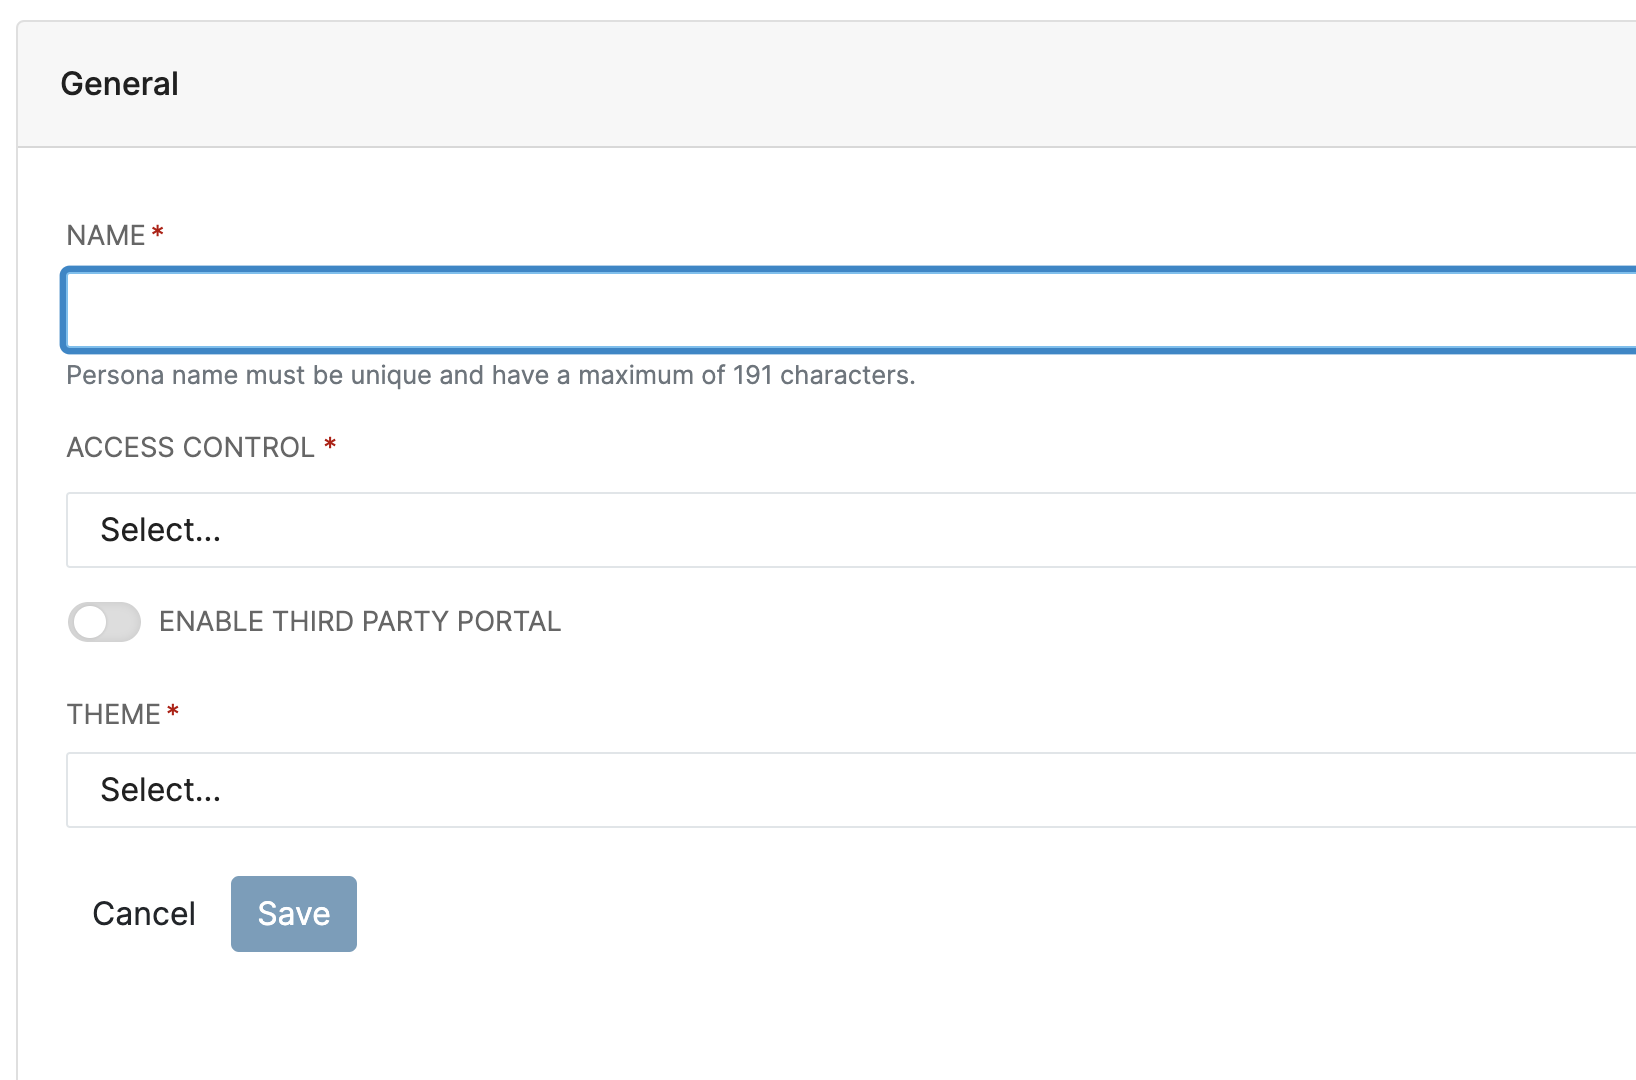
- Name: Give the Persona a unique name that will describe the group of users that this Persona applies to.
- Access Control: Choose whether this Persona will be applied to users based on Roles or Attributes. If Role-based is chosen, search for one or more roles. If Attribute-based is selected, enter an LDAP filter that will define the users included in this Persona.
It is possible that one person may have multiple roles and therefore be a member of multiple personas, such as Teacher and Guardian. Depending on how many personas are created, be prepared for this possibility. People falling into that category will see a choice when they login to their dashboard.
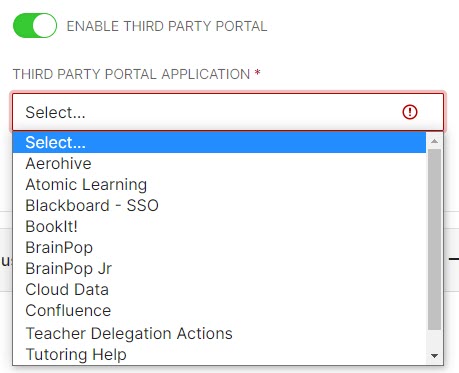
- Enable Third Party Portal: This is a premium add-on called the Universal Authentication Director that will navigate the user to another application (such as Clever) after authenticating through RapidIdentity. Toggle this to On and select the application the user should see once authenticated. The available applications in the dropdown list is generated from the SSO Applications set up in your system.
To enable this feature in your system, contact your Customer Success Manager.
- Theme: If Enable Third Party Portal is not selected, choose which Theme will apply to that Persona's user experience.
Customization
The Customization section is where you as an administrator can define the look, feel, and options available for this Persona's users. Toggle the Preview setting for a representative image of the settings as defined.
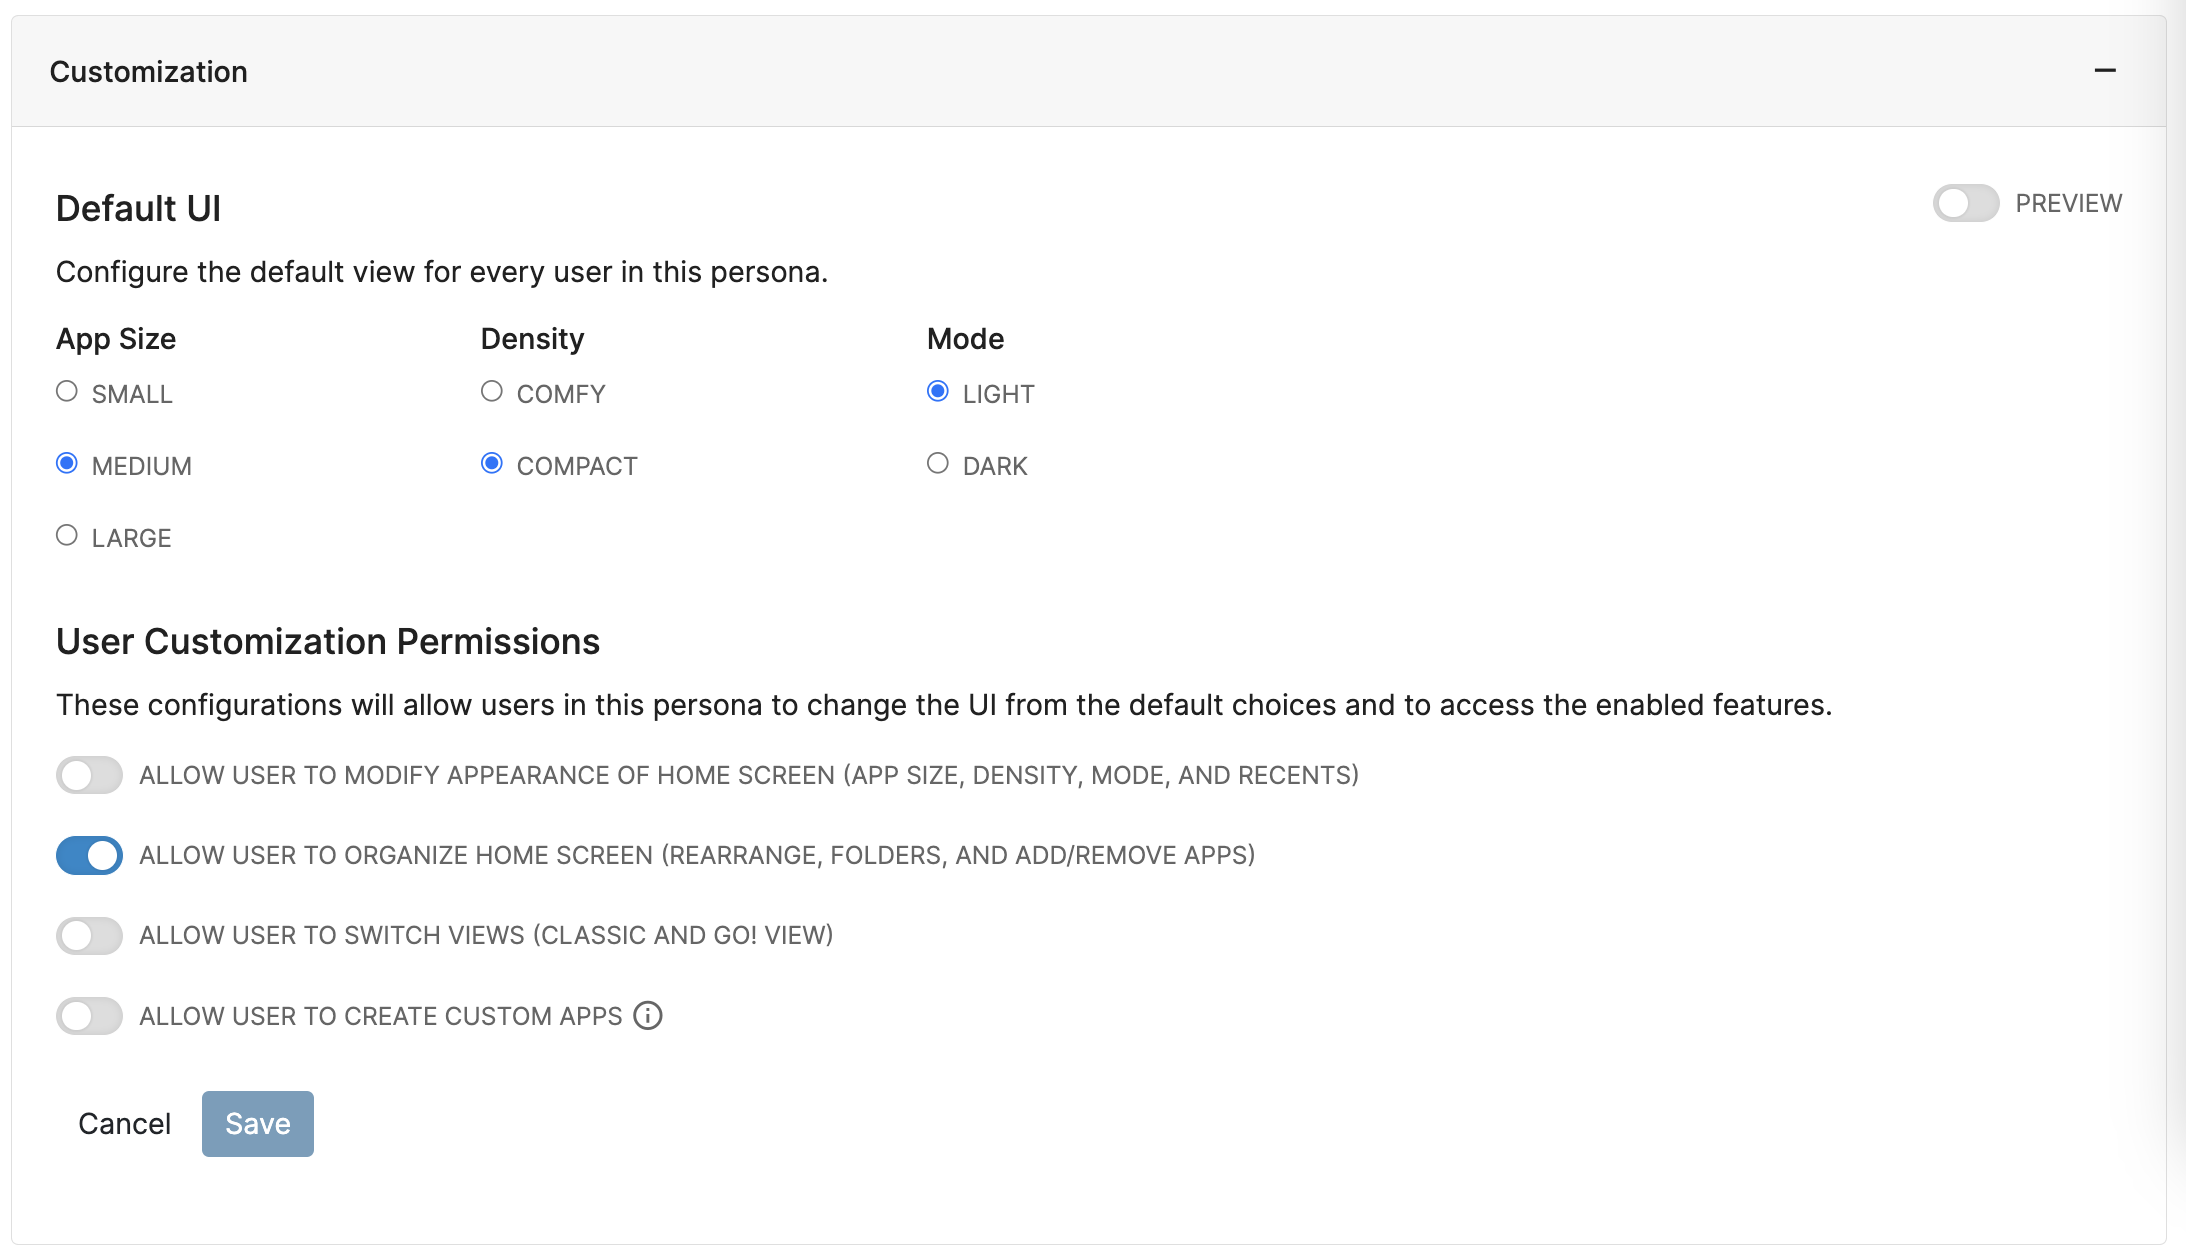
- Default UI: This will define the defaults that users in this Persona will see upon initial login. Here you can set the defaults for App Size (the size of the logo tiles for each application on the Portal), Density (the space between the logo tiles), and Mode (Light - white background or Dark - black background).
- User Customization Permissions: These configurations will allow users in this persona to change from the default choices above, and to access the enabled features. Let's look at each toggle in a little more detail.
- Allow Users to Modify Appearance of the Home Screen: With this toggle on, Users will be able to change the App Size, Density, and Mode for their Home Screen.
- Allow Users to Organize Home Screen: With this toggle on, Users will be able to rearrange the order of their applications on their Home Screen. They will also be able to create their own custom folders to organize their applications. Lastly, this will also give Users permission to add and remove applications from their App Library that have not been designated as Mandatory by their Administrator.
- Allow User to Switch View: With this toggle on, Users will be able to switch between their GO! View and the Legacy RI View. It is important to enable this function for any Users who will need to access the Legacy RI View for Administrator Functions.
- Allow Users to Create Custom Apps: With this toggled on, Users are able to create Custom Apps that are visible on their Home Screen and in their App Library. For more details around this functionality, please refer to this Help article.
Applications
The Applications section is where an administrator will define the applications to display by default for this Persona.
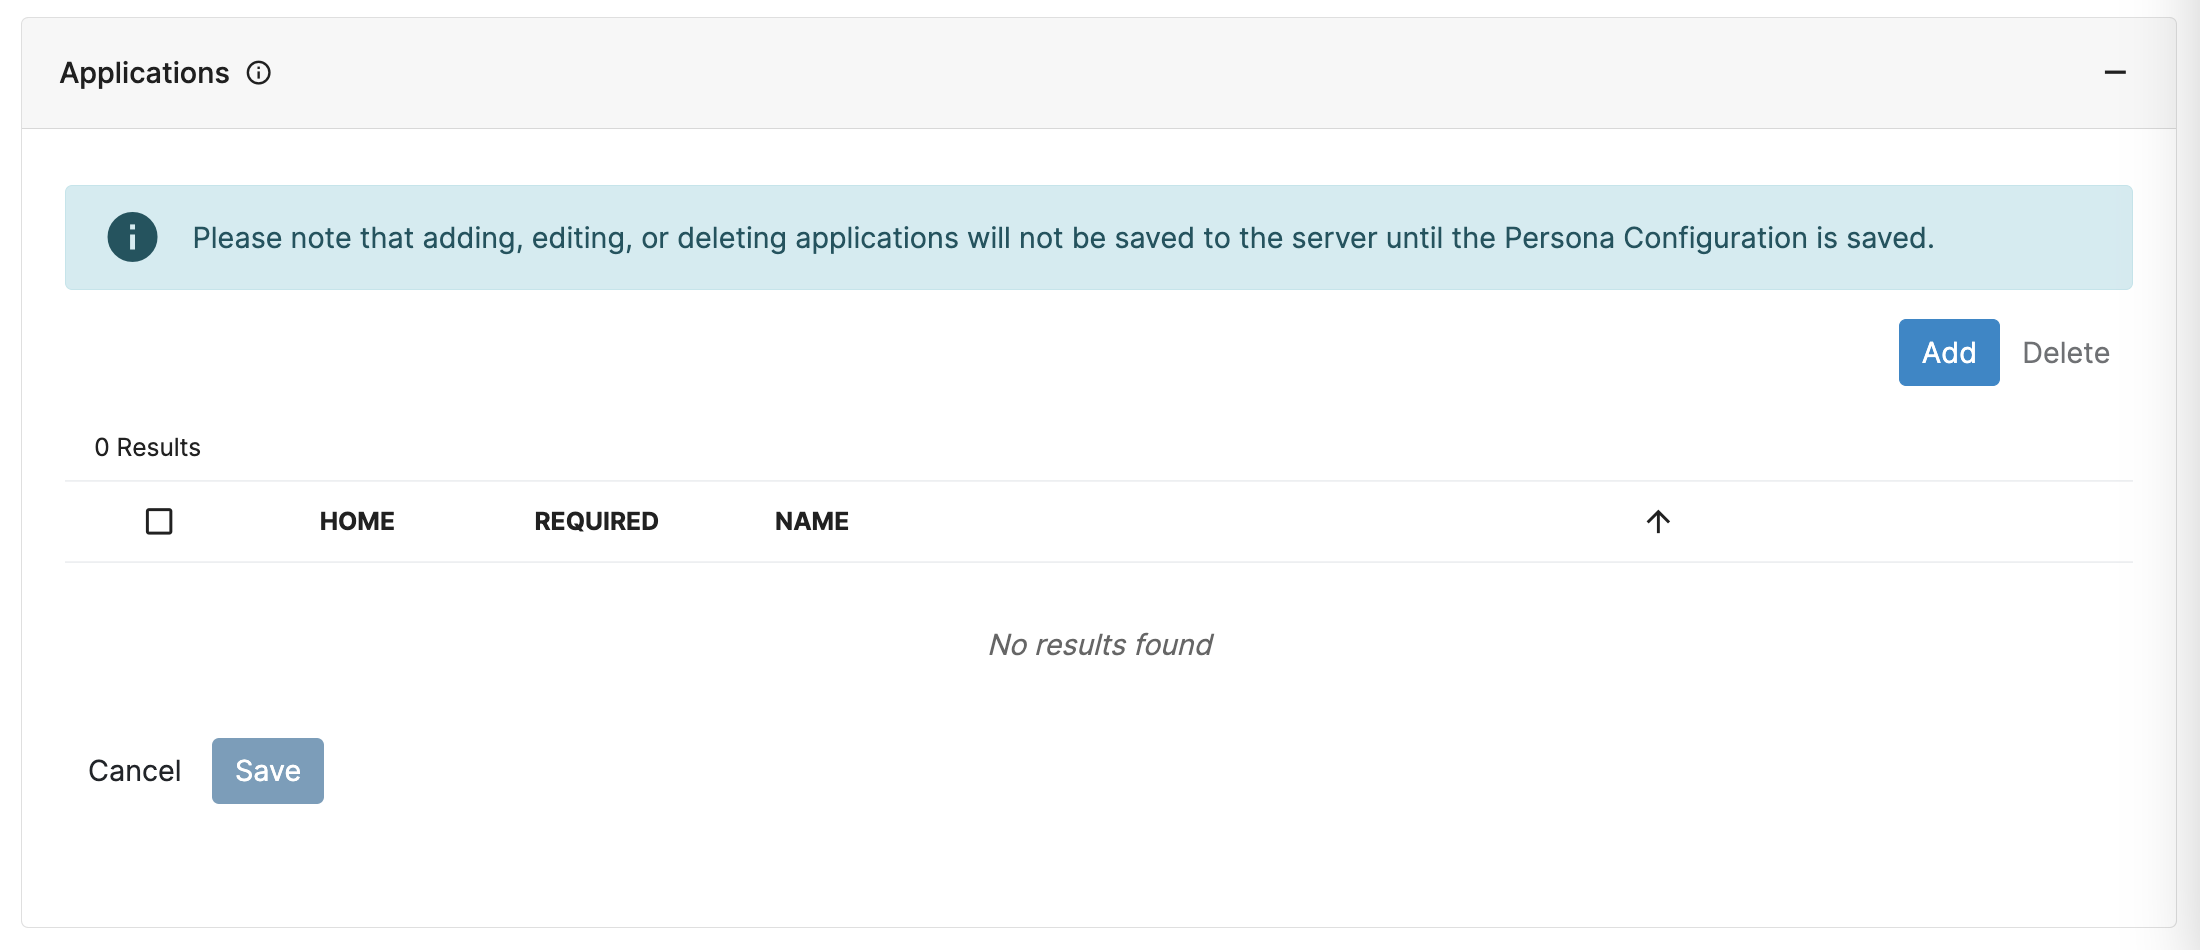
- First, click Add in the top right corner to select Applications to assign to that will appear on the user's Home Screen. Select the desired applications by clicking the checkbox next to the application. Once all desired apps have been selected, click the Add
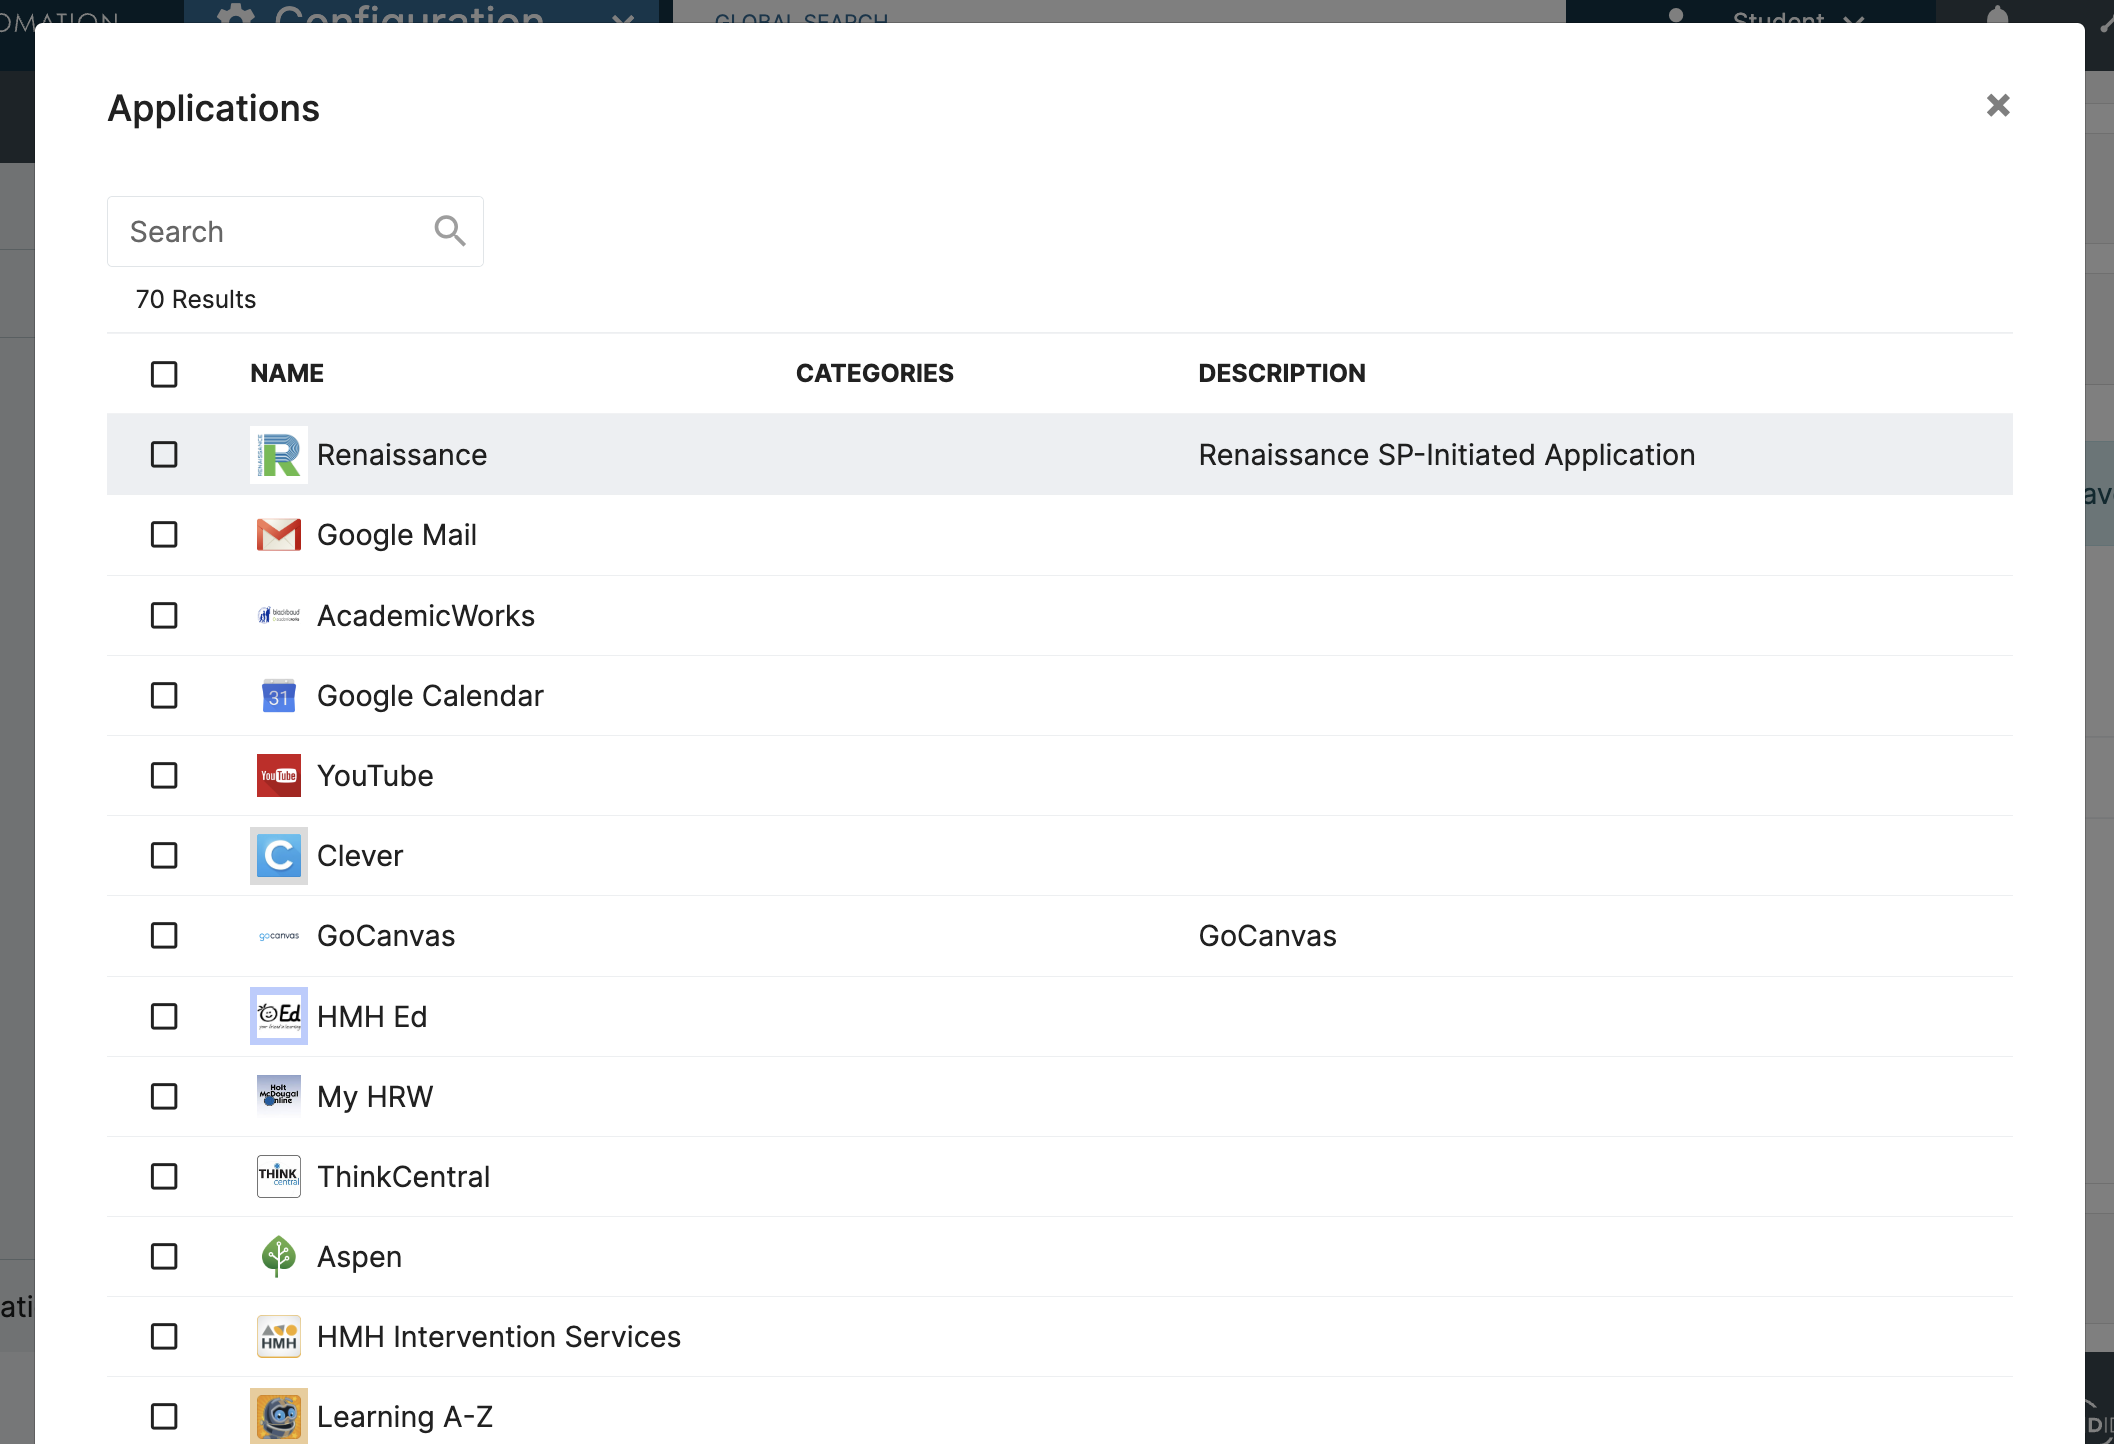 {height="" width=""}button at the bottom to add them.
- Once the applications are added, they will be listed in the Applications for review. It is important to note that the order of the applications in this list will be the order they appear by default on the Home Screen. They can be reordered by drag and drop or via a right click menu.
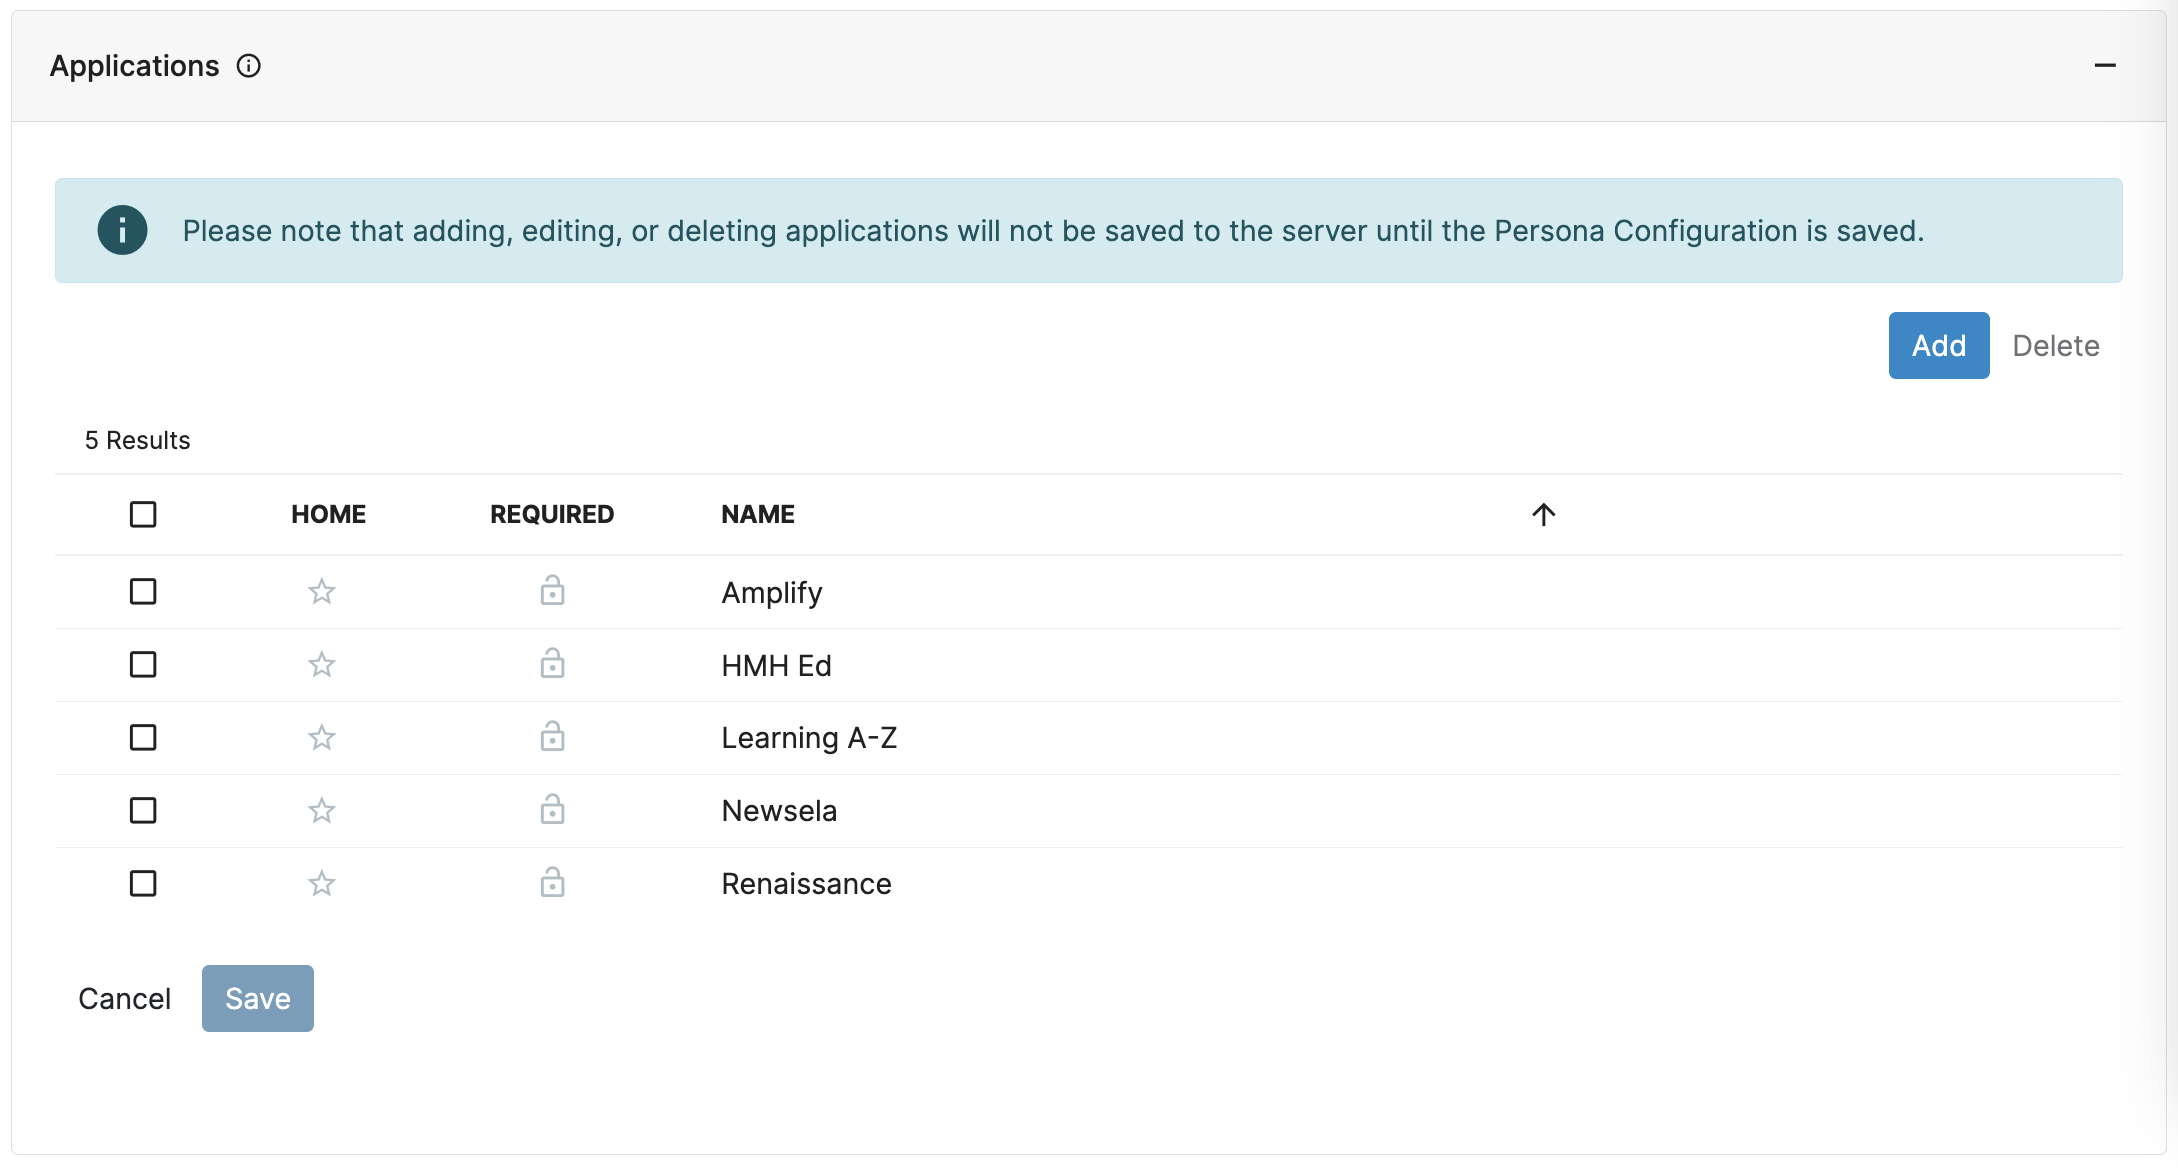
- This is also where it can be determined if the application will appear on the Home Screen by default, and which will be on the Home Screen and unable to be removed.
- Clicking the star icon for an app under the Home column will place that application on the Home Screen by default.
- Clicking the lock icon under the Required column will place that application on the Home Screen and not allow a User to remove it.
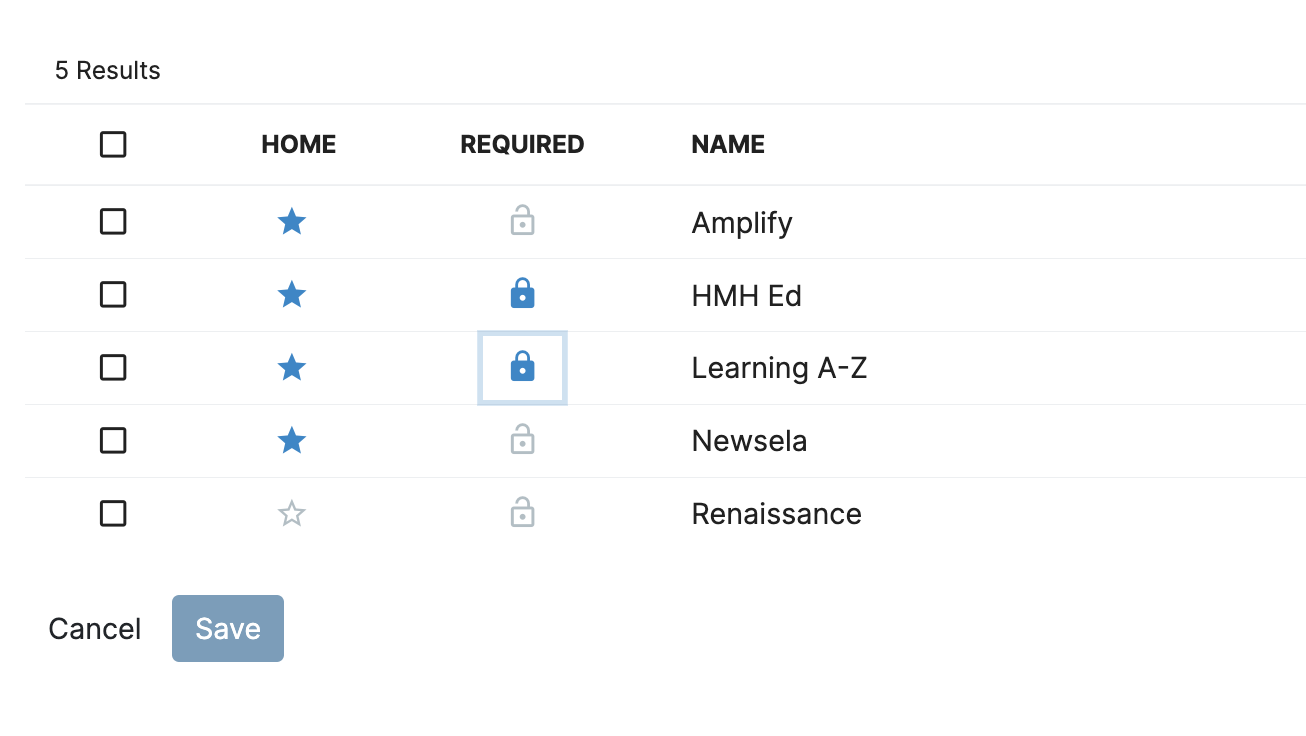
- Once the applications have been configured, don't forget to scroll down and click Save!
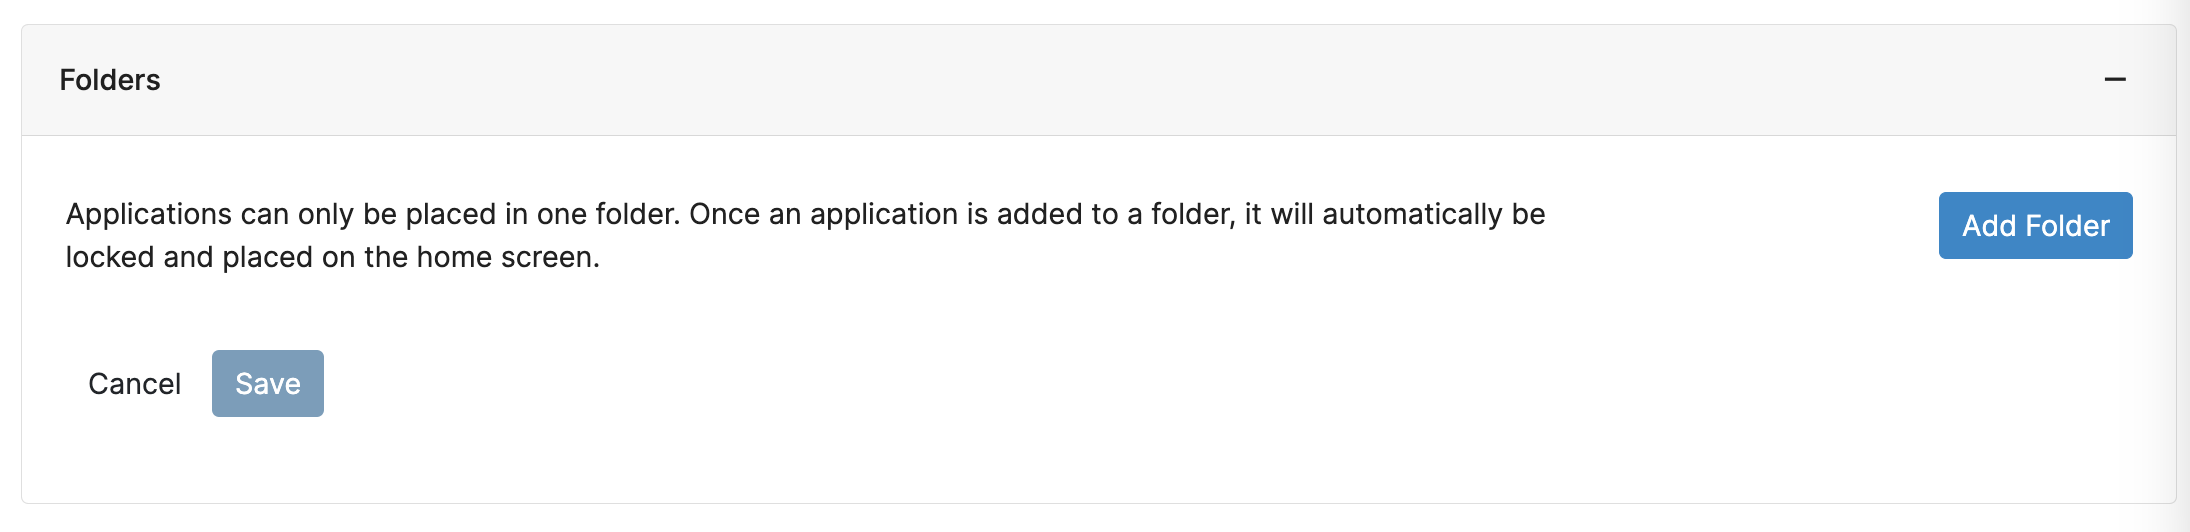
Folders
In the GO! View, Administrators have the option to create and customize Folders. Being able to curate folders extends the ability for an Administrator to customize the home screen for Users in a specific Persona for the best user experience. Administrator Managed Folders are not able to be modified by the End User.
For more details on the configuration process of Folders, please refer to this Help Article.