Create a Service Account and Key
-
Select a created project on your instance of console.cloud.google.com.
-
Click on the menu button at the top left of the page, select APIs and Services, and select Credentials.
-
Click Create Credentials and select Service account.
-
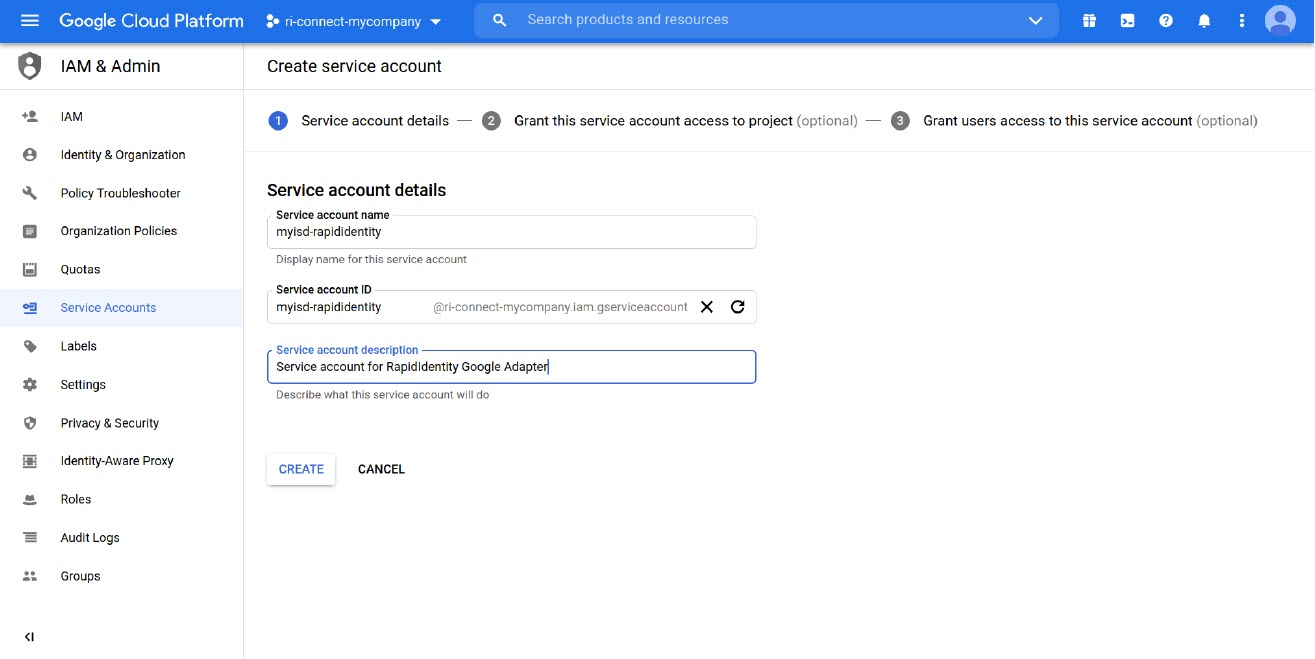
Give the service account a name and an account ID. Descriptions are optional.
-
Click Create and Continue.
-
Skip the Grant this service account access to project section.
-
Skip the Grant users access to this service account section. By default, the user that creates the service account will be the only one who has access to this service account.
-
Click Done.
-
If not redirected, select the menu button in the top left of the page, select APIs & Services, and then select Credentials.
-
Under Service Accounts, click the pencil icon next to the service account that was created above.
-
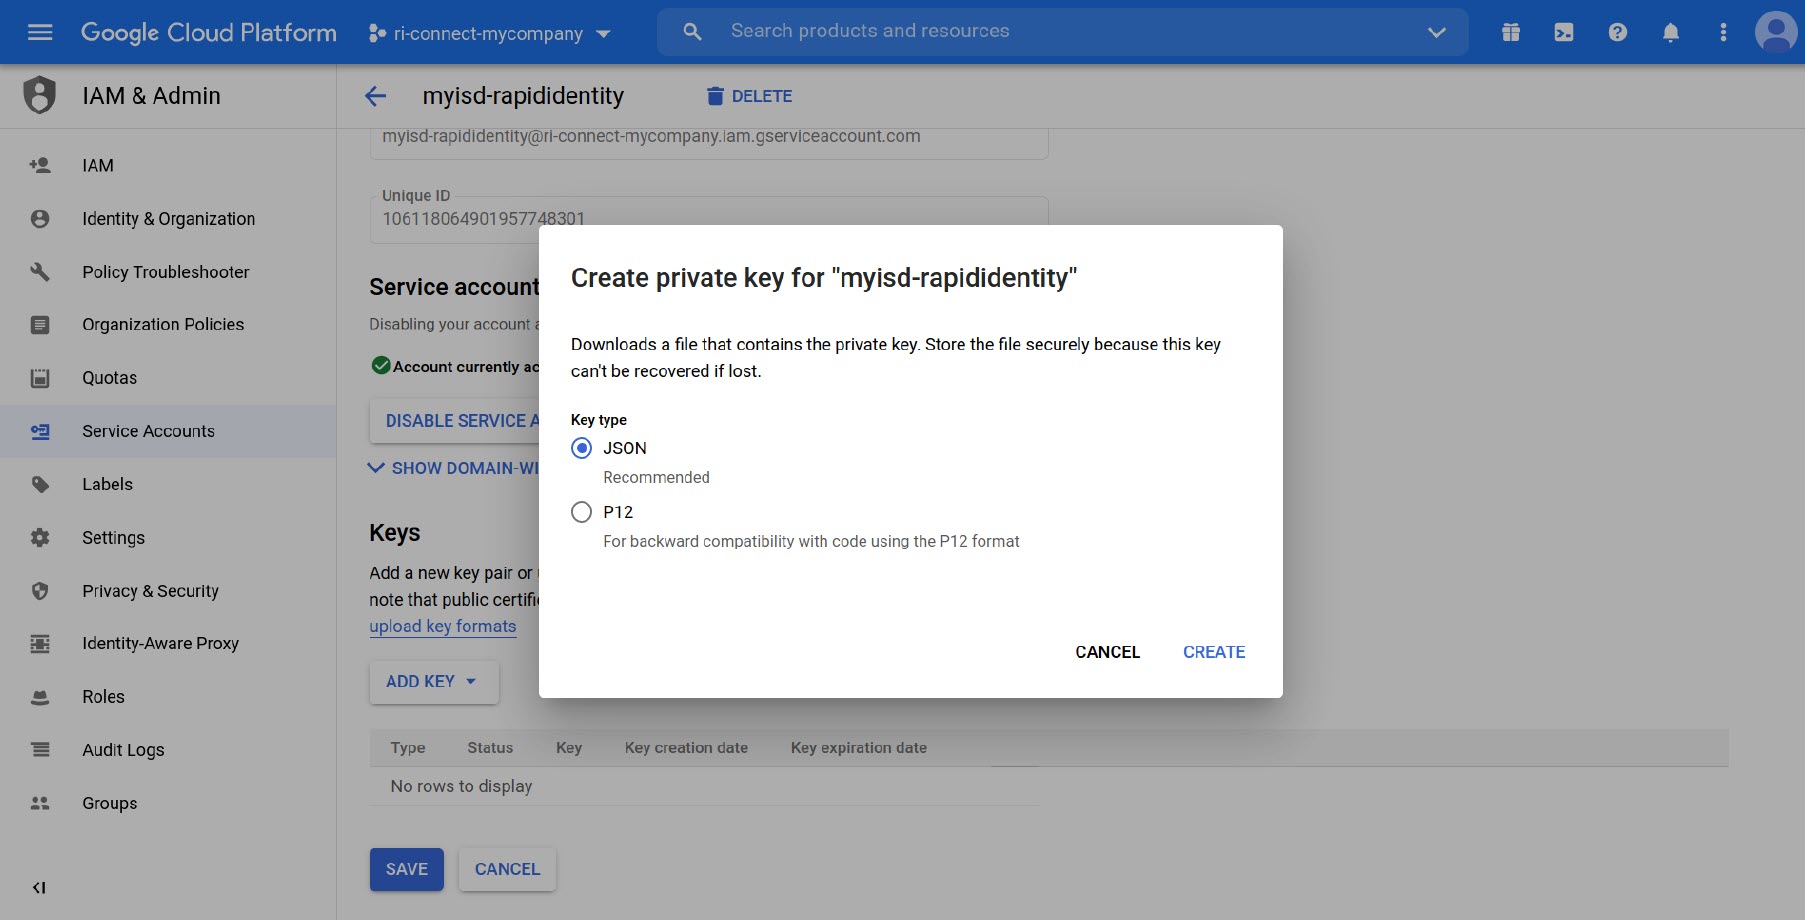
Scroll to the Keys section and click Add Key, then select Create New Key.
-
Select JSON in the popup window, and click Create.
-
Save the JSON file and store it in a secure area.
Authorizing the Service Account Key
- Log in to Google Admin Console as a User with the Super Admin role.
- In the Admin console, go to Menu > Security > Access and data control > API controls.
- Click Manage Domain Wide Delegation.
- Click Add New.
- Open the JSON file that was downloaded when you created the Service Account Key. Copy the value of the client_id field (without the quotes) and paste into the Client ID field in the browser.
- Enter the scopes you want to grant access to, separated by commas, in the OAuth scopes field and click Authorize. The typical scopes you will need will be:
a. https://www.googleapis.com/auth/admin.directory.user.readonly
b. https://www.googleapis.com/auth/admin.directory.user
c. https://www.googleapis.com/auth/admin.directory.orgunit
d. https://www.googleapis.com/auth/admin.directory.userschema
e. A list of available scopes is available at https://developers.google.com/identity/protocols/googlescopes. - Additional scopes may be added later by repeating the previous two steps.
Creating a Google_Extended OAuth2 Credential in Connect
- Navigate to RapidIdentity Connect > OAuth2 Credentials.
- Select the project you want the credential associated with or select * to create a credential that may be used by all projects.
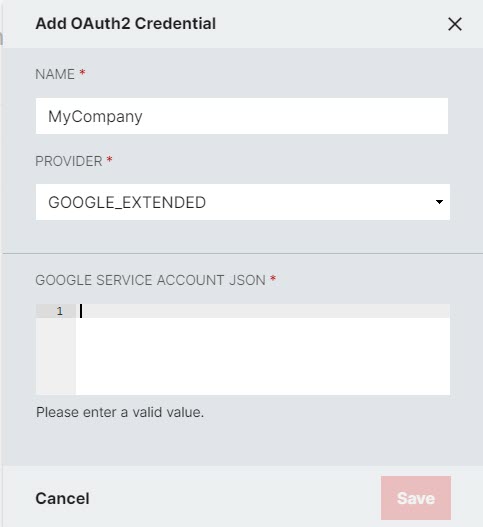
- Click Add OAuth2 Credential.
- Give the OAuth2 Credential a name (must be unique) and select Google_Extended for the Provider.
- Open the JSON file you received when you created the service Account Key and copy and paste the contents into the Google Service Account JSON field.
- Click Save.
Creating a G-Suite Connection using Google_Extended OAuth2 Credentials
- Insert the deefineGoogleExtendedOAuthConnection() action.
- Enter the domain.
- Select the desired credential in the CREDENTIALNAME dropdown menu.
- Enter the Google User ID of the account you wish to use in the impersonateUserId field. Note: This is Required.
- Enter an array of scopes to authorize for the connection. The set of scopes must be a subset of those that were authorized for use by the Service Account Key for the domain (typically, you will use the same scopes as previously configured).
