Login to your PIXM Administrator Console
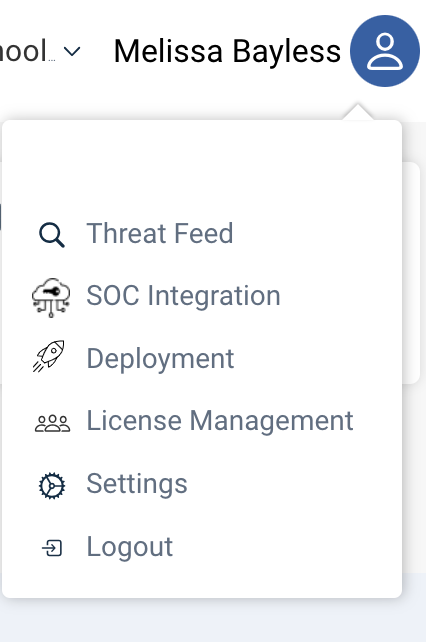
Click on the Menu Bar on the Top Right Corner and select Deployment
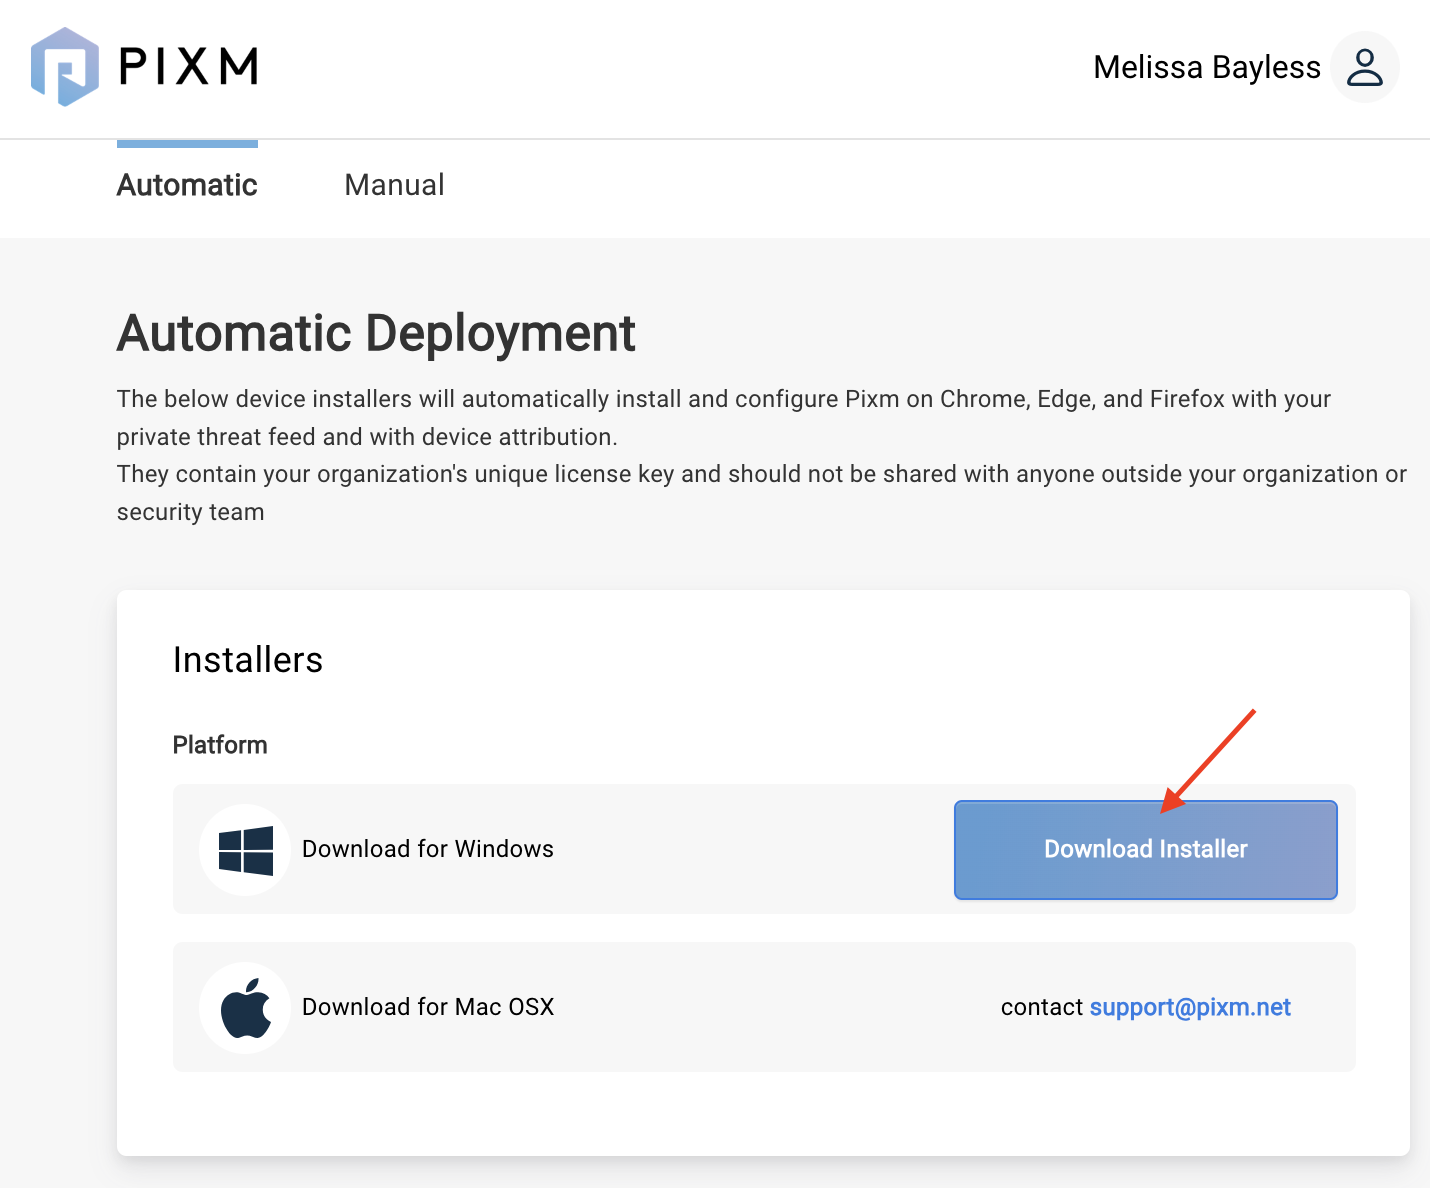
Click to Download the Installer (PixmInstaller.msi)
Create a network folder that is visible to all devices that the program is to be installed on. All devices will need to have read access to the network folder. Copy the PixmInstaller.msi to the shared network folder.
On your Domain Controller, open Group Policy Management and navigate to Features -> Group Policy Management -> Forest -> Domains and locate the domain to be used.

Select the domain and right click to open the context menu. Select Create a GPO in this domain, and Link it here....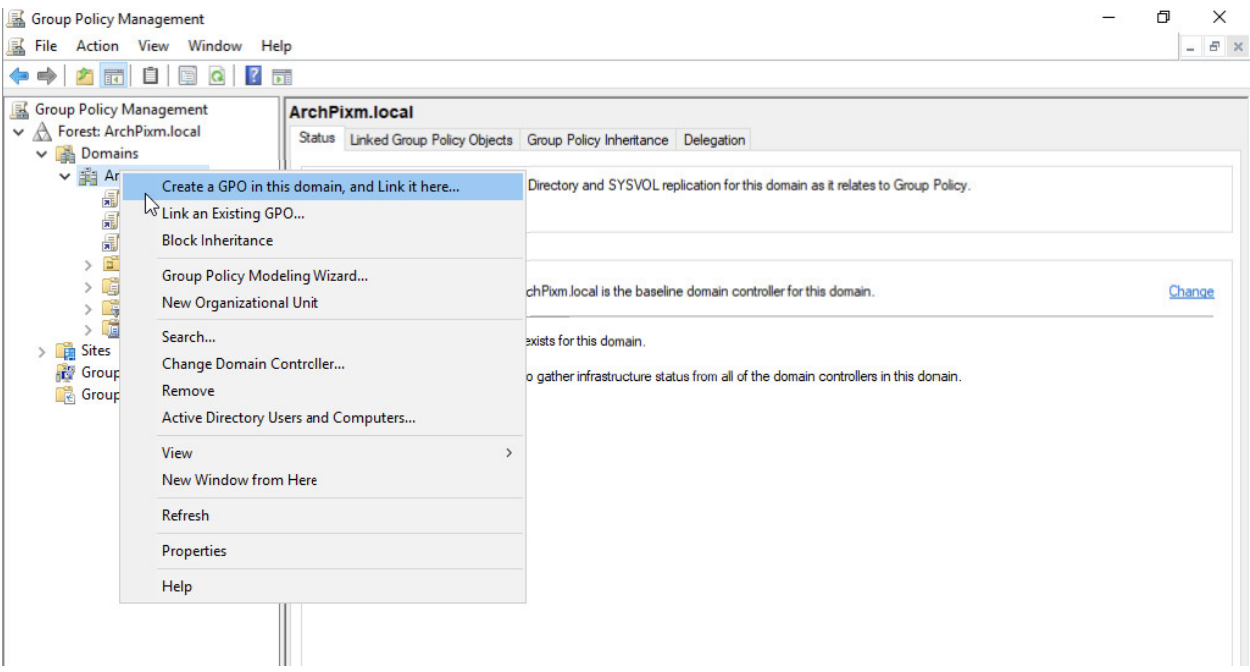
In the dialog box that opens name the GPO and click OK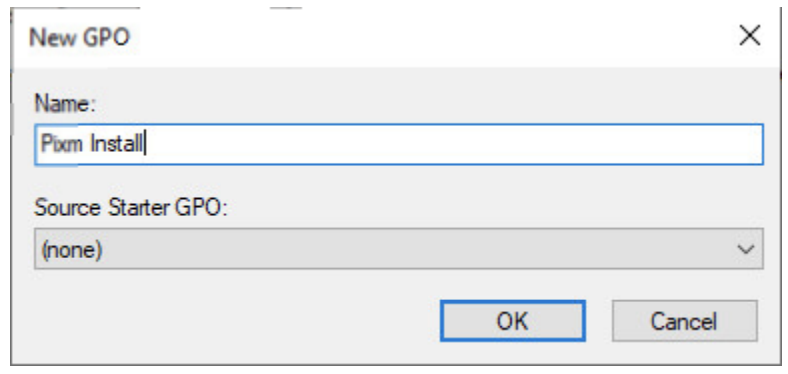
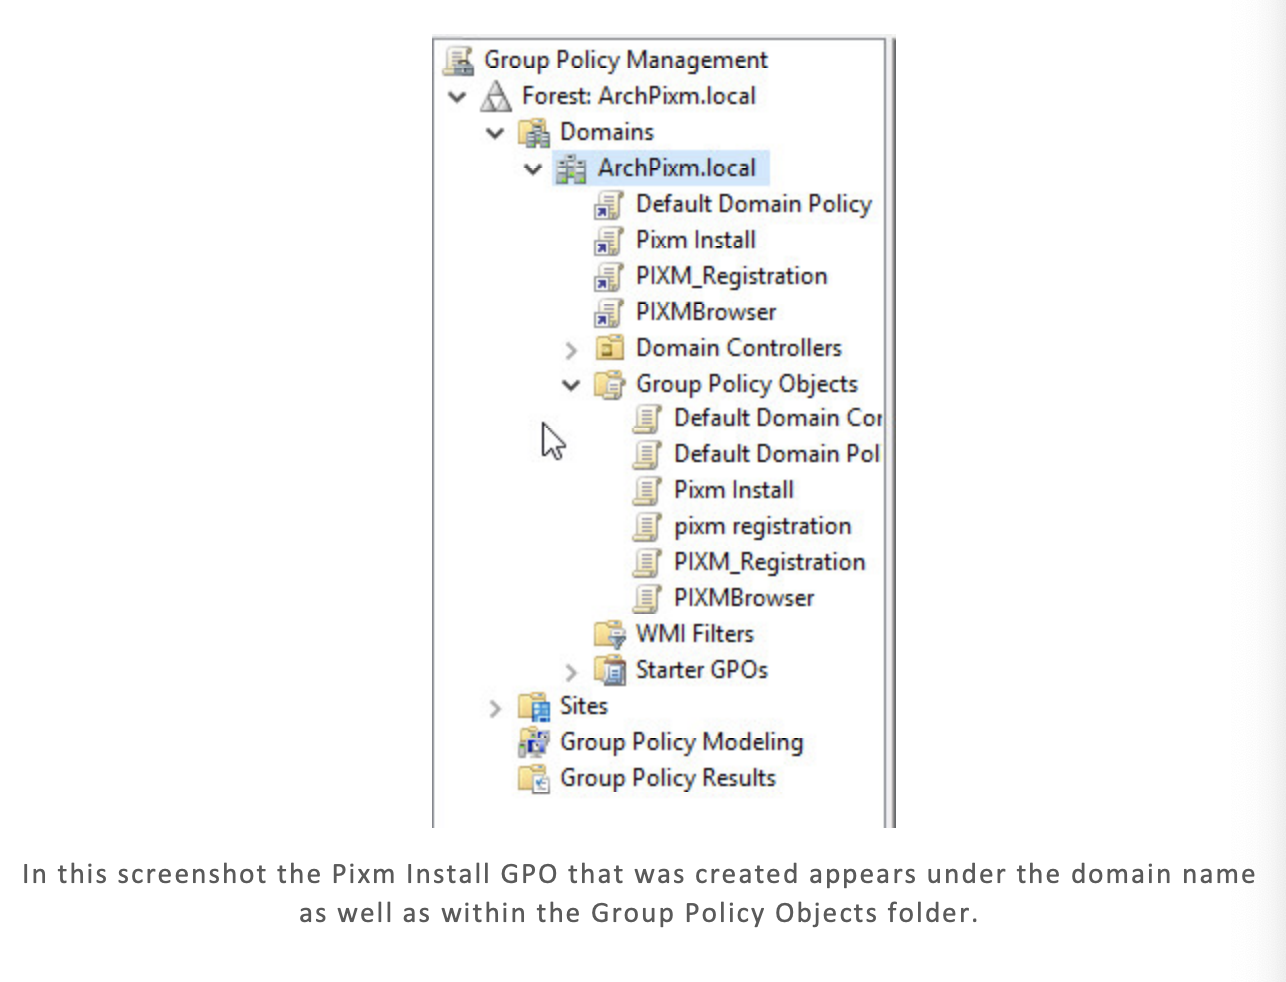
To confirm that the GPO was created look in the sidebar for the name you specified above.
Select the new GPO under the domain and right click to open the context menu. Click Edit to open the Group Policy Management Editor.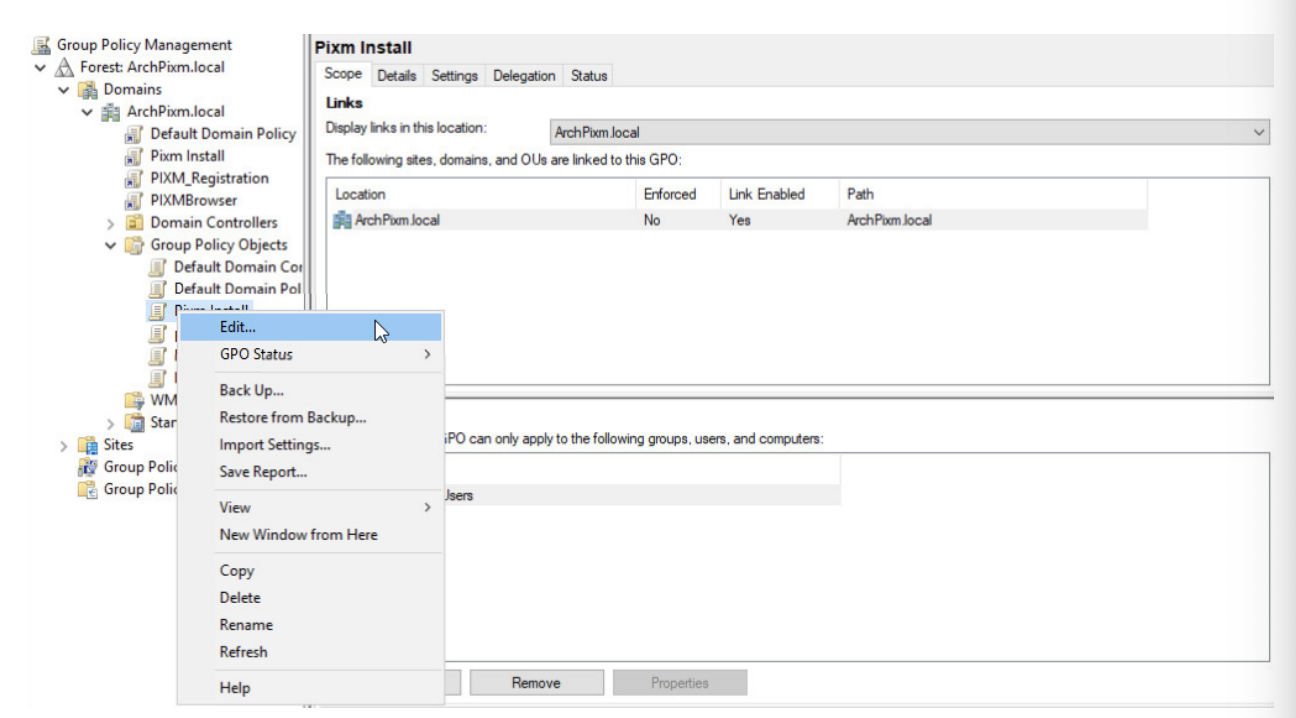
Expand the following: Computer Configuration -> Policies -> Software Settings
Click on Software Installation
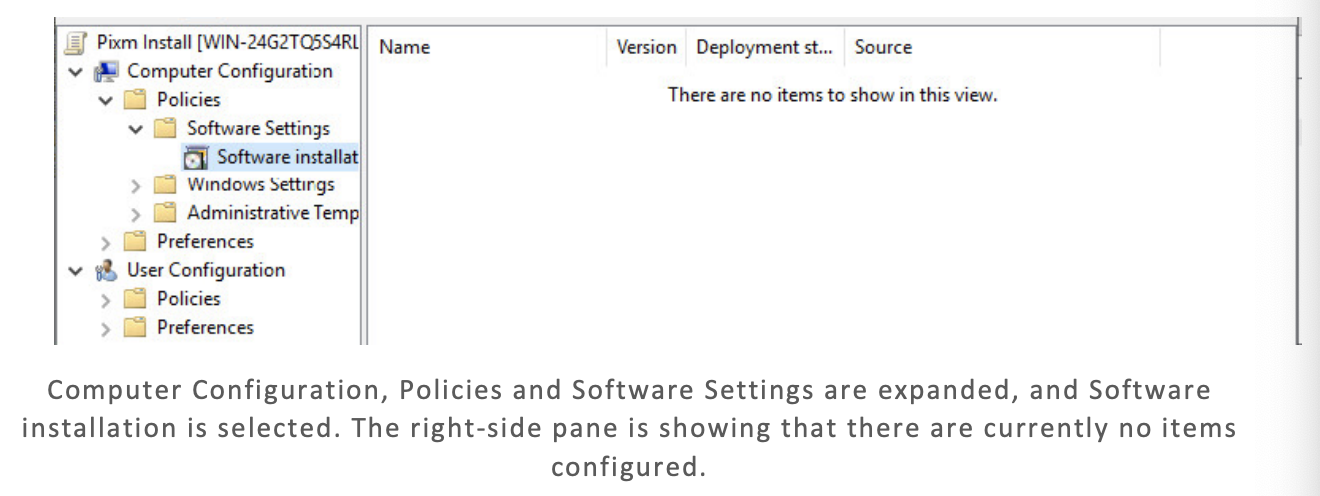
Right click in the right-side pane of the Software Installation window and choose New > Package

Navigate to the shared folder created earlier and open the Pixm MSI file.
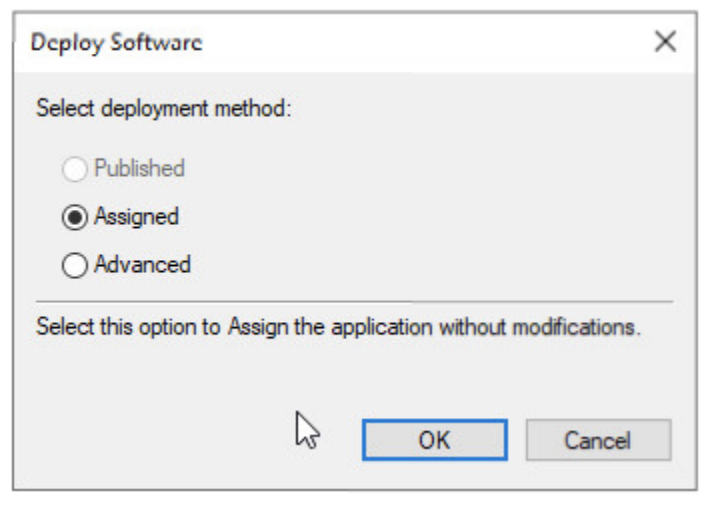
In the Deploy Software dialog box, select Assigned and then click OK
To test the GPO while on a client machine, open the command line and run gpupdate /force. This will force the machine to check with the domain for any changes in GPO. The machine should then notice and obey the newly created GPO and perform the installation.