Rostering with RapidIdentity Studio!
RapidIdentity Studio is a module designed to work with the OneRoster Standard, facilitating data processing between various sources and targets. This document provides an overview of the key features and functions within RapidIdentity Studio.
Applications
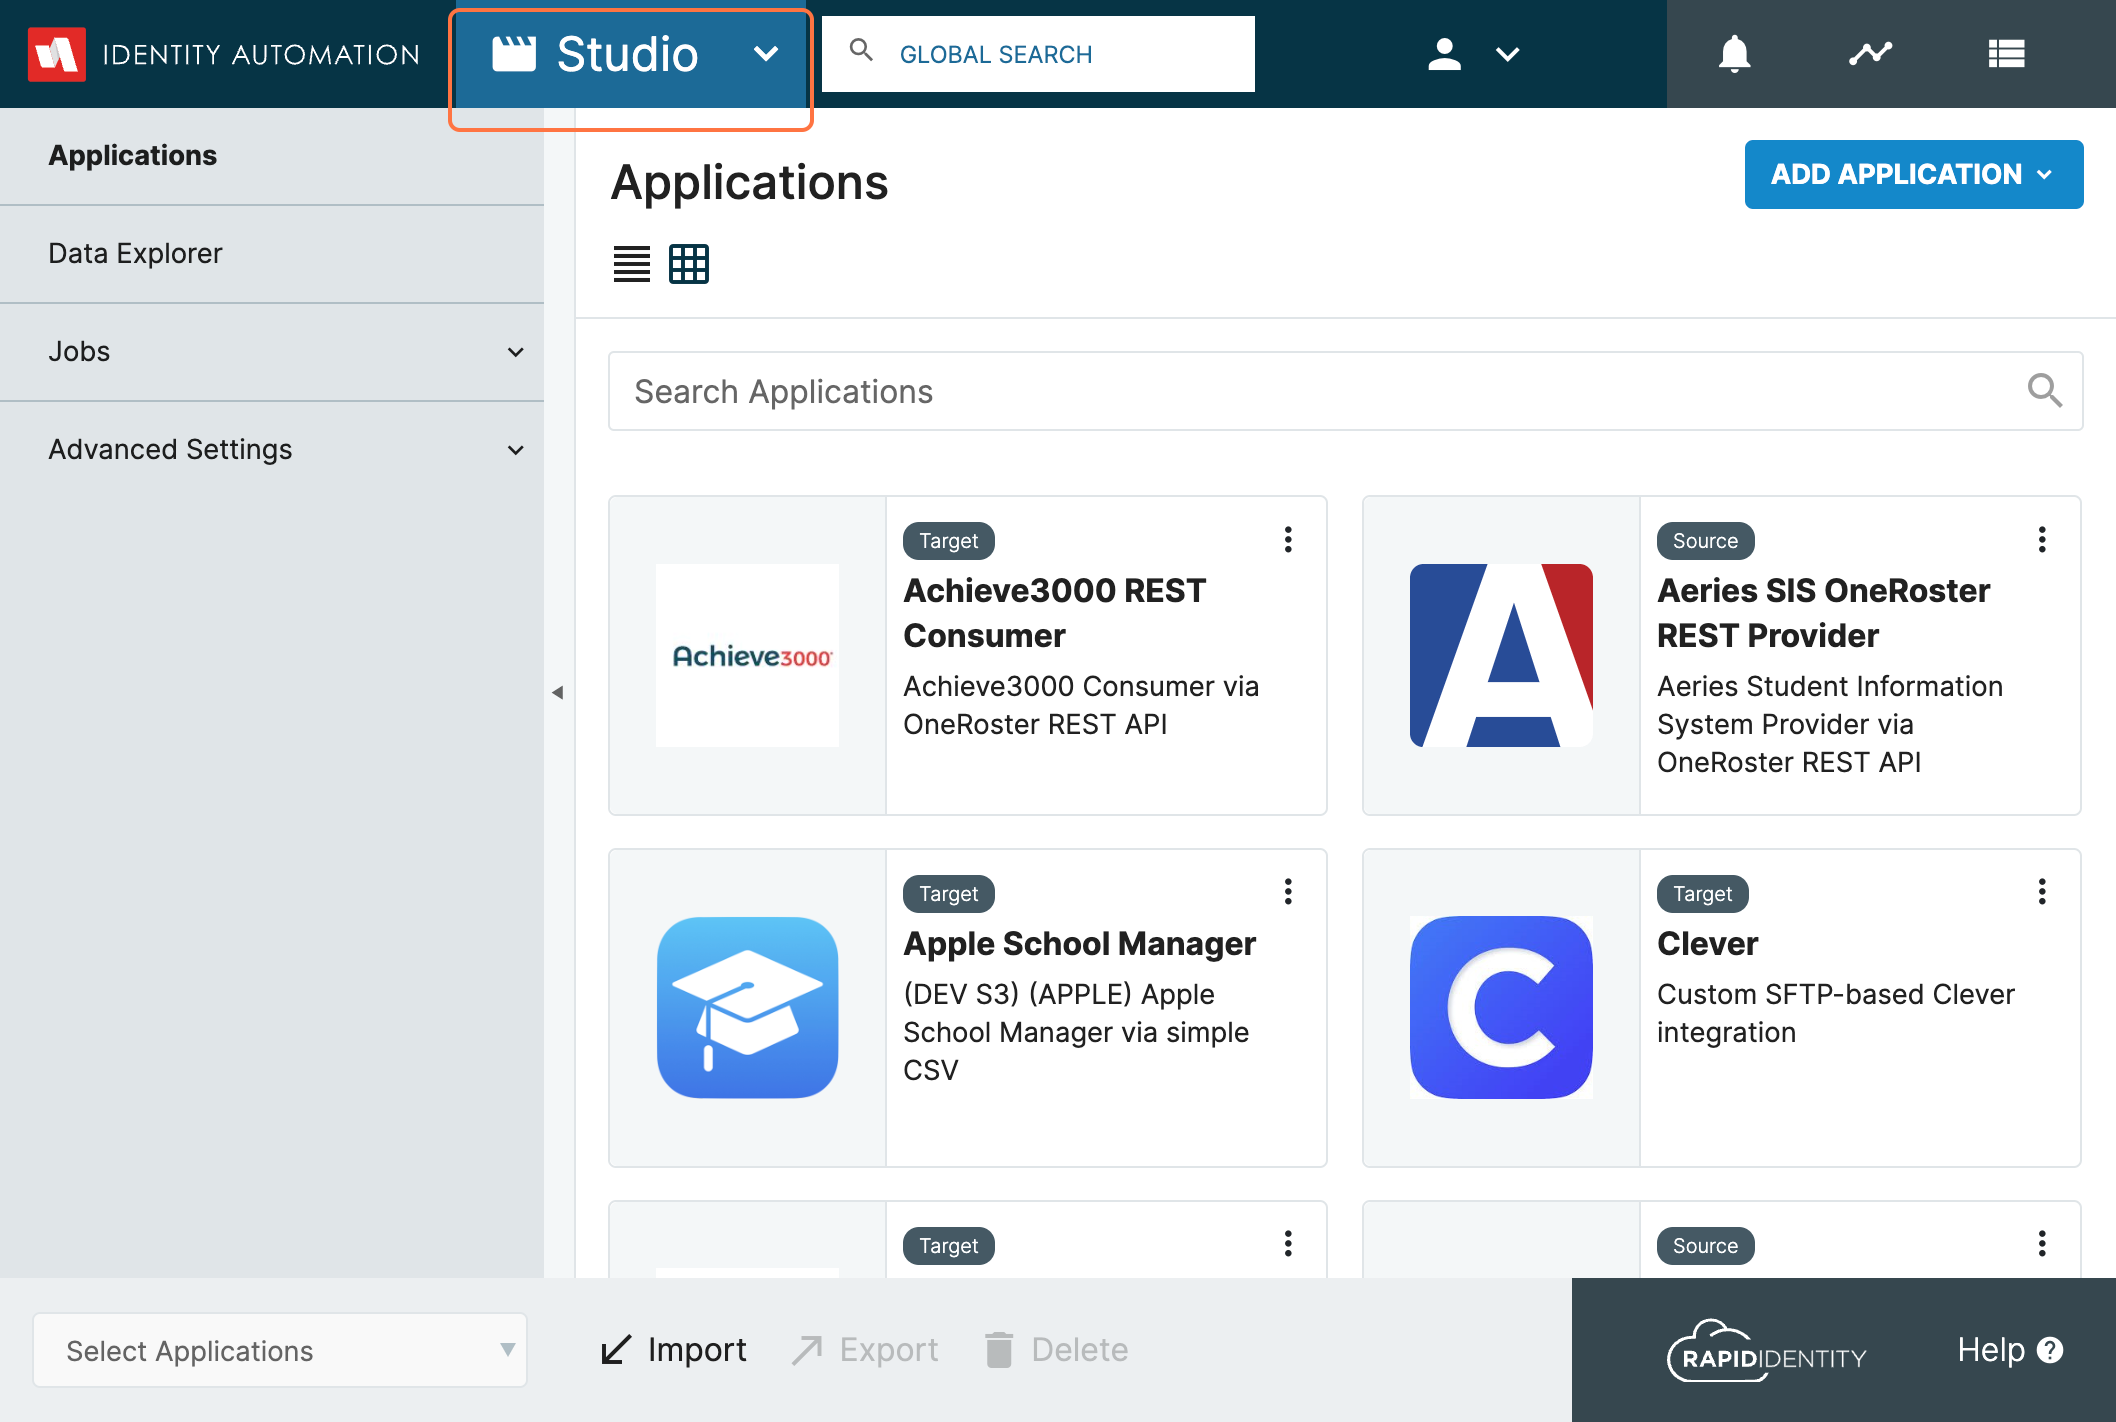
Applications = In this section, you can configure both Source and Target Applications for mapping. Here's a breakdown of these terms:
-
Source = This refers to the system from which data is obtained, often a Student Information System or Database (e.g., PowerSchool, Aeries, Skyward).
-
Target = This represents the vendor or system where Studio will send the processed data (e.g., Savvas, HMH, Amplify).
Data Explorer
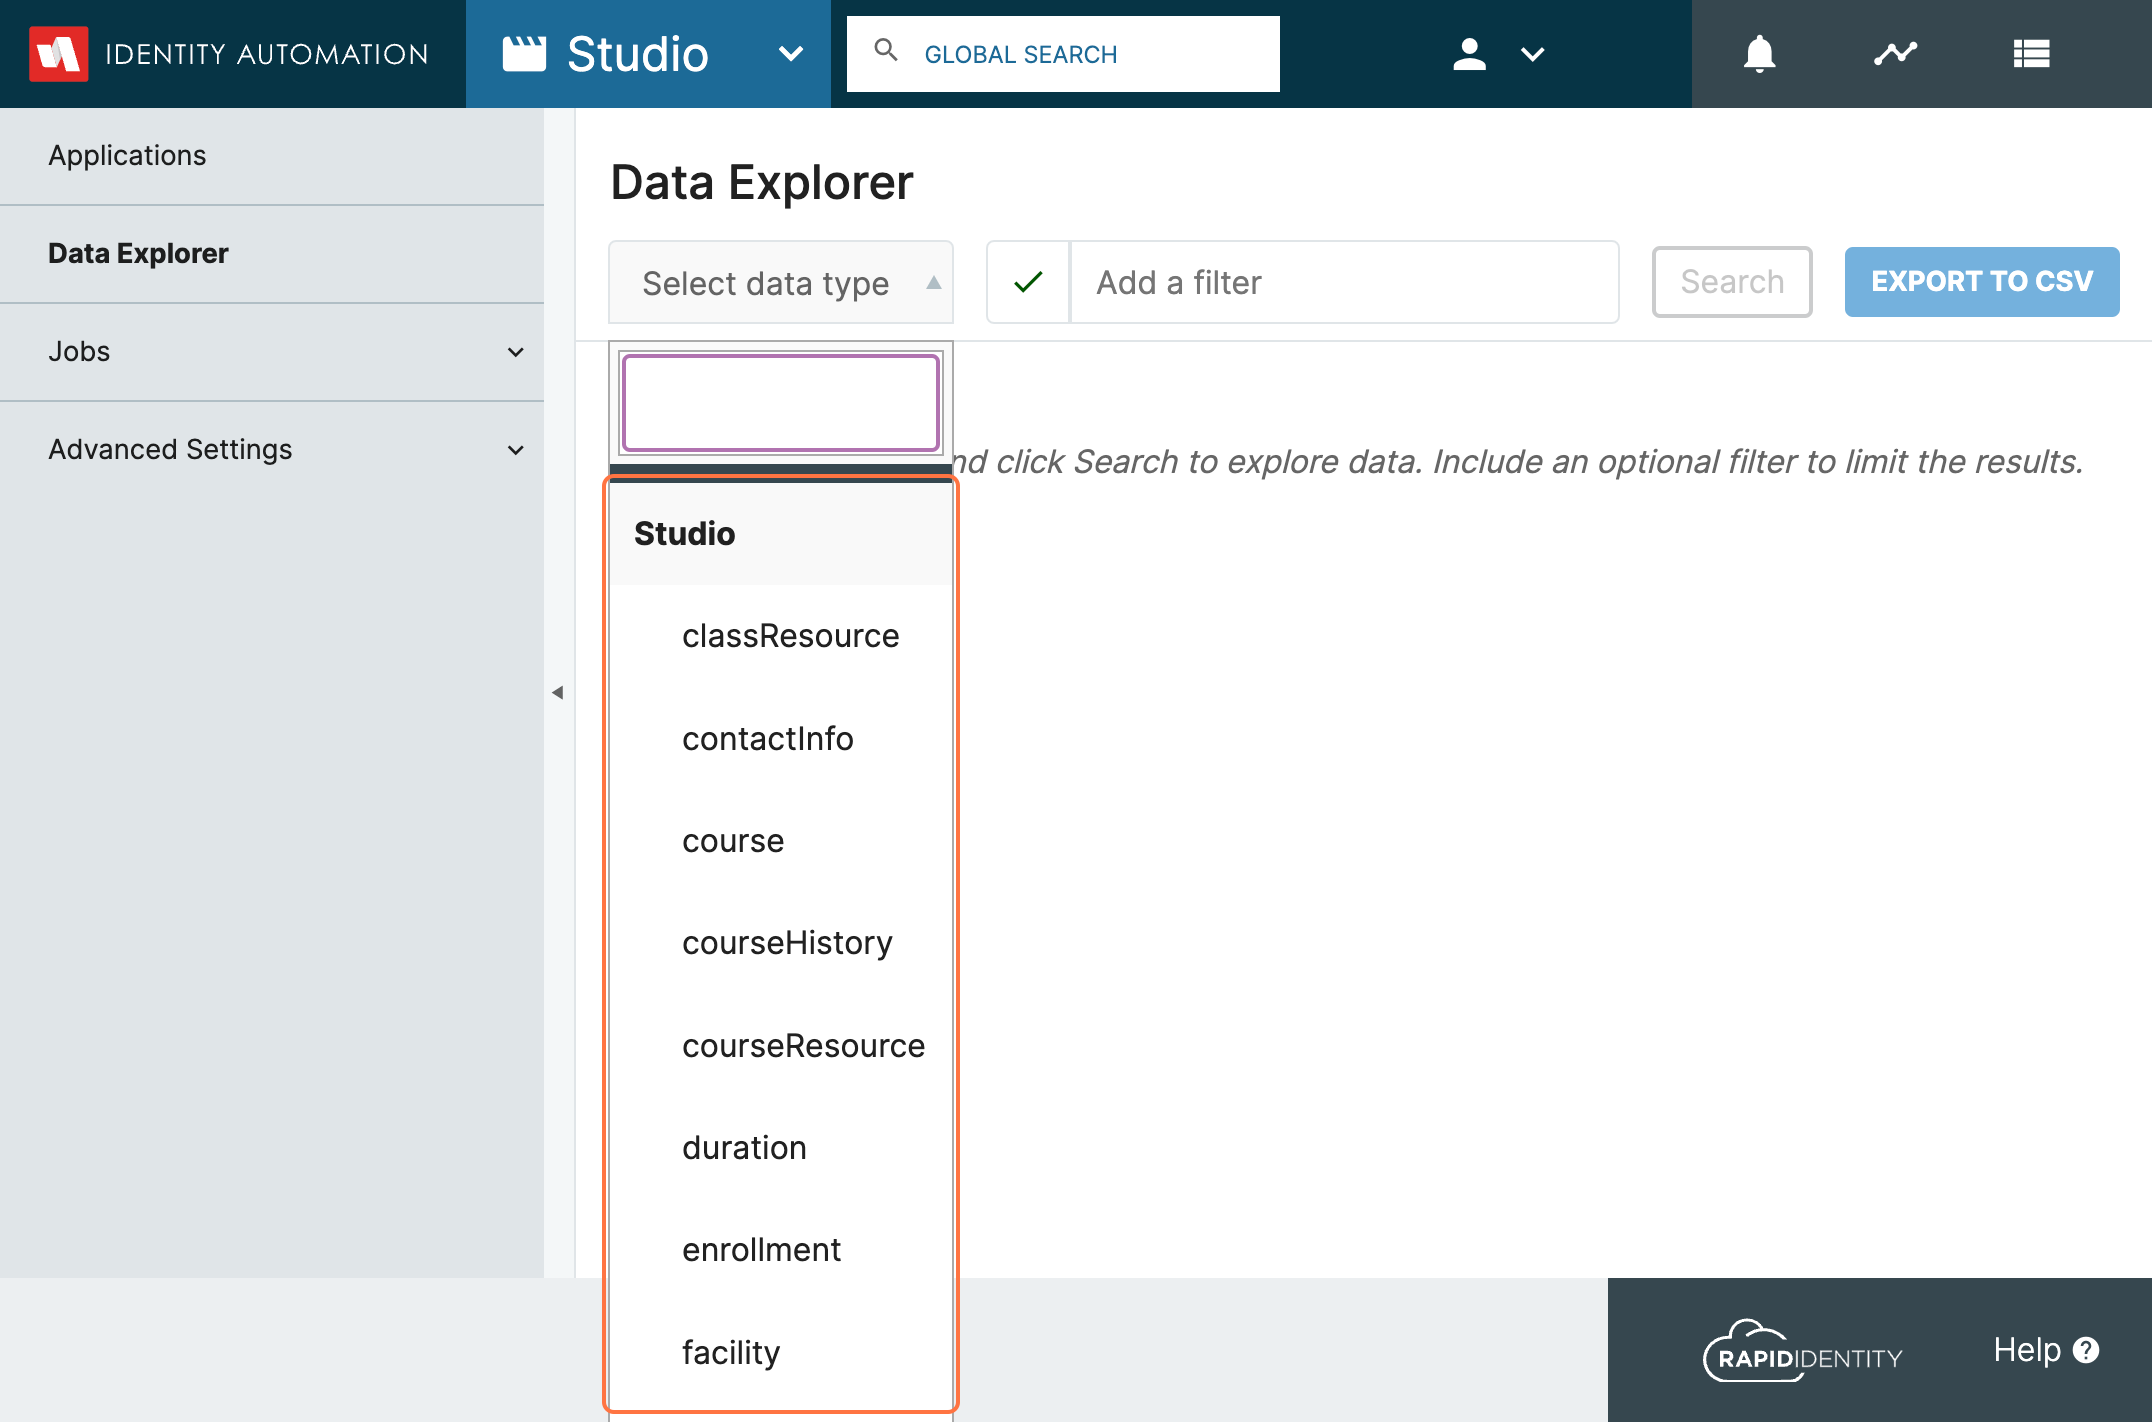
Data Explorer = The Data Explorer serves as a preview of the data related to Sources, Studio, and Targets. Specifically:
- Studio = This section acts as a staging area for previewing data from the provider before sending it to a Target.
- Target = Area to preview data being sent to a Target
- Source= Area to preview raw data from the Source
Jobs
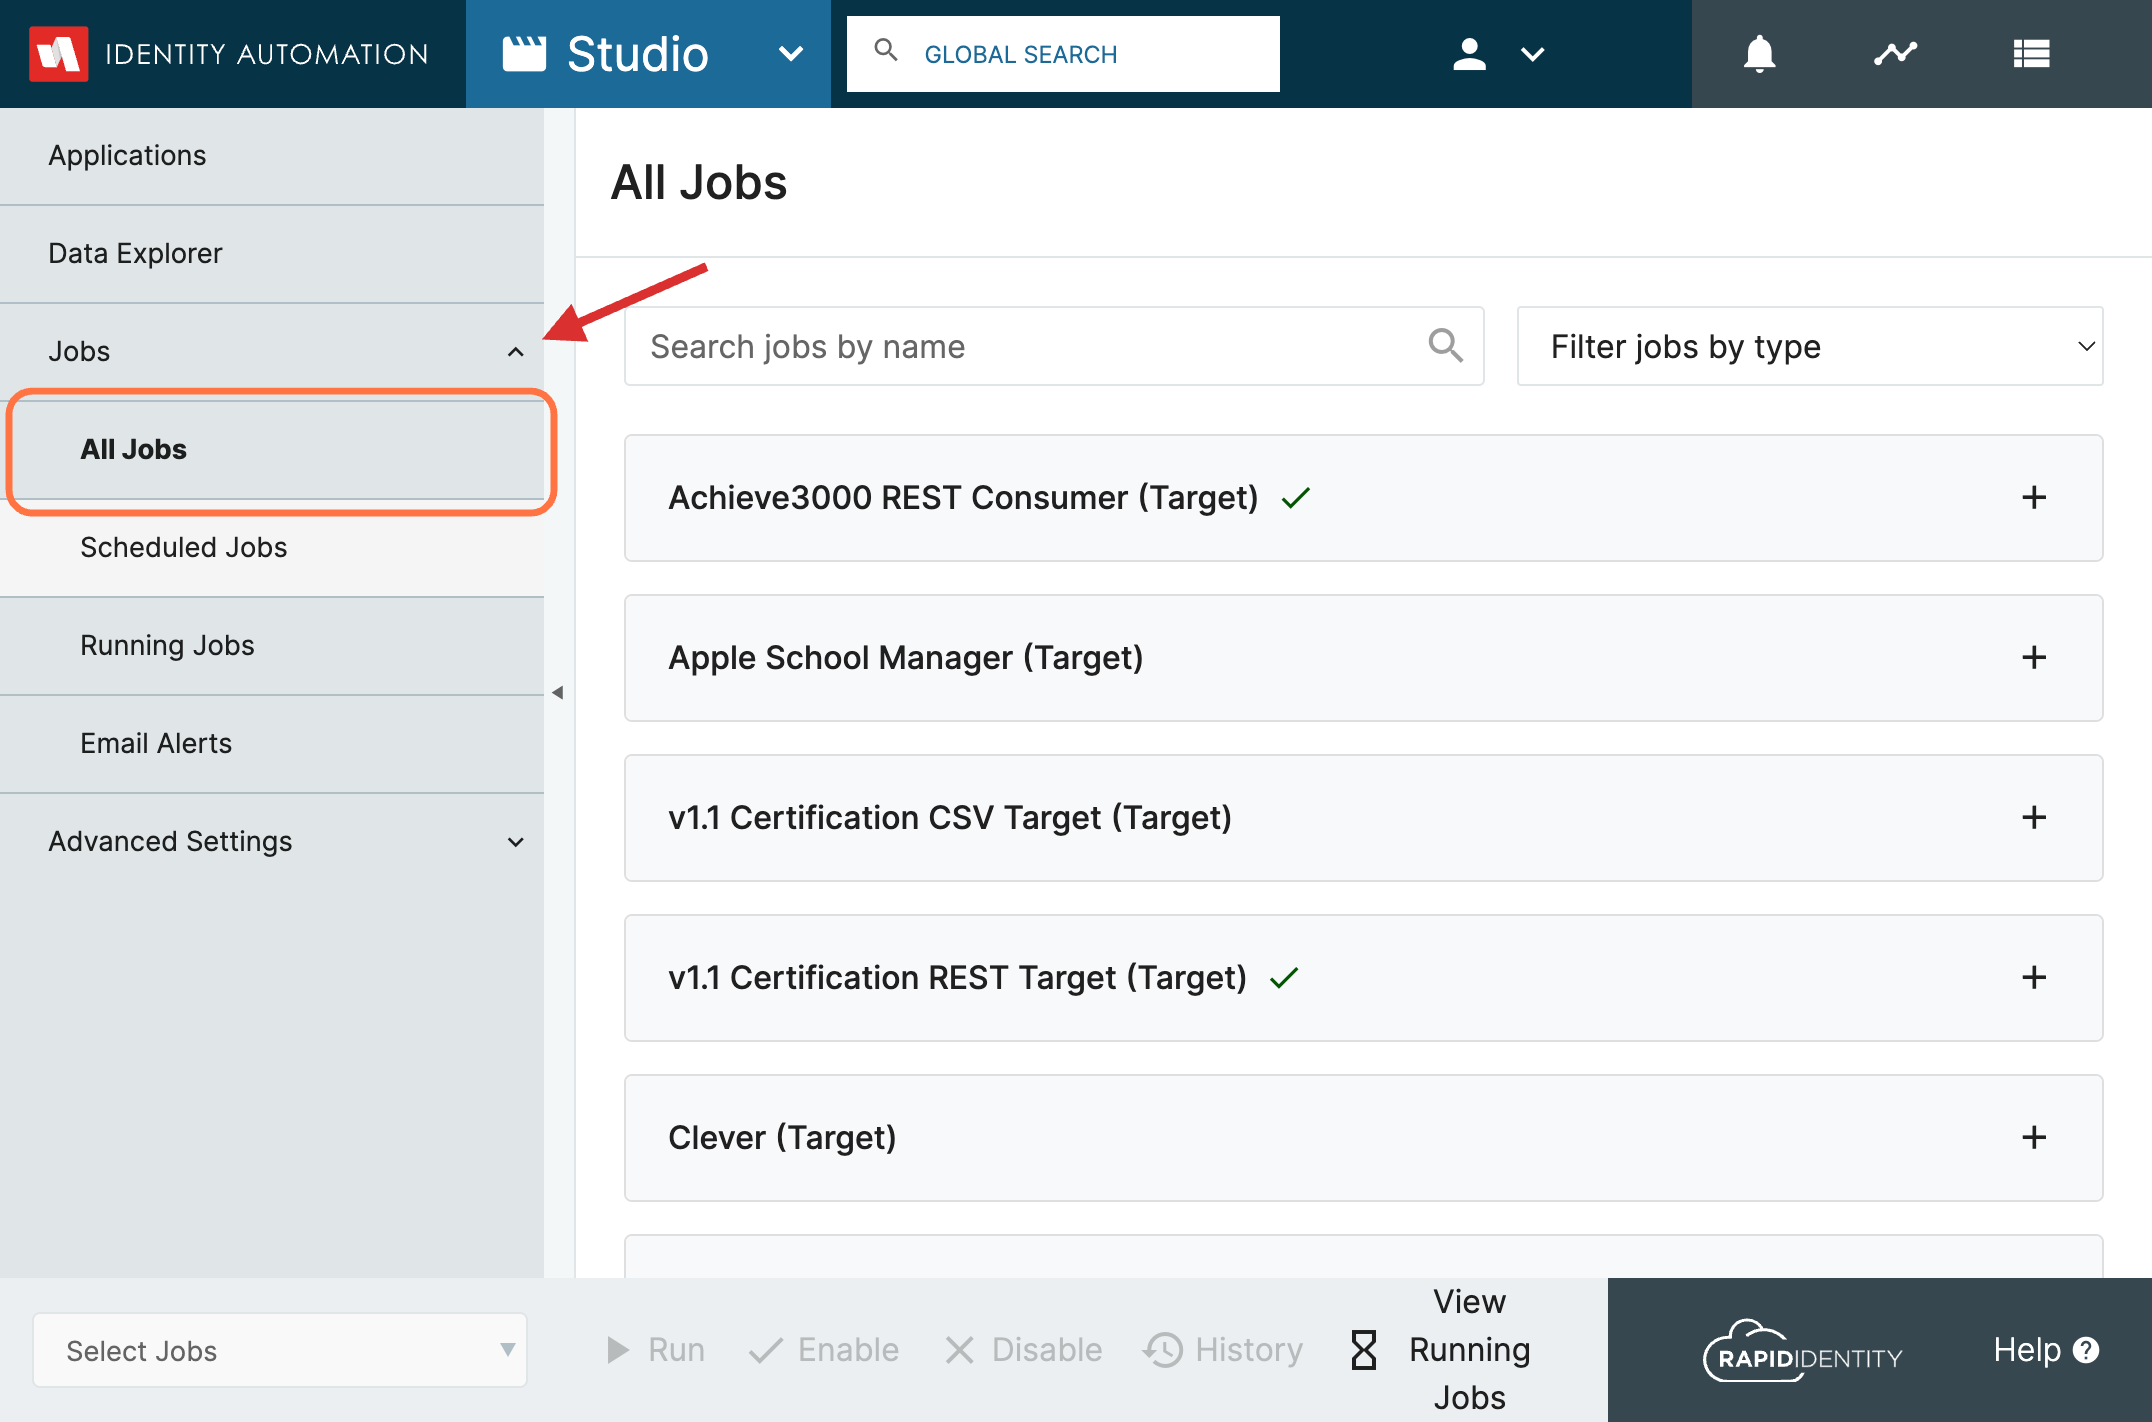
All Jobs = In this area, you can view and manage all Jobs for Sources, Targets, and Studio. You also have the option to manually initiate any Job from here.
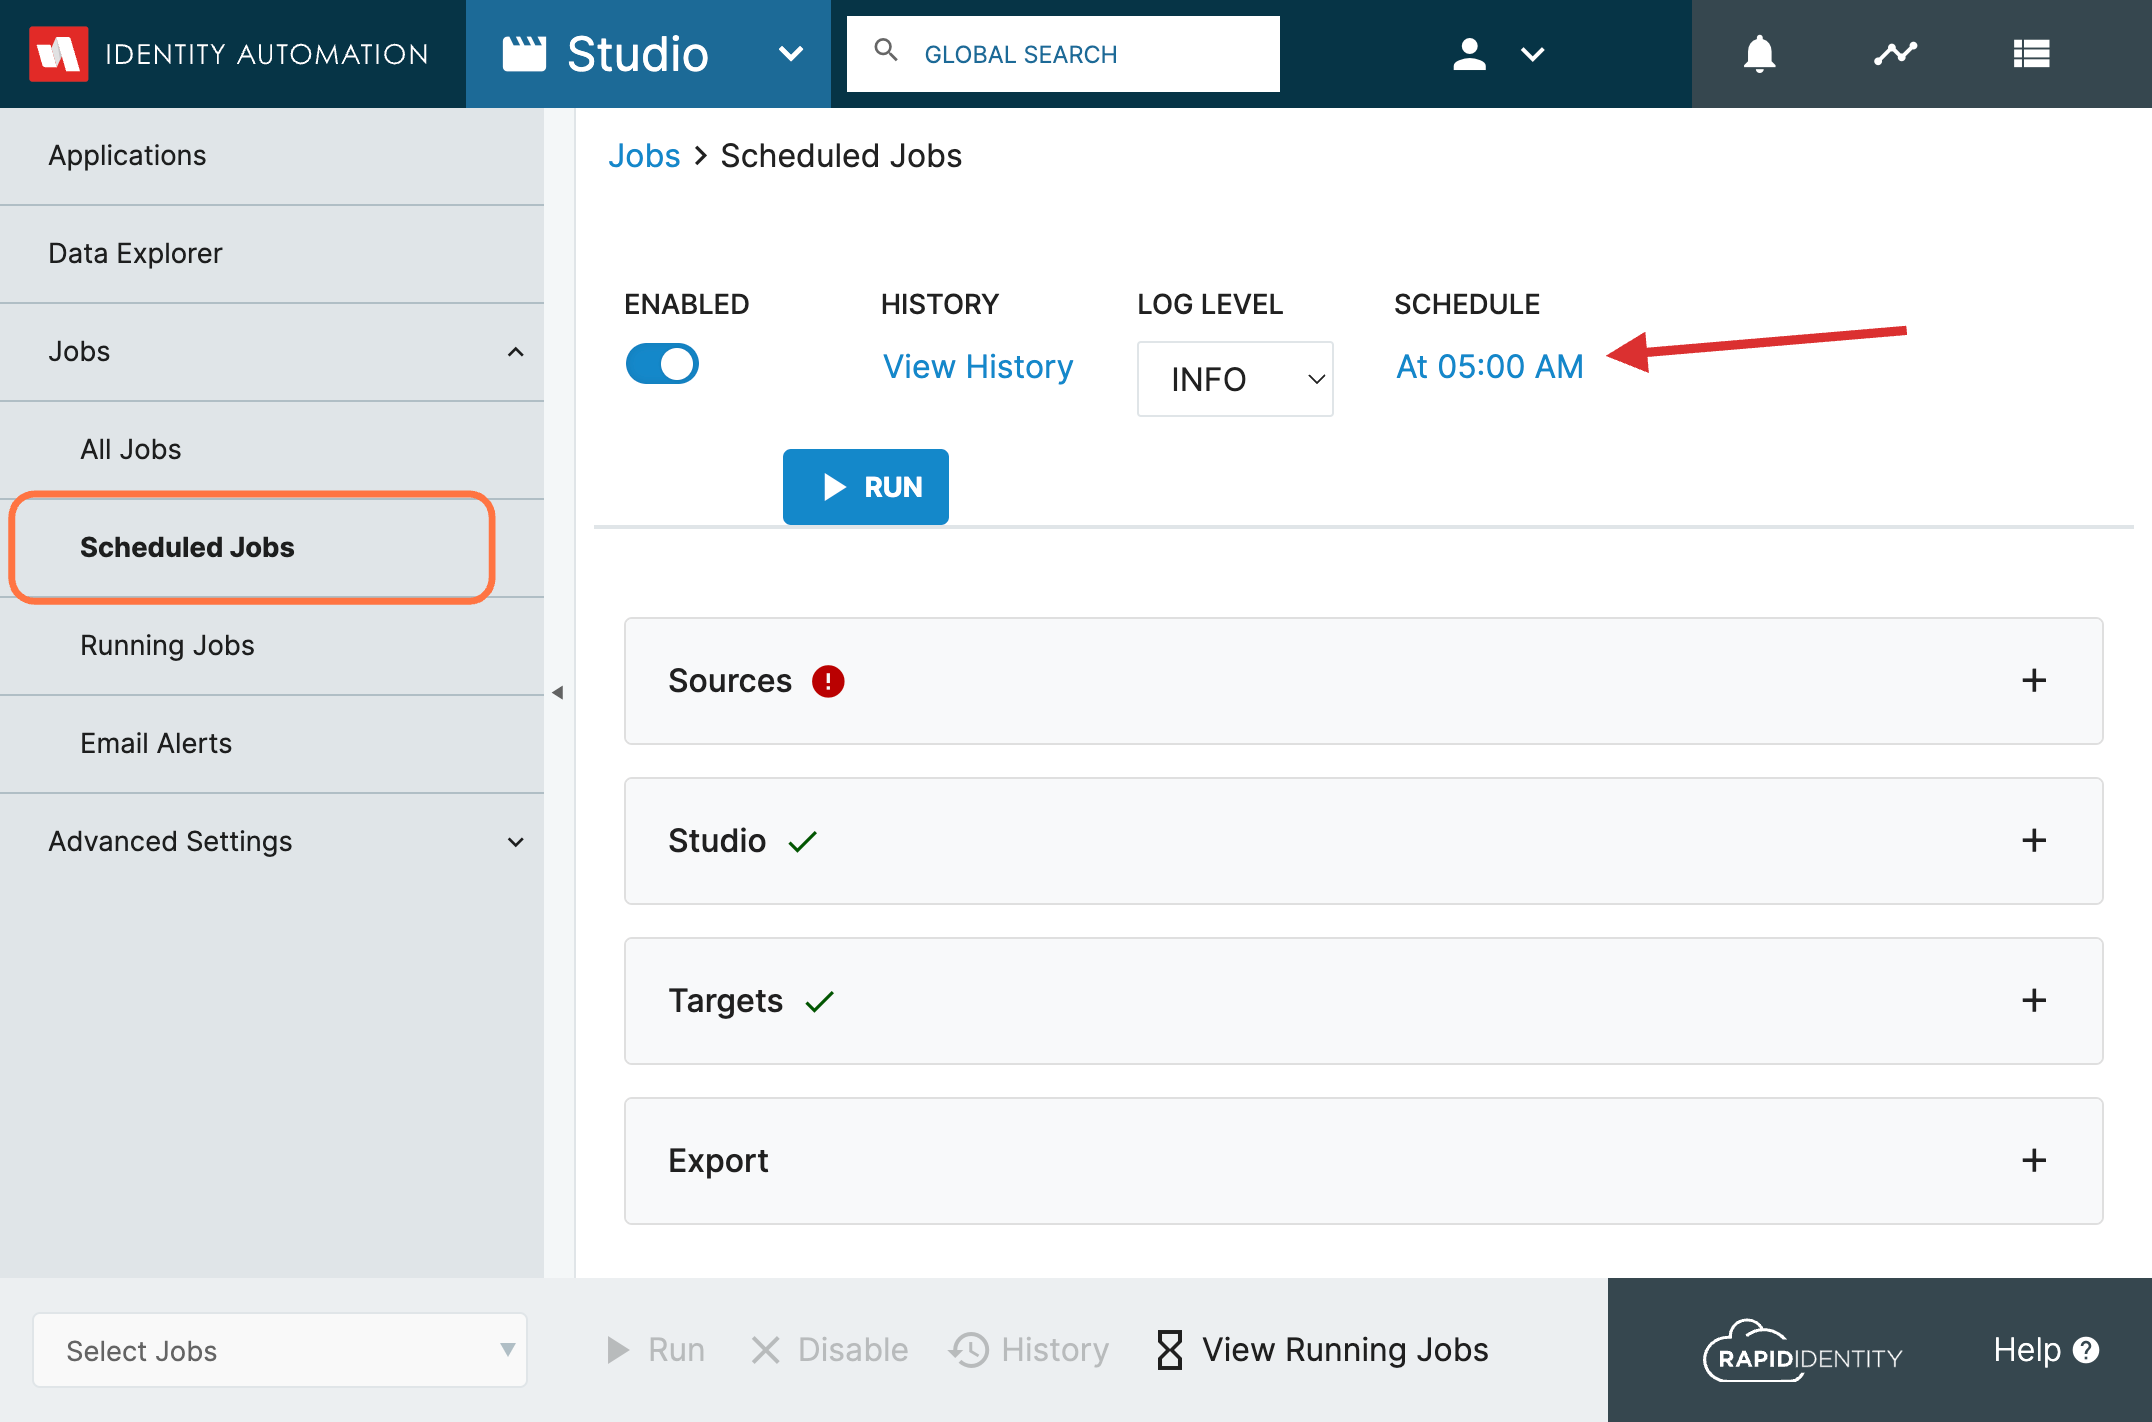

Scheduled Jobs = Scheduled Jobs allow you to automate your data processing pipeline, enabling nightly runs or customized schedules. Here's a breakdown of the key terms:
-
Pipeline= This term refers to the sequence of jobs to be executed, starting with Sources, then Studio, and finally, Targets.
-
Exports= You can track and manage the export of CSV/SFTP files in this section.

Email Alerts= This is the area you can set up to recieve different types of email alerts about Rostering and Studio Events that may occur.
Advanced Settings
This section is accessible to Studio Administrators and provides configuration and administrative options. Here's what you can find within Advanced Settings:
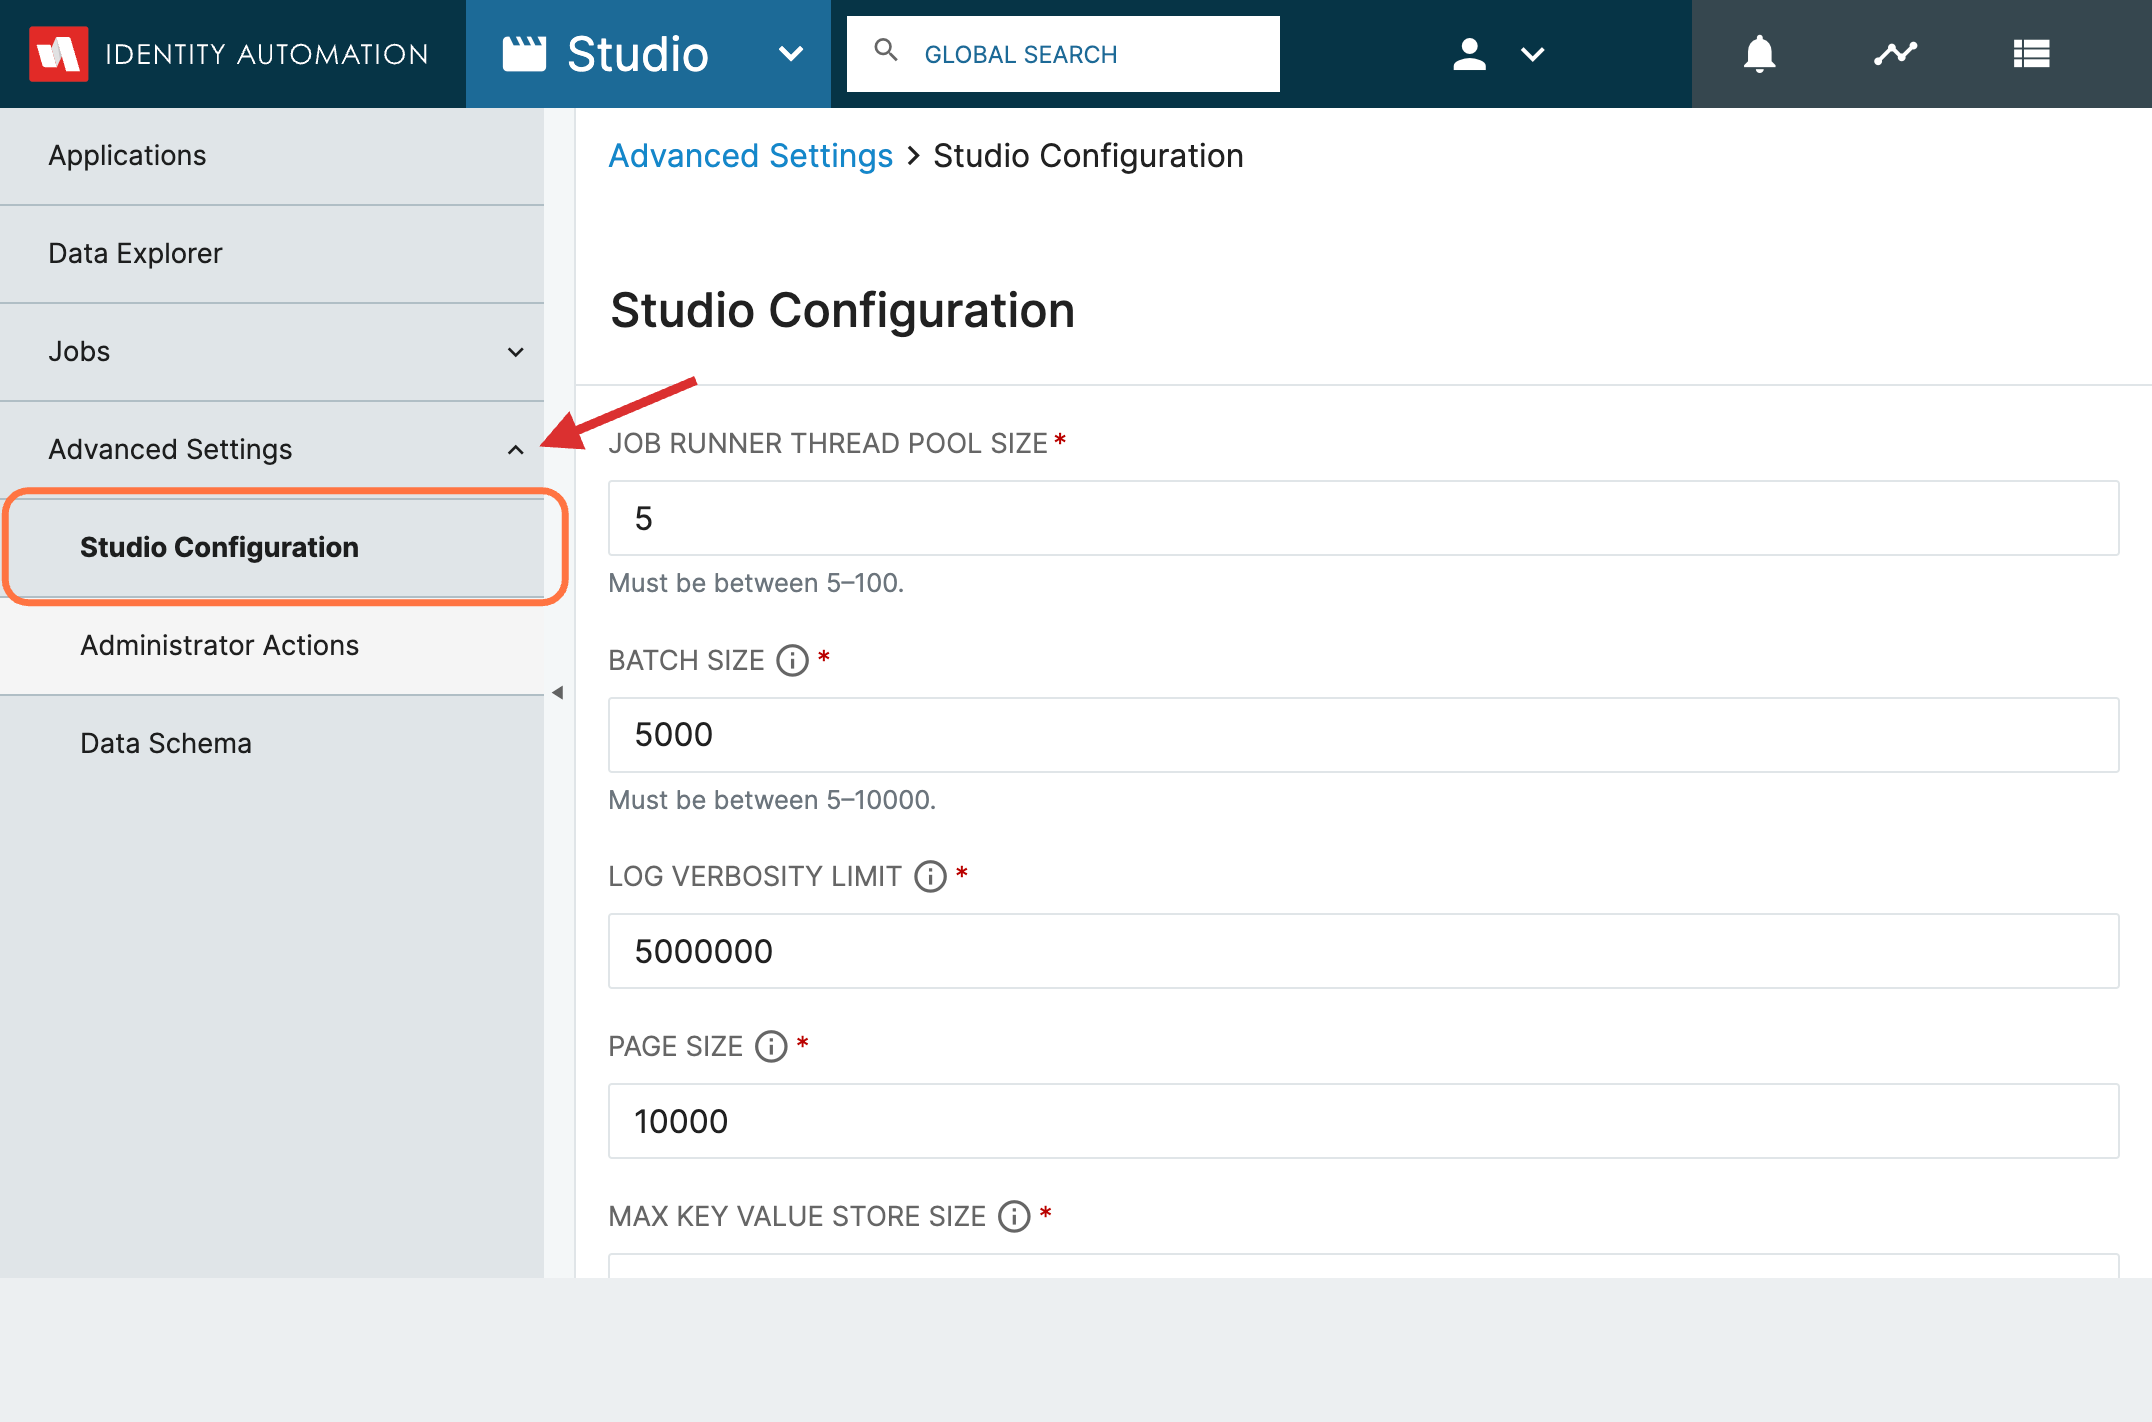
- Studio Configuration = Access and view configuration settings for Studio.

- Administrator Actions= This area displays available administrator actions.
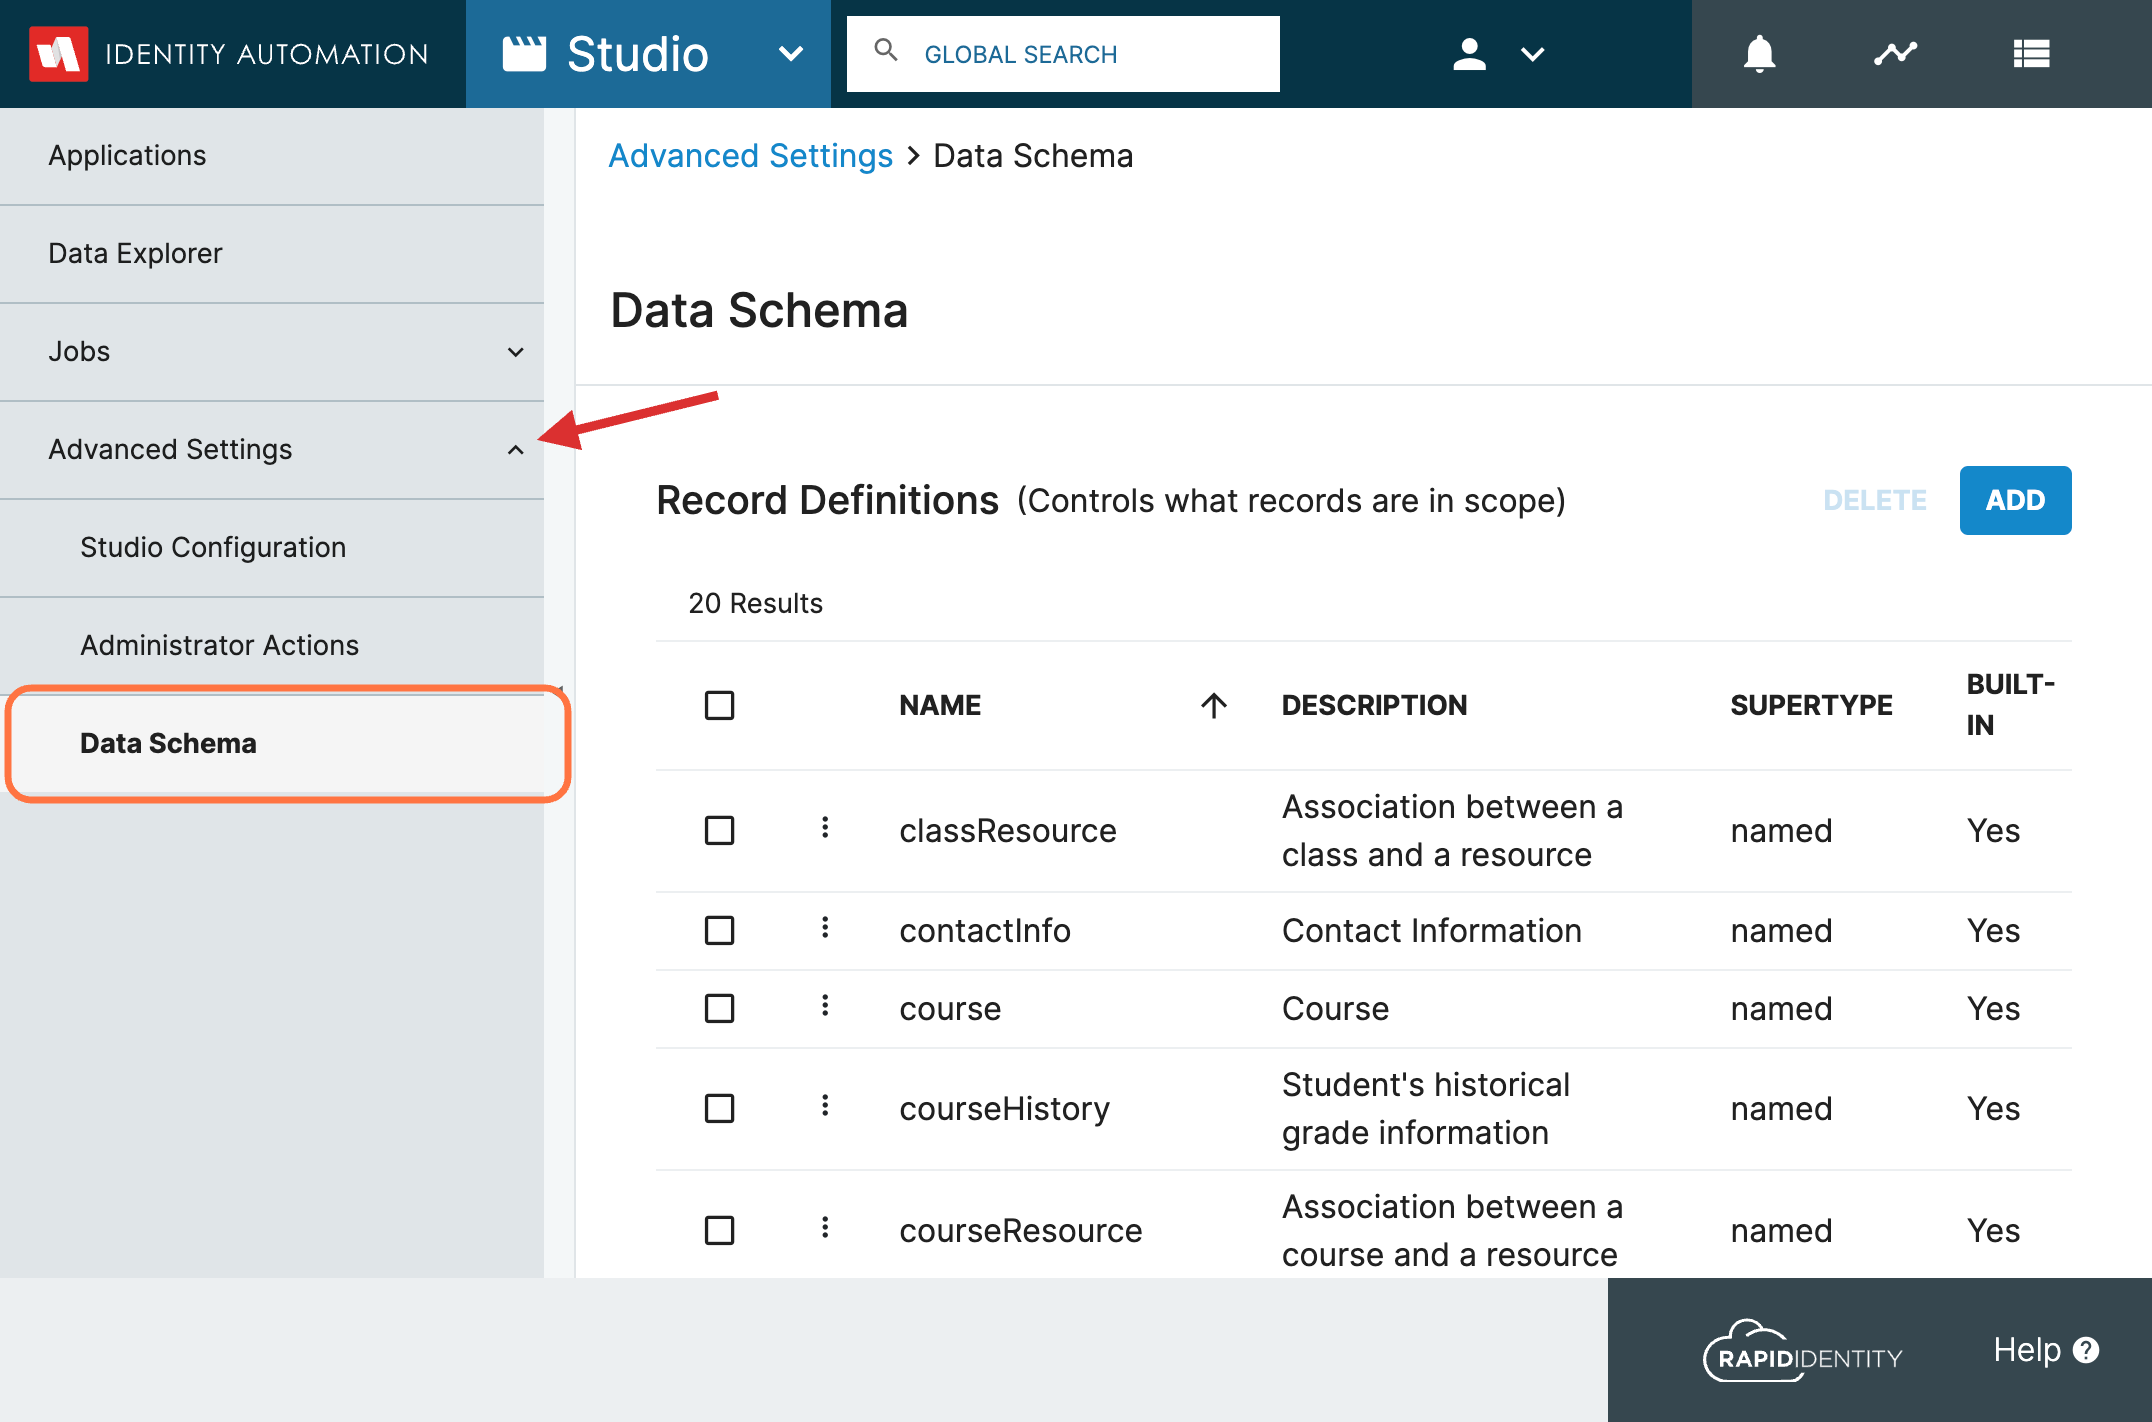
- Data Schema = Explore all the Record Definitions for Studio in this section. You also have the flexibility to create custom definitions if additional data integration is required.