Upgrading Exchange Agent for Microsoft Online Deprecation
Microsoft is retiring several PowerShell modules that can impact the RapidIdentity Exchange Agent, requiring customers to upgrade their RapidIdentity Exchange Agent to the new 2023.03.27 version in advance of Microsoft's change.
Click here for more information regarding Microsoft's PowerShell deprecations.
Upgrade Instructions
The instructions below assume that a version of the Exchange Agent using Modern Authentication is already installed and functional.
Prerequisites
- RapidIdentity On-Premise customers must upgrade to 2023.0.0-hotfix1
- RapidIdentity Cloud customers must be running 2023.01.0-hotfix2
Process
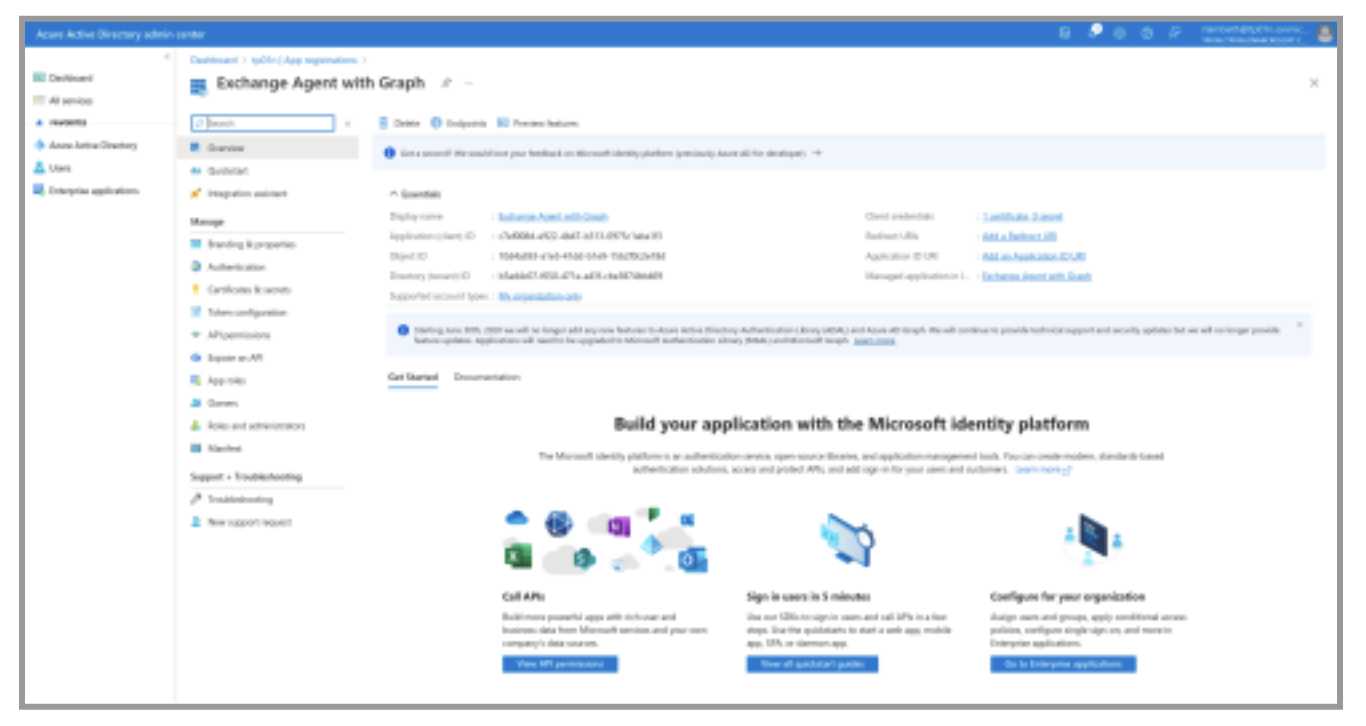
- Log into Azure AD and find your existing App Registration for the Exchange Agent.
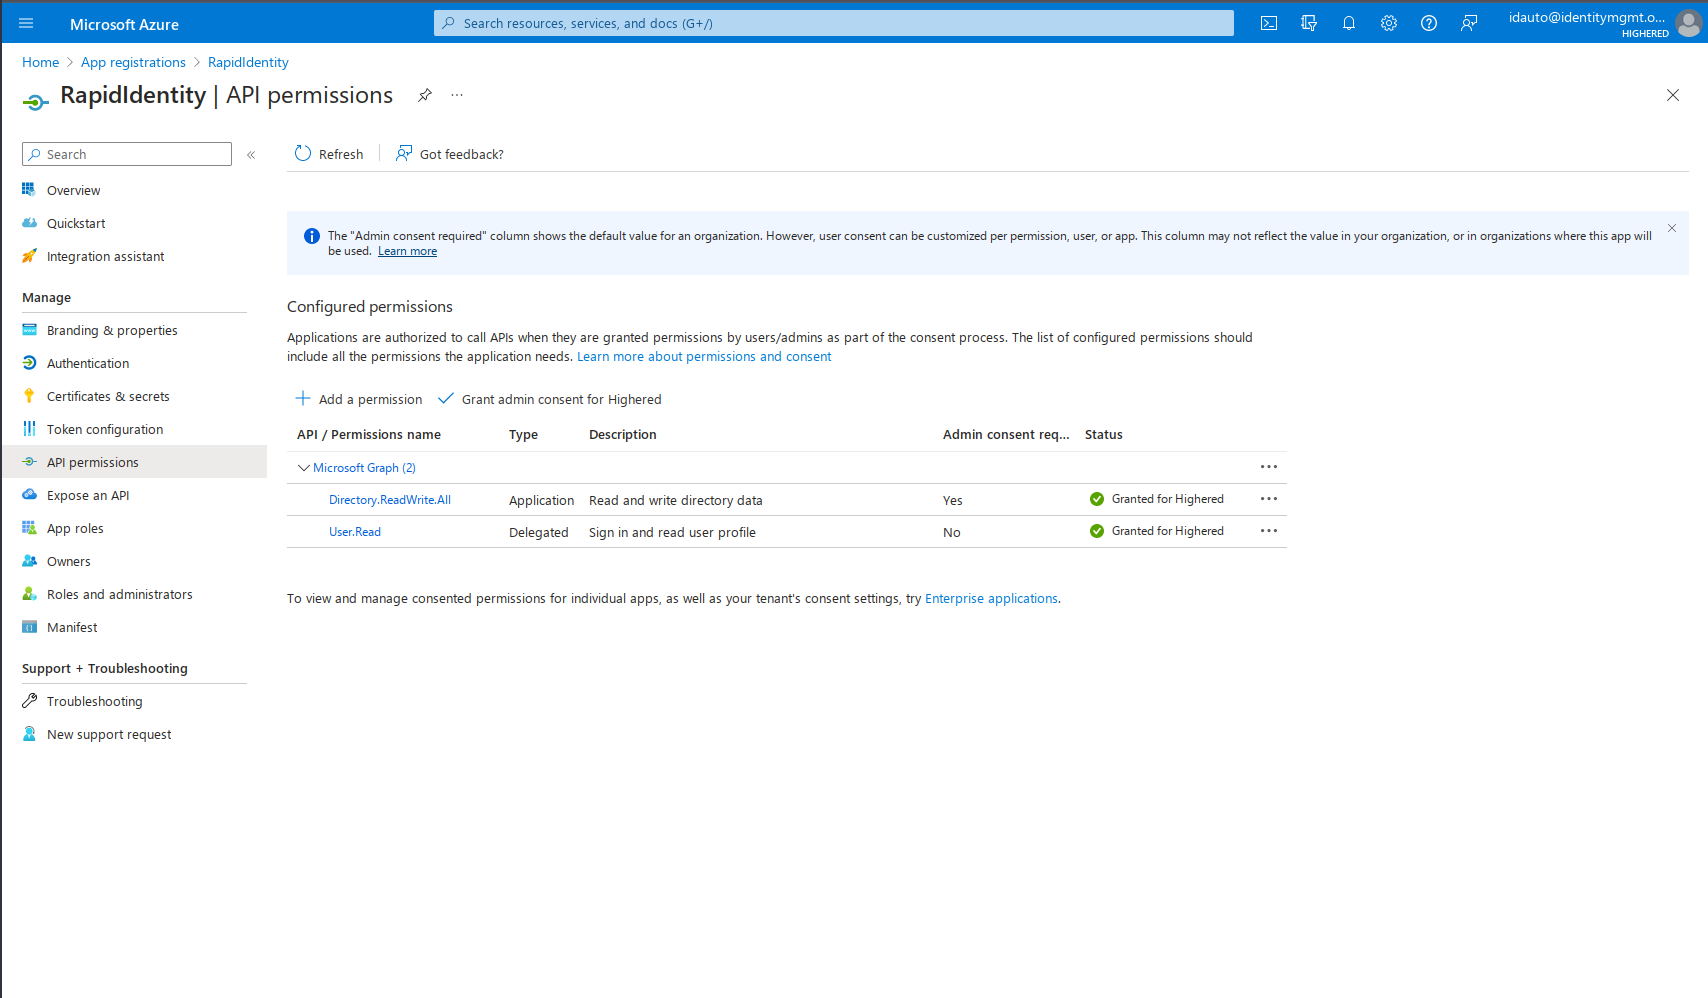
- Click API Permissions:
- Click Add a Permission:
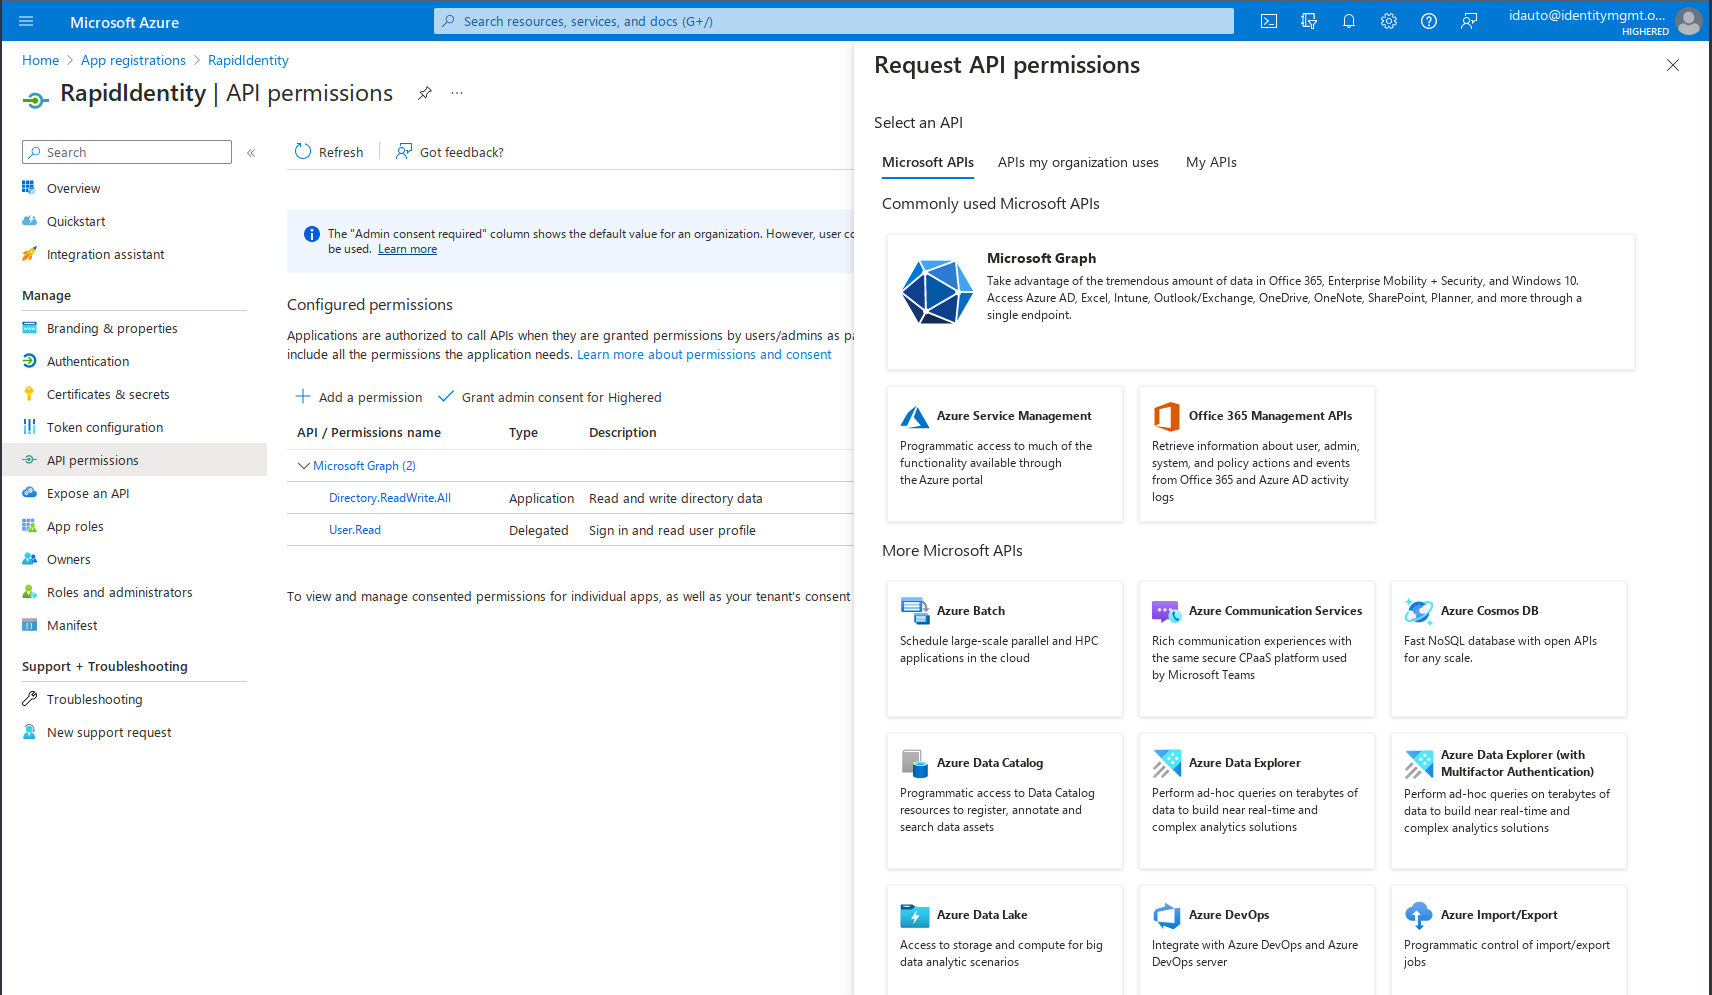
- Click Microsoft Graph:

- Click Application Permissions:
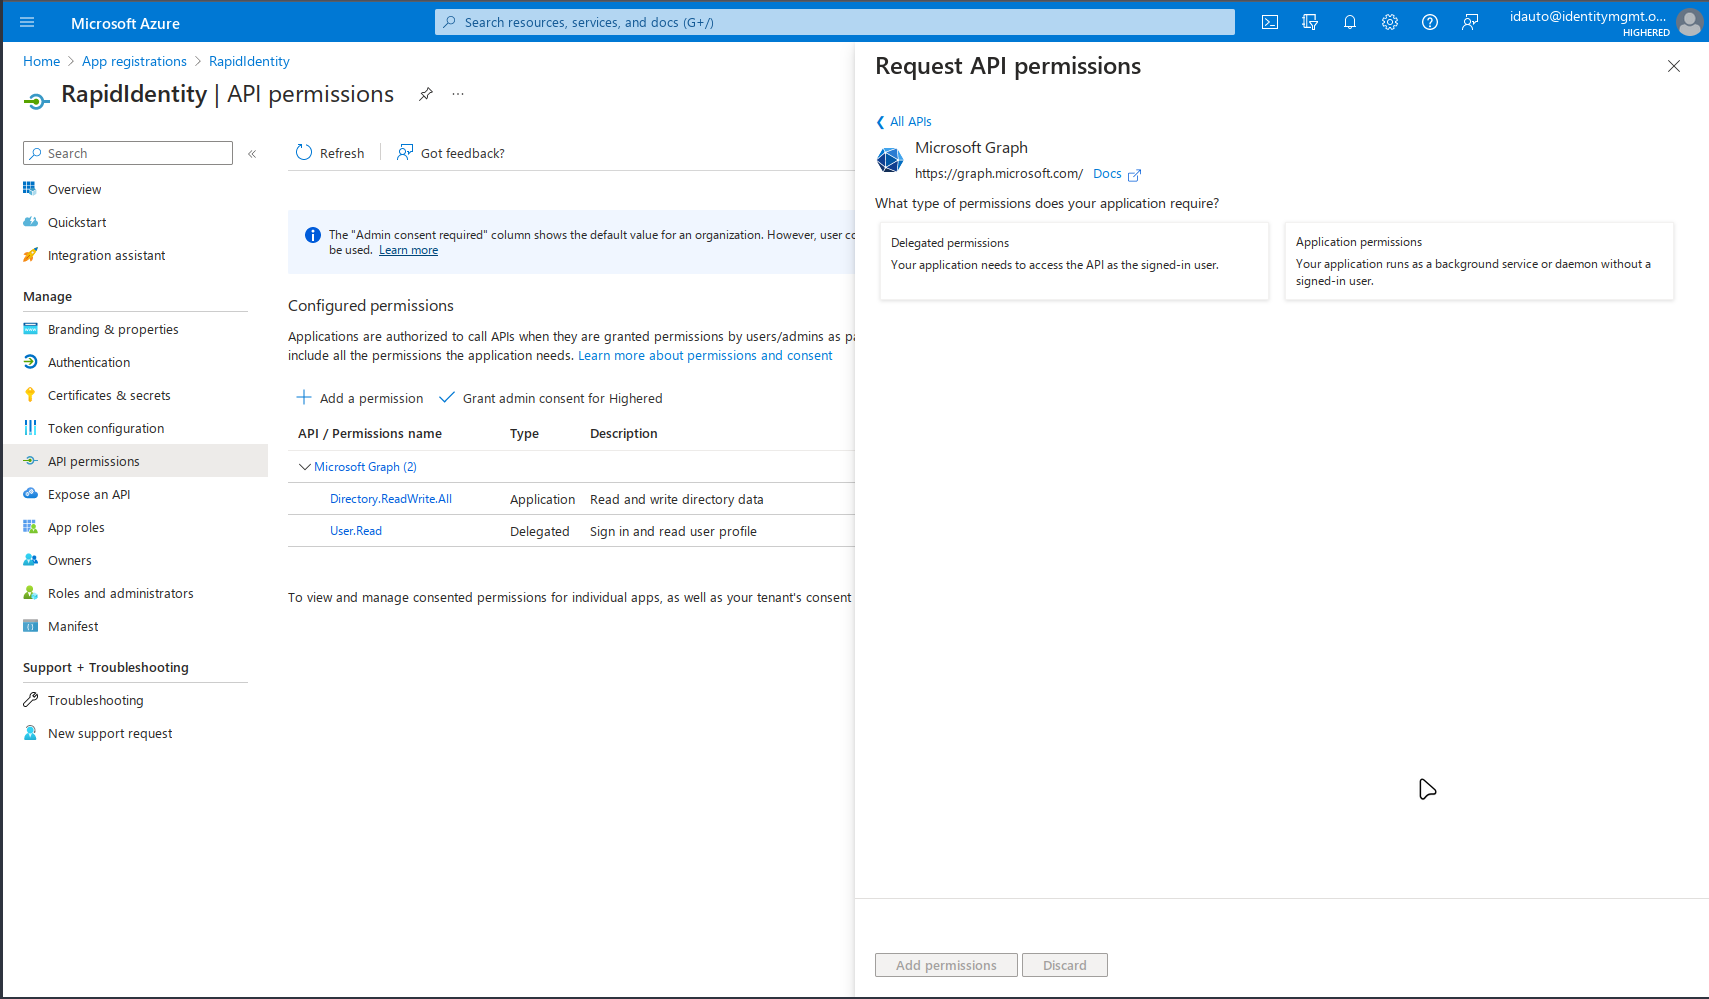
- Add the following permissions:
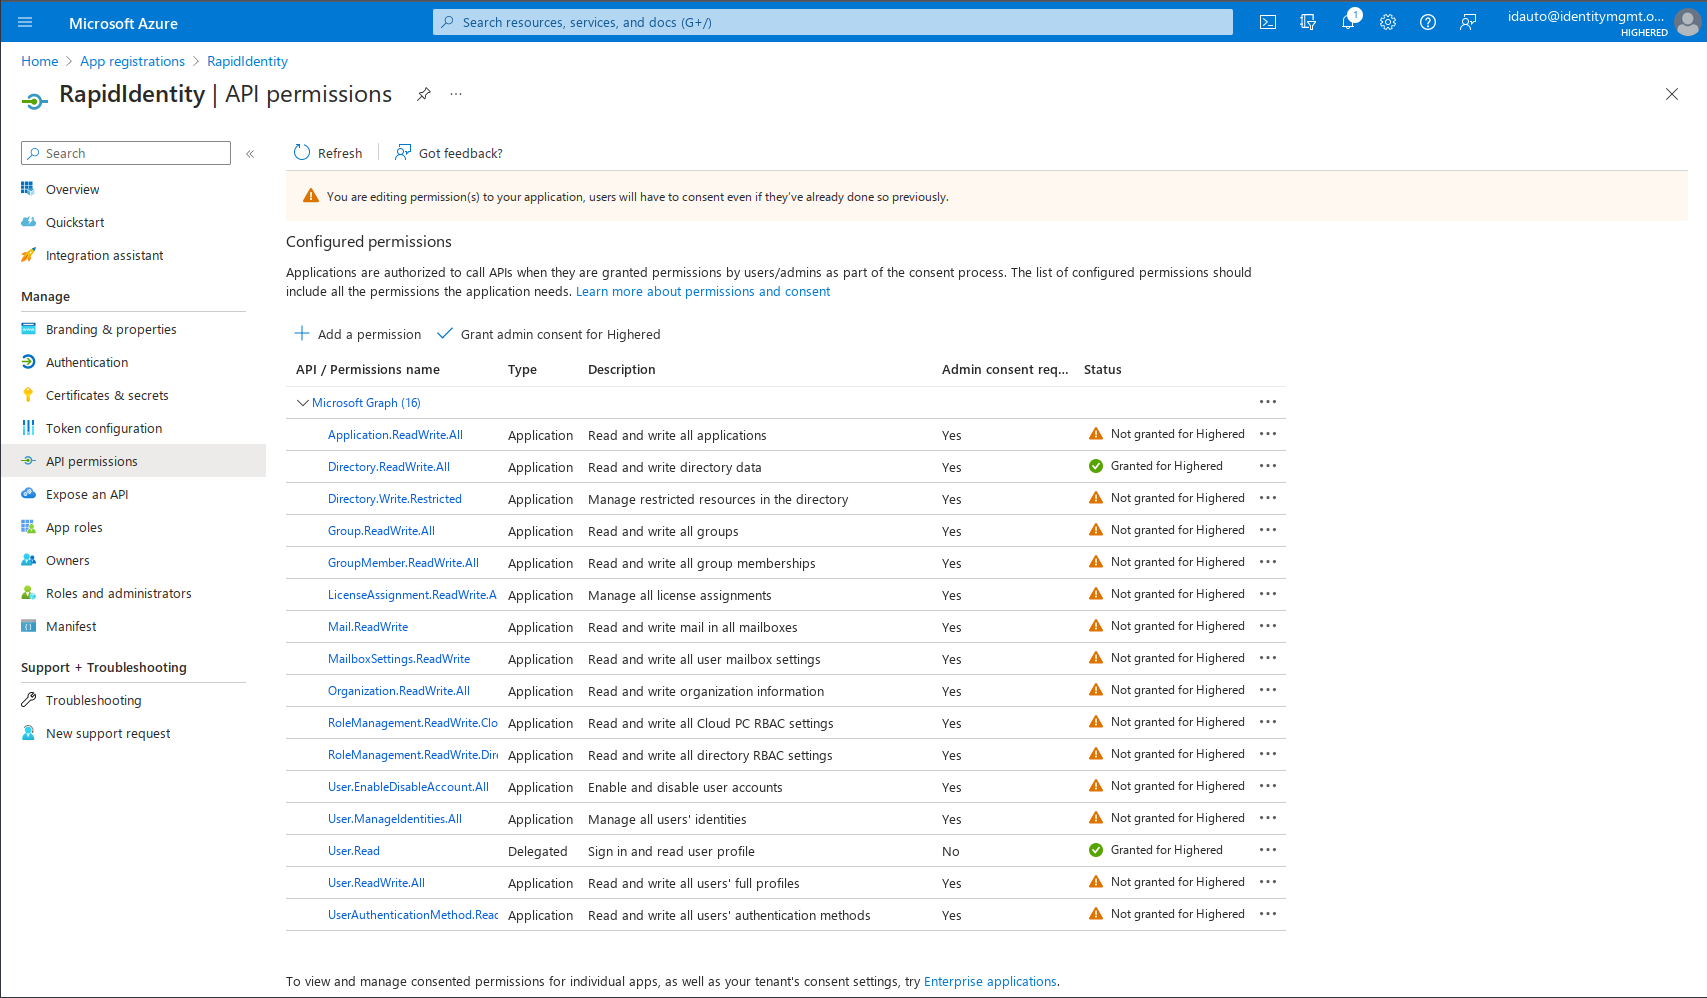
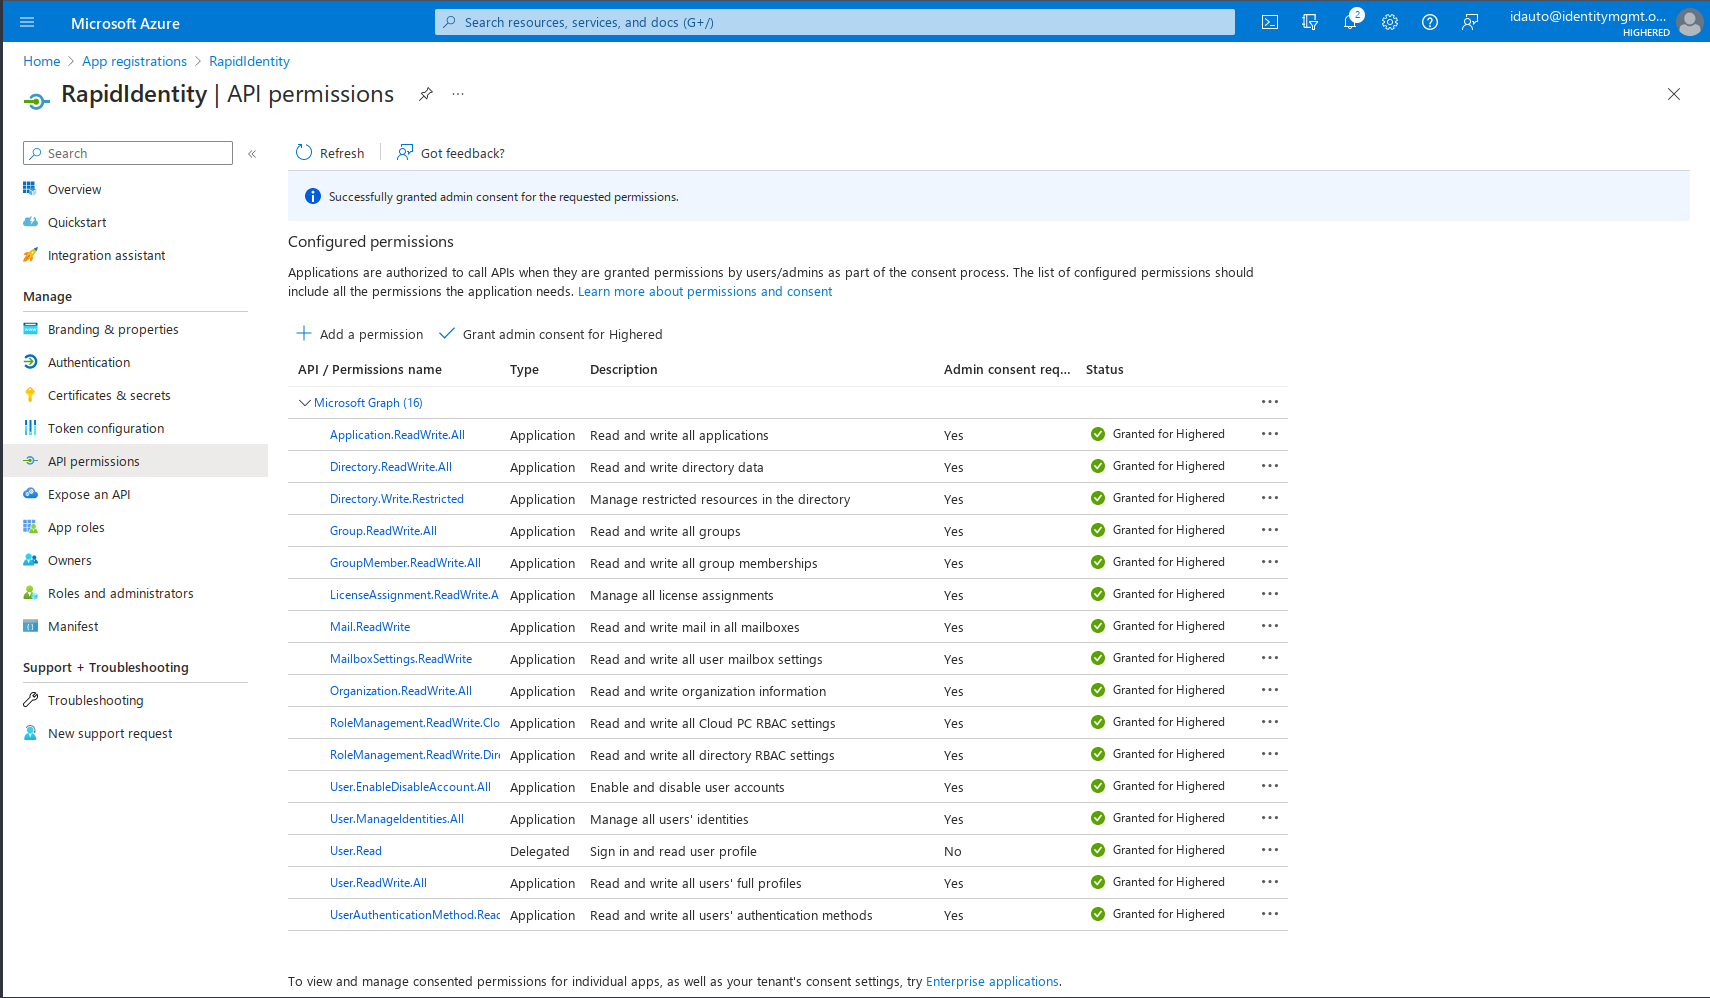
- Click Grant Admin Consent for < domain >:
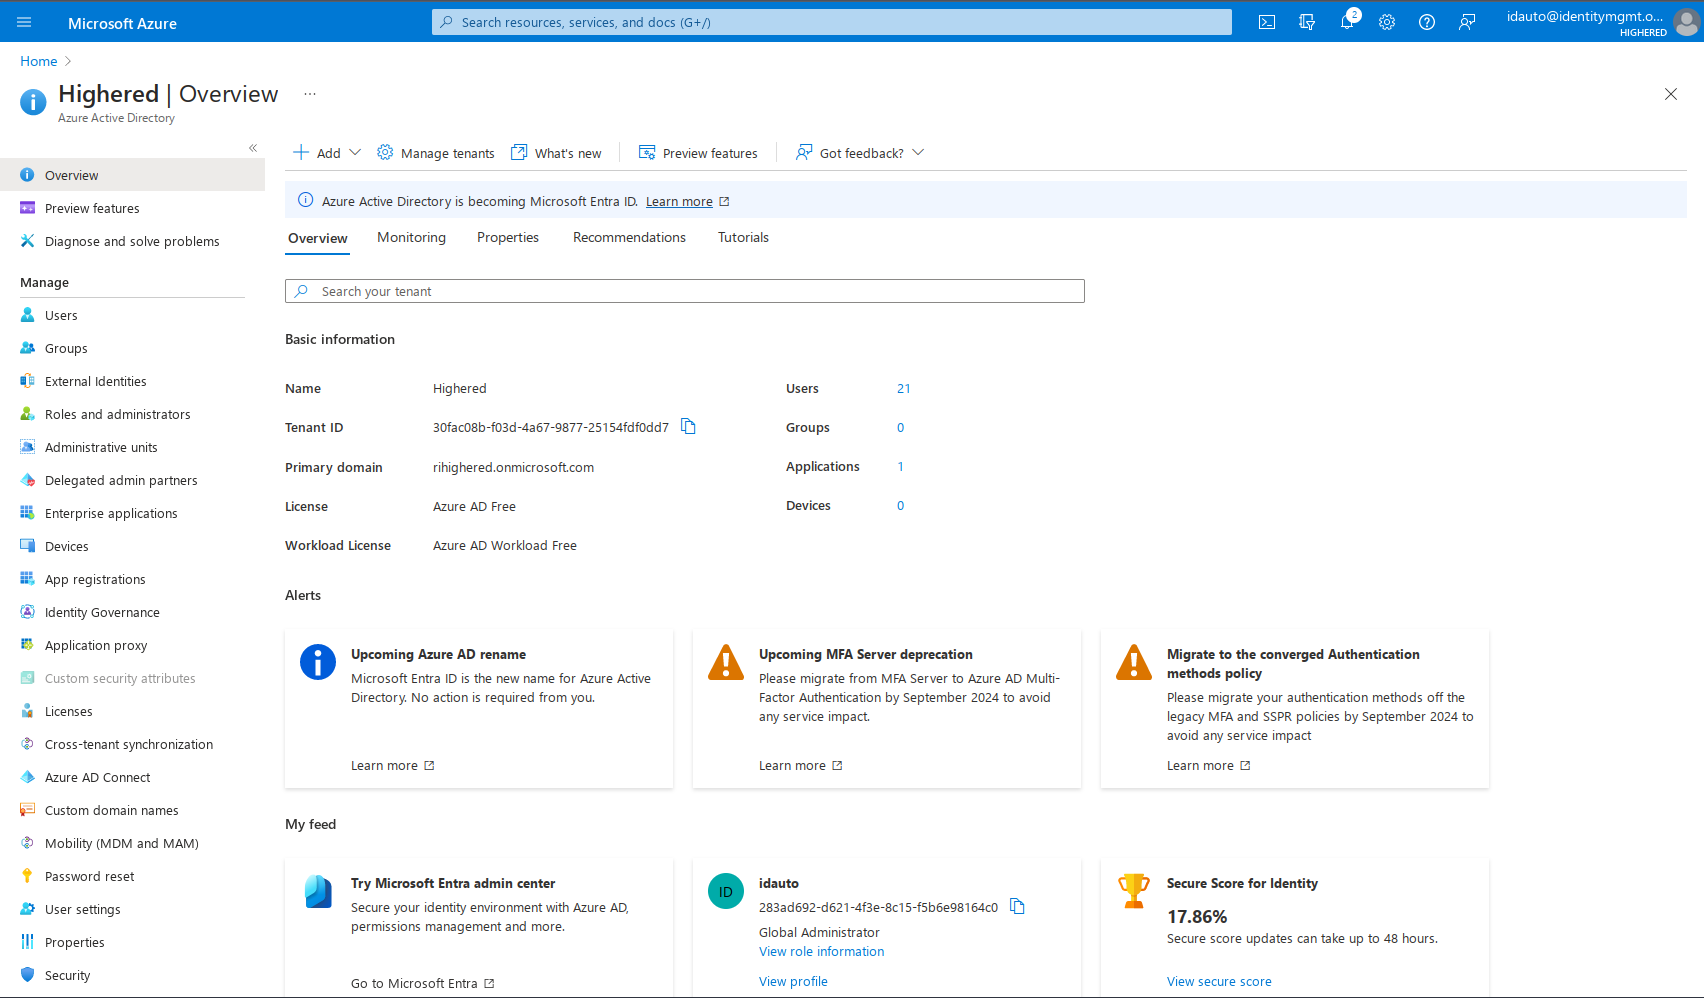
- Navigate back to Azure Active Directory:
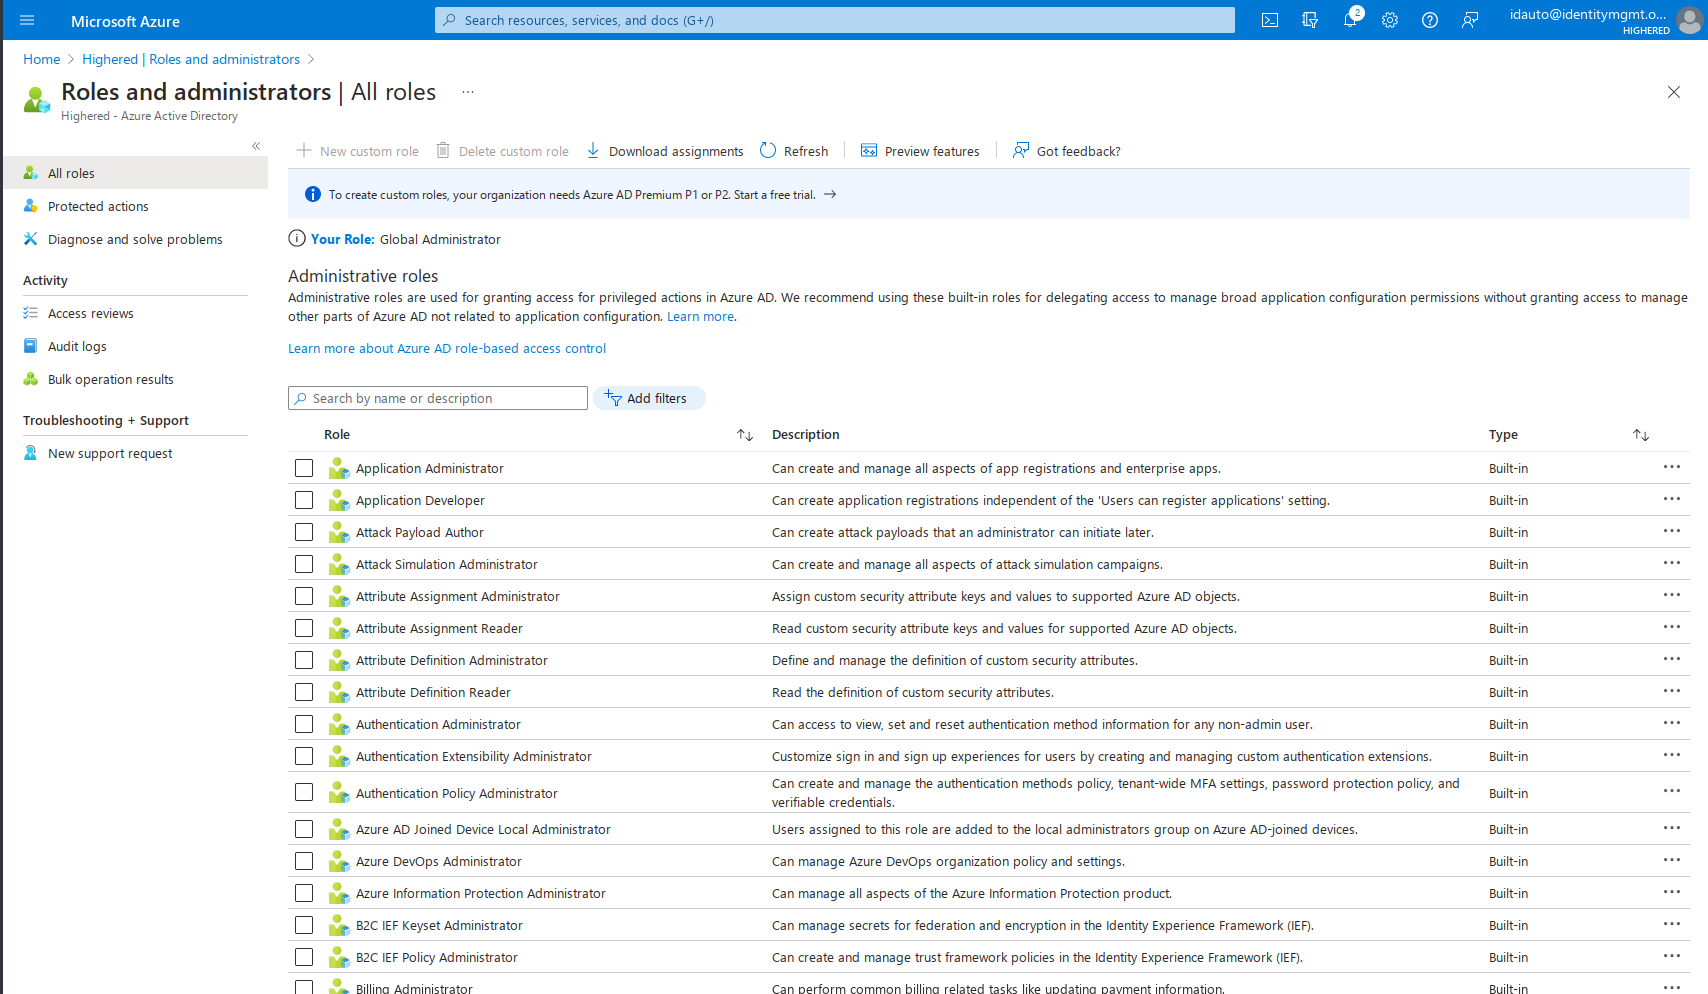
- Click Roles and Administrators:
- Search for Password Administrator:
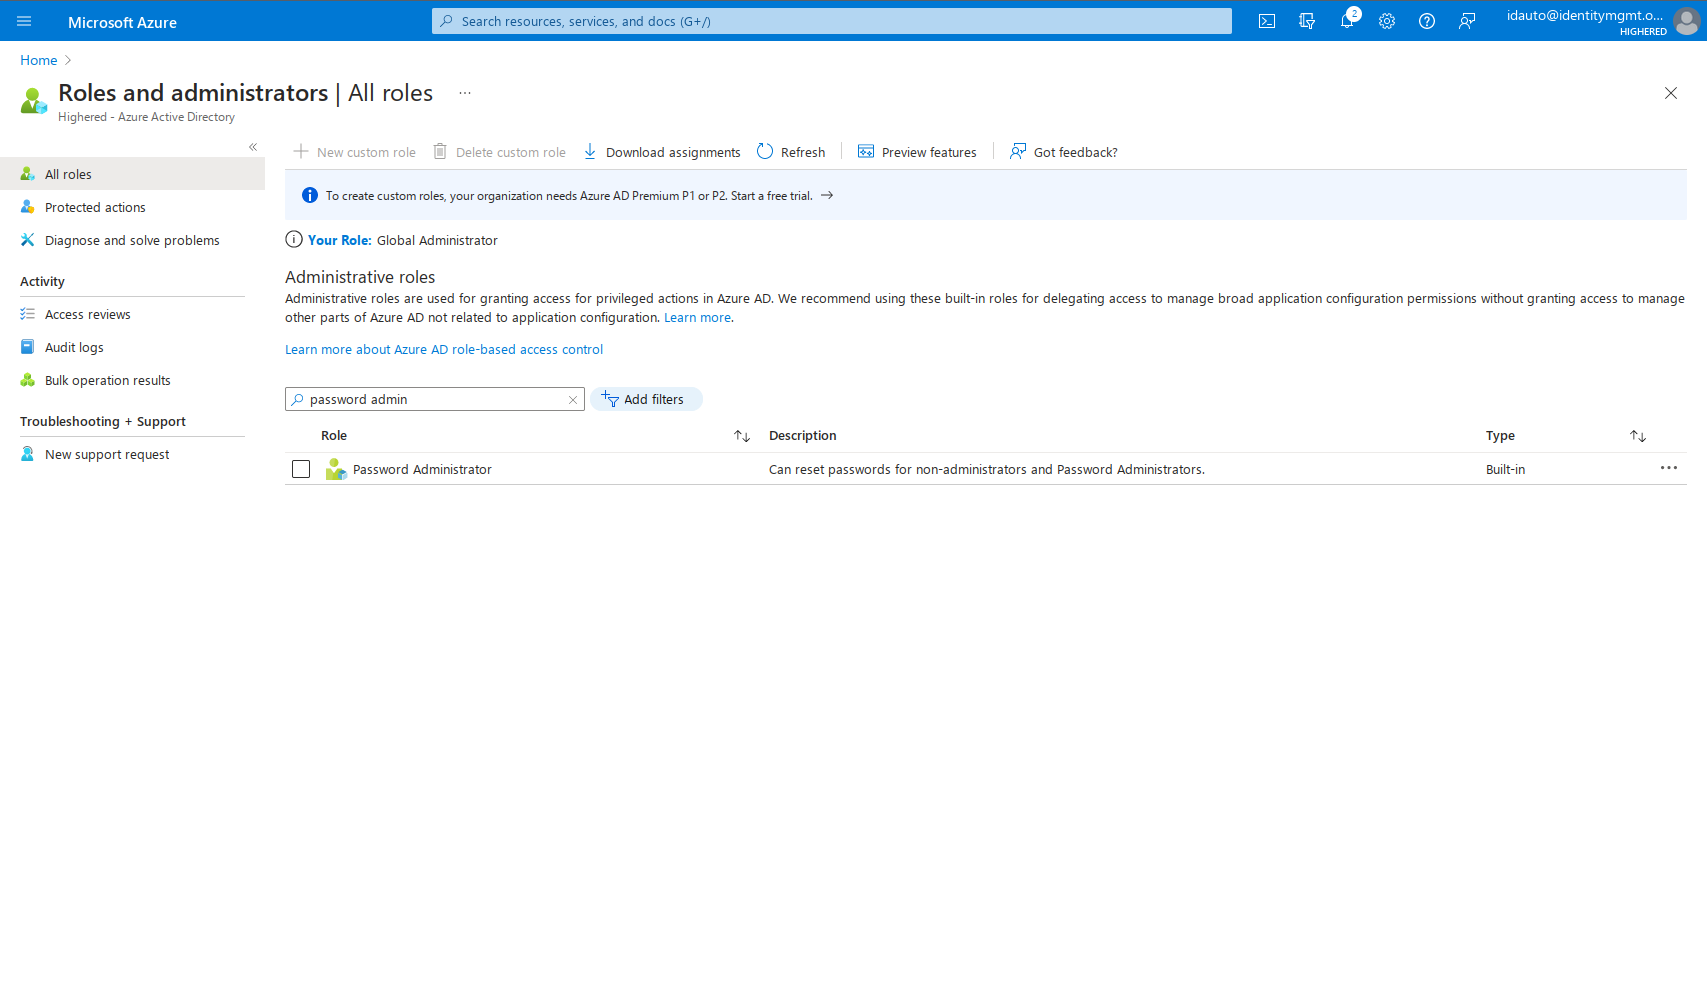
- Double click on the row that is returned:
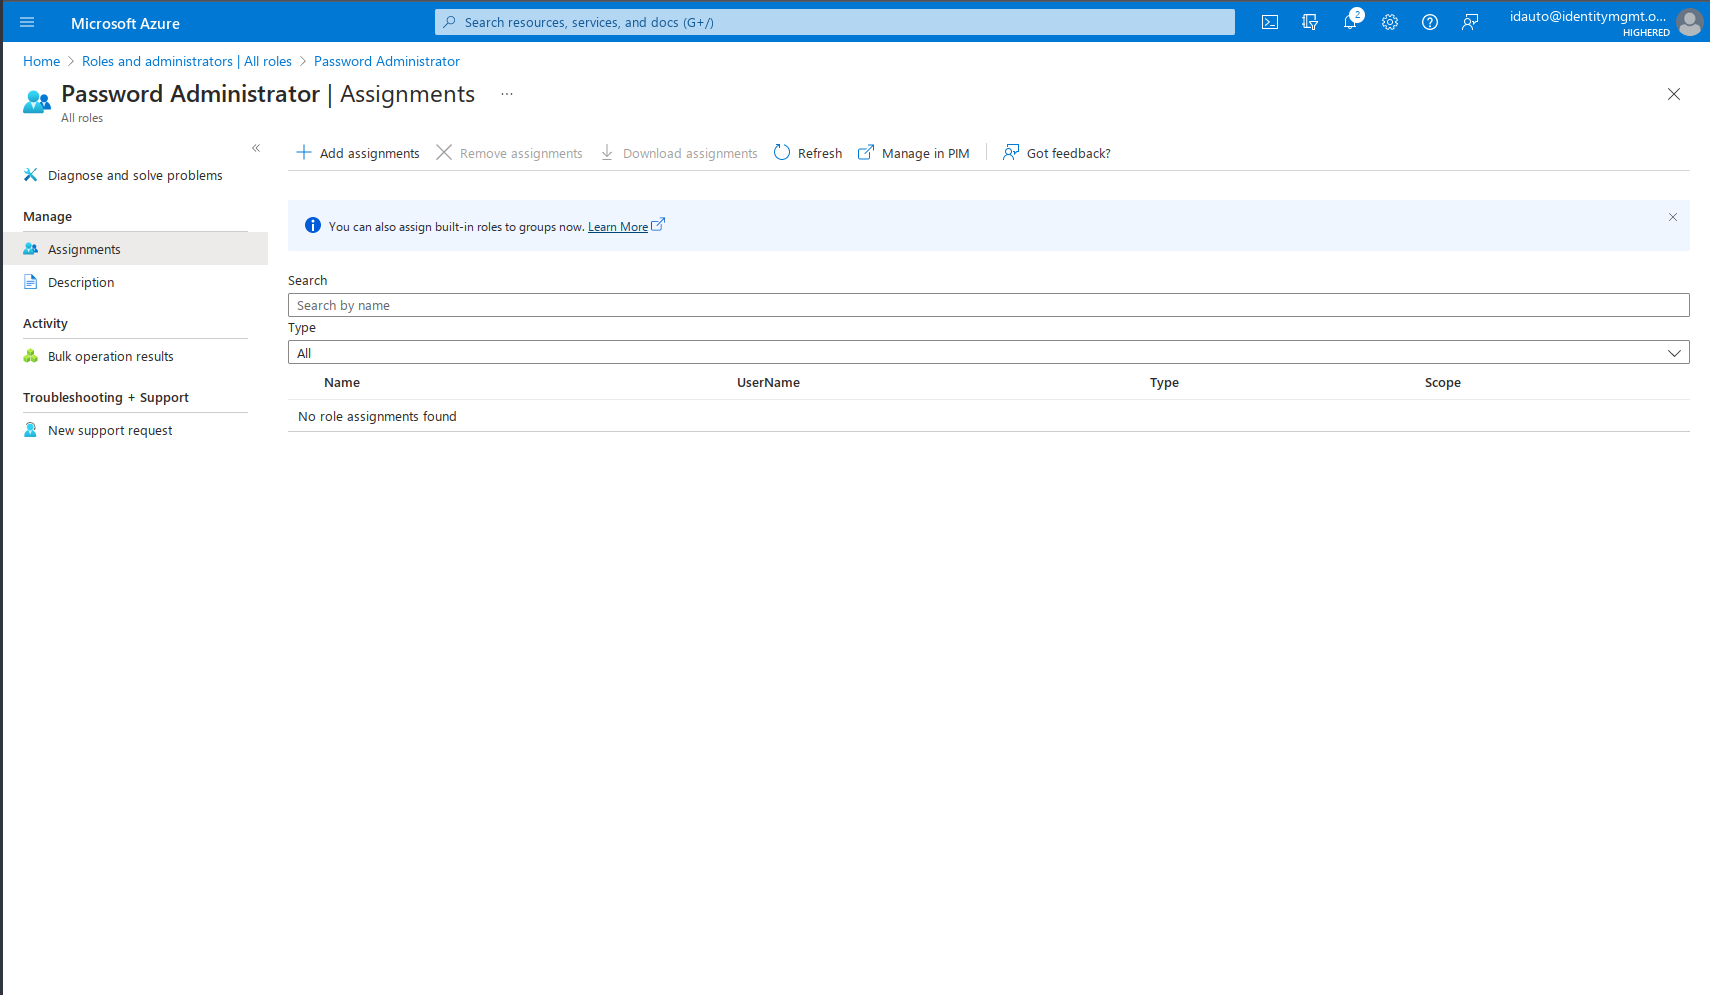
- Click Add Assignments:

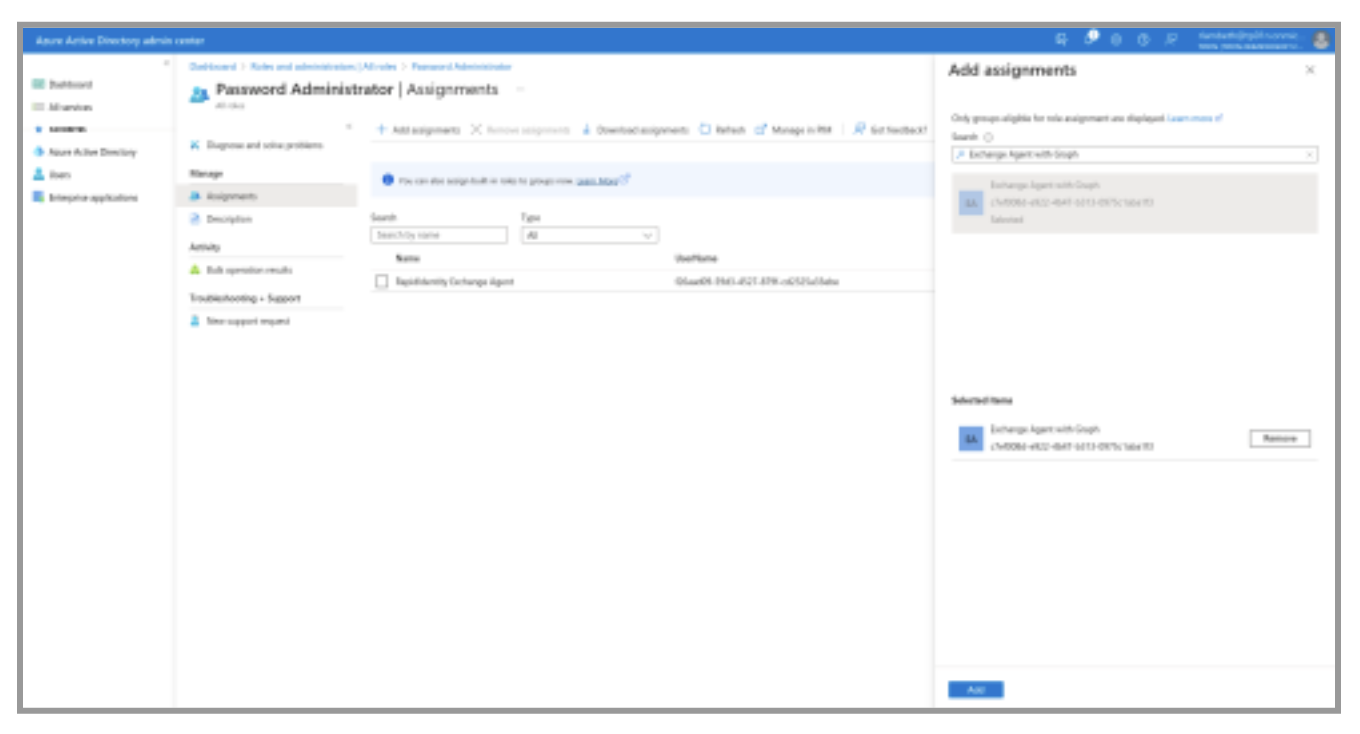
- Search for your App Registration name, select the result, and click Add:
- Now, navigate to your Windows server where the Exchange Agent is installed and uninstall it.
- Install Microsoft Graph Powershell module:
Install-Module Microsoft.Graph -Scope AllUsers
- Install the new Exchange Agent. Download by clicking below:
idautoExchangeAdminWSInstaller-2023.3.27.msi
-
Open the Internet Information Service (IIS) Manager to configure the Agent, navigate to Application Pools and select Advanced Settings on ** idautoExchangeAdminWS and update the application pool for Exchange Agent with the Administrator User and Password.
-
Use the IIS Manager to Recycle the idautoExchangeAdminWS Application Pool.
-
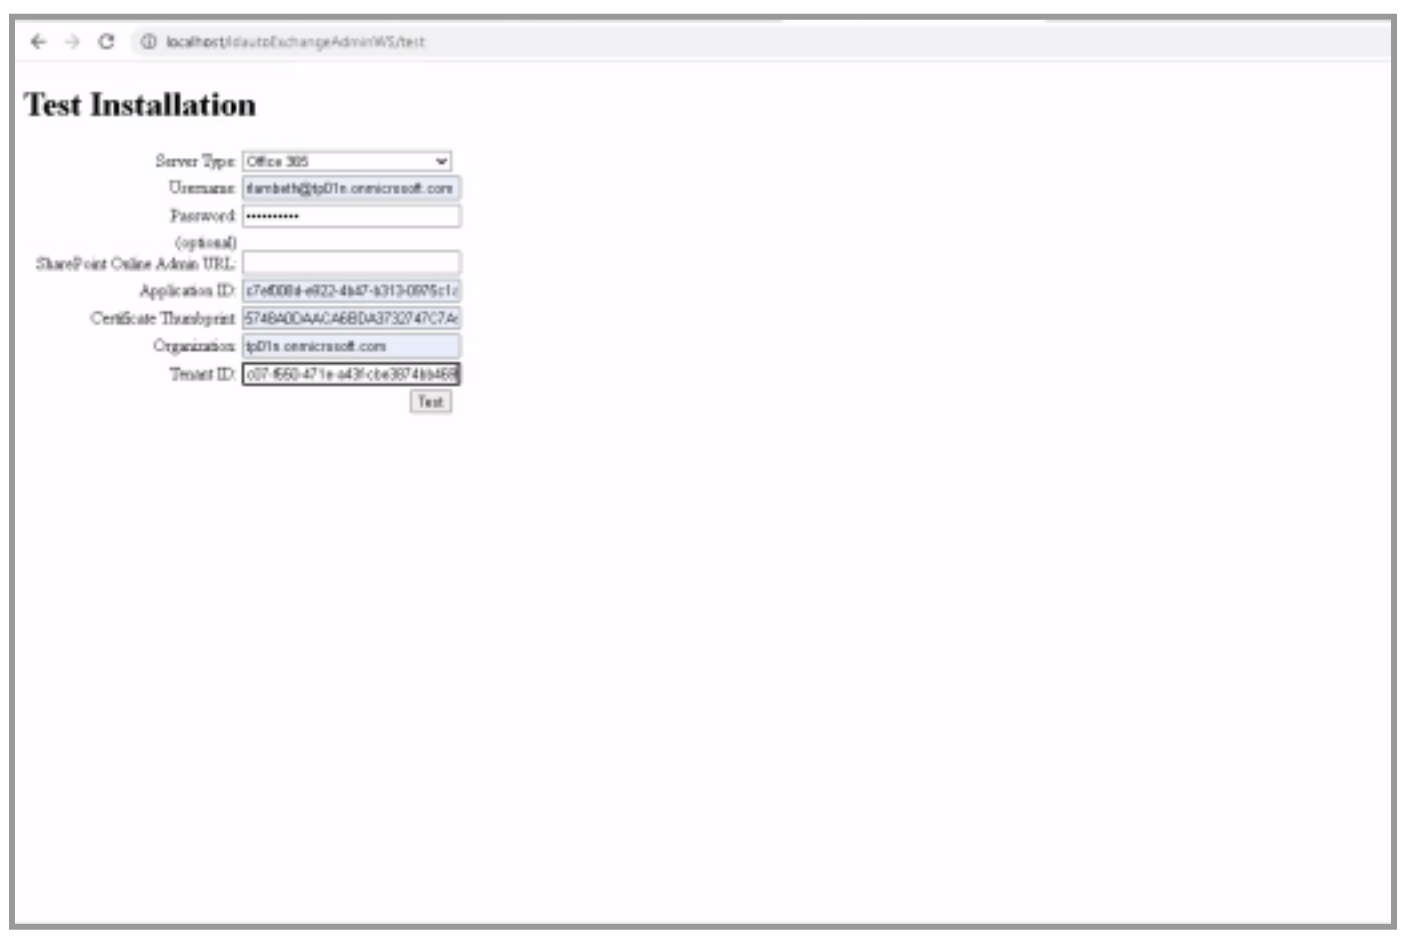
You are ready to test! Use this URL to test: http://localhost/idautoExchangeAdminWS/test
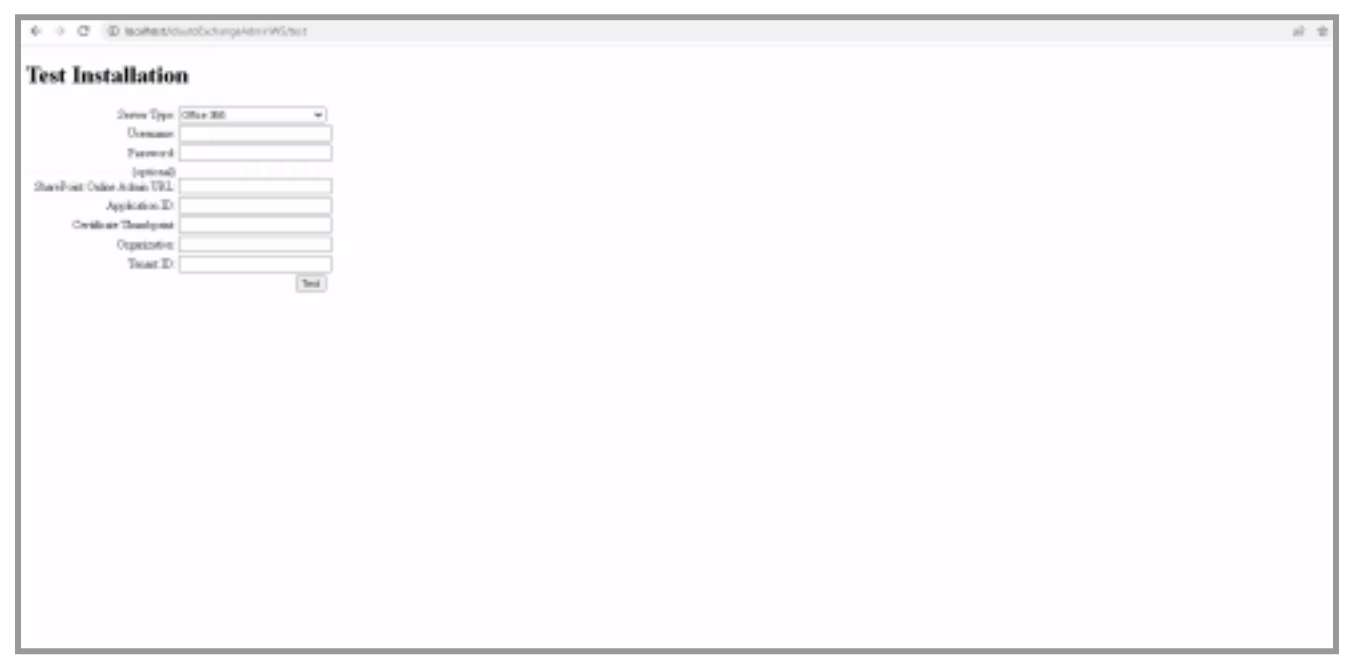
-
You will notice that there is a new field: Tenant ID. This corresponds to the Azure Tenant ID, and can be found in the Azure AD Portal in the App Registration details.